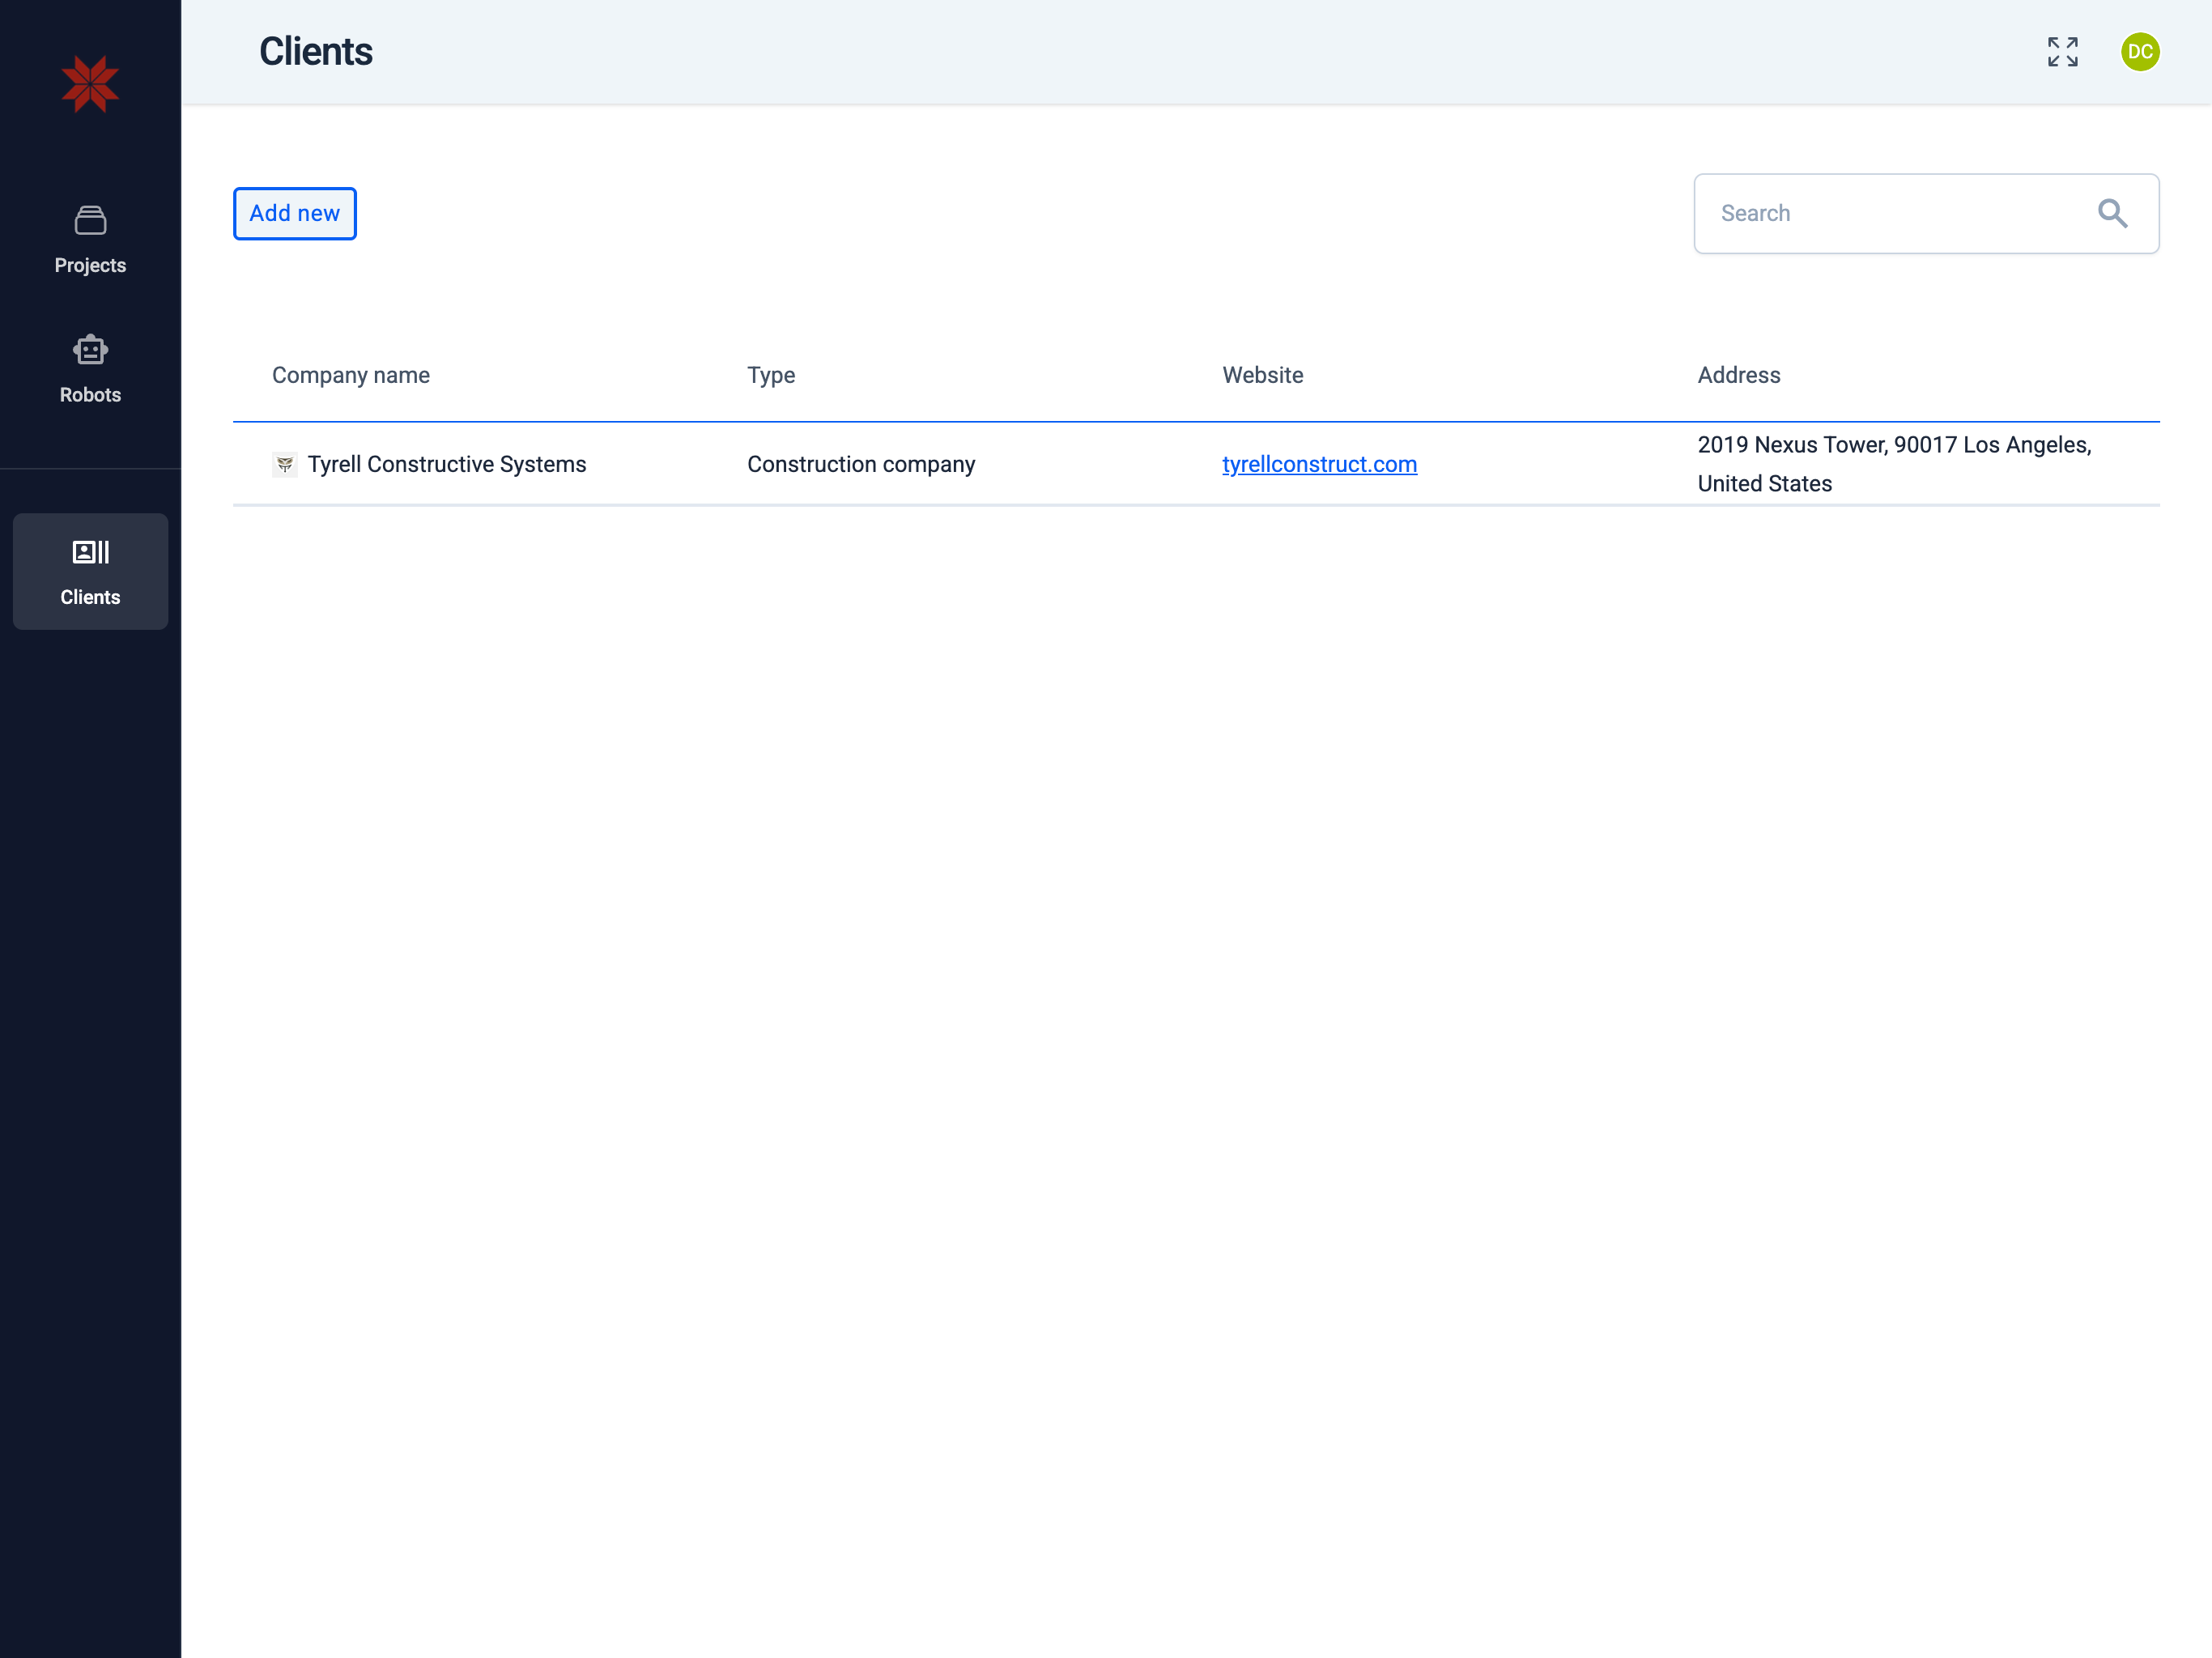
Adding new client


1. Click the 'Add new' button.

Clients


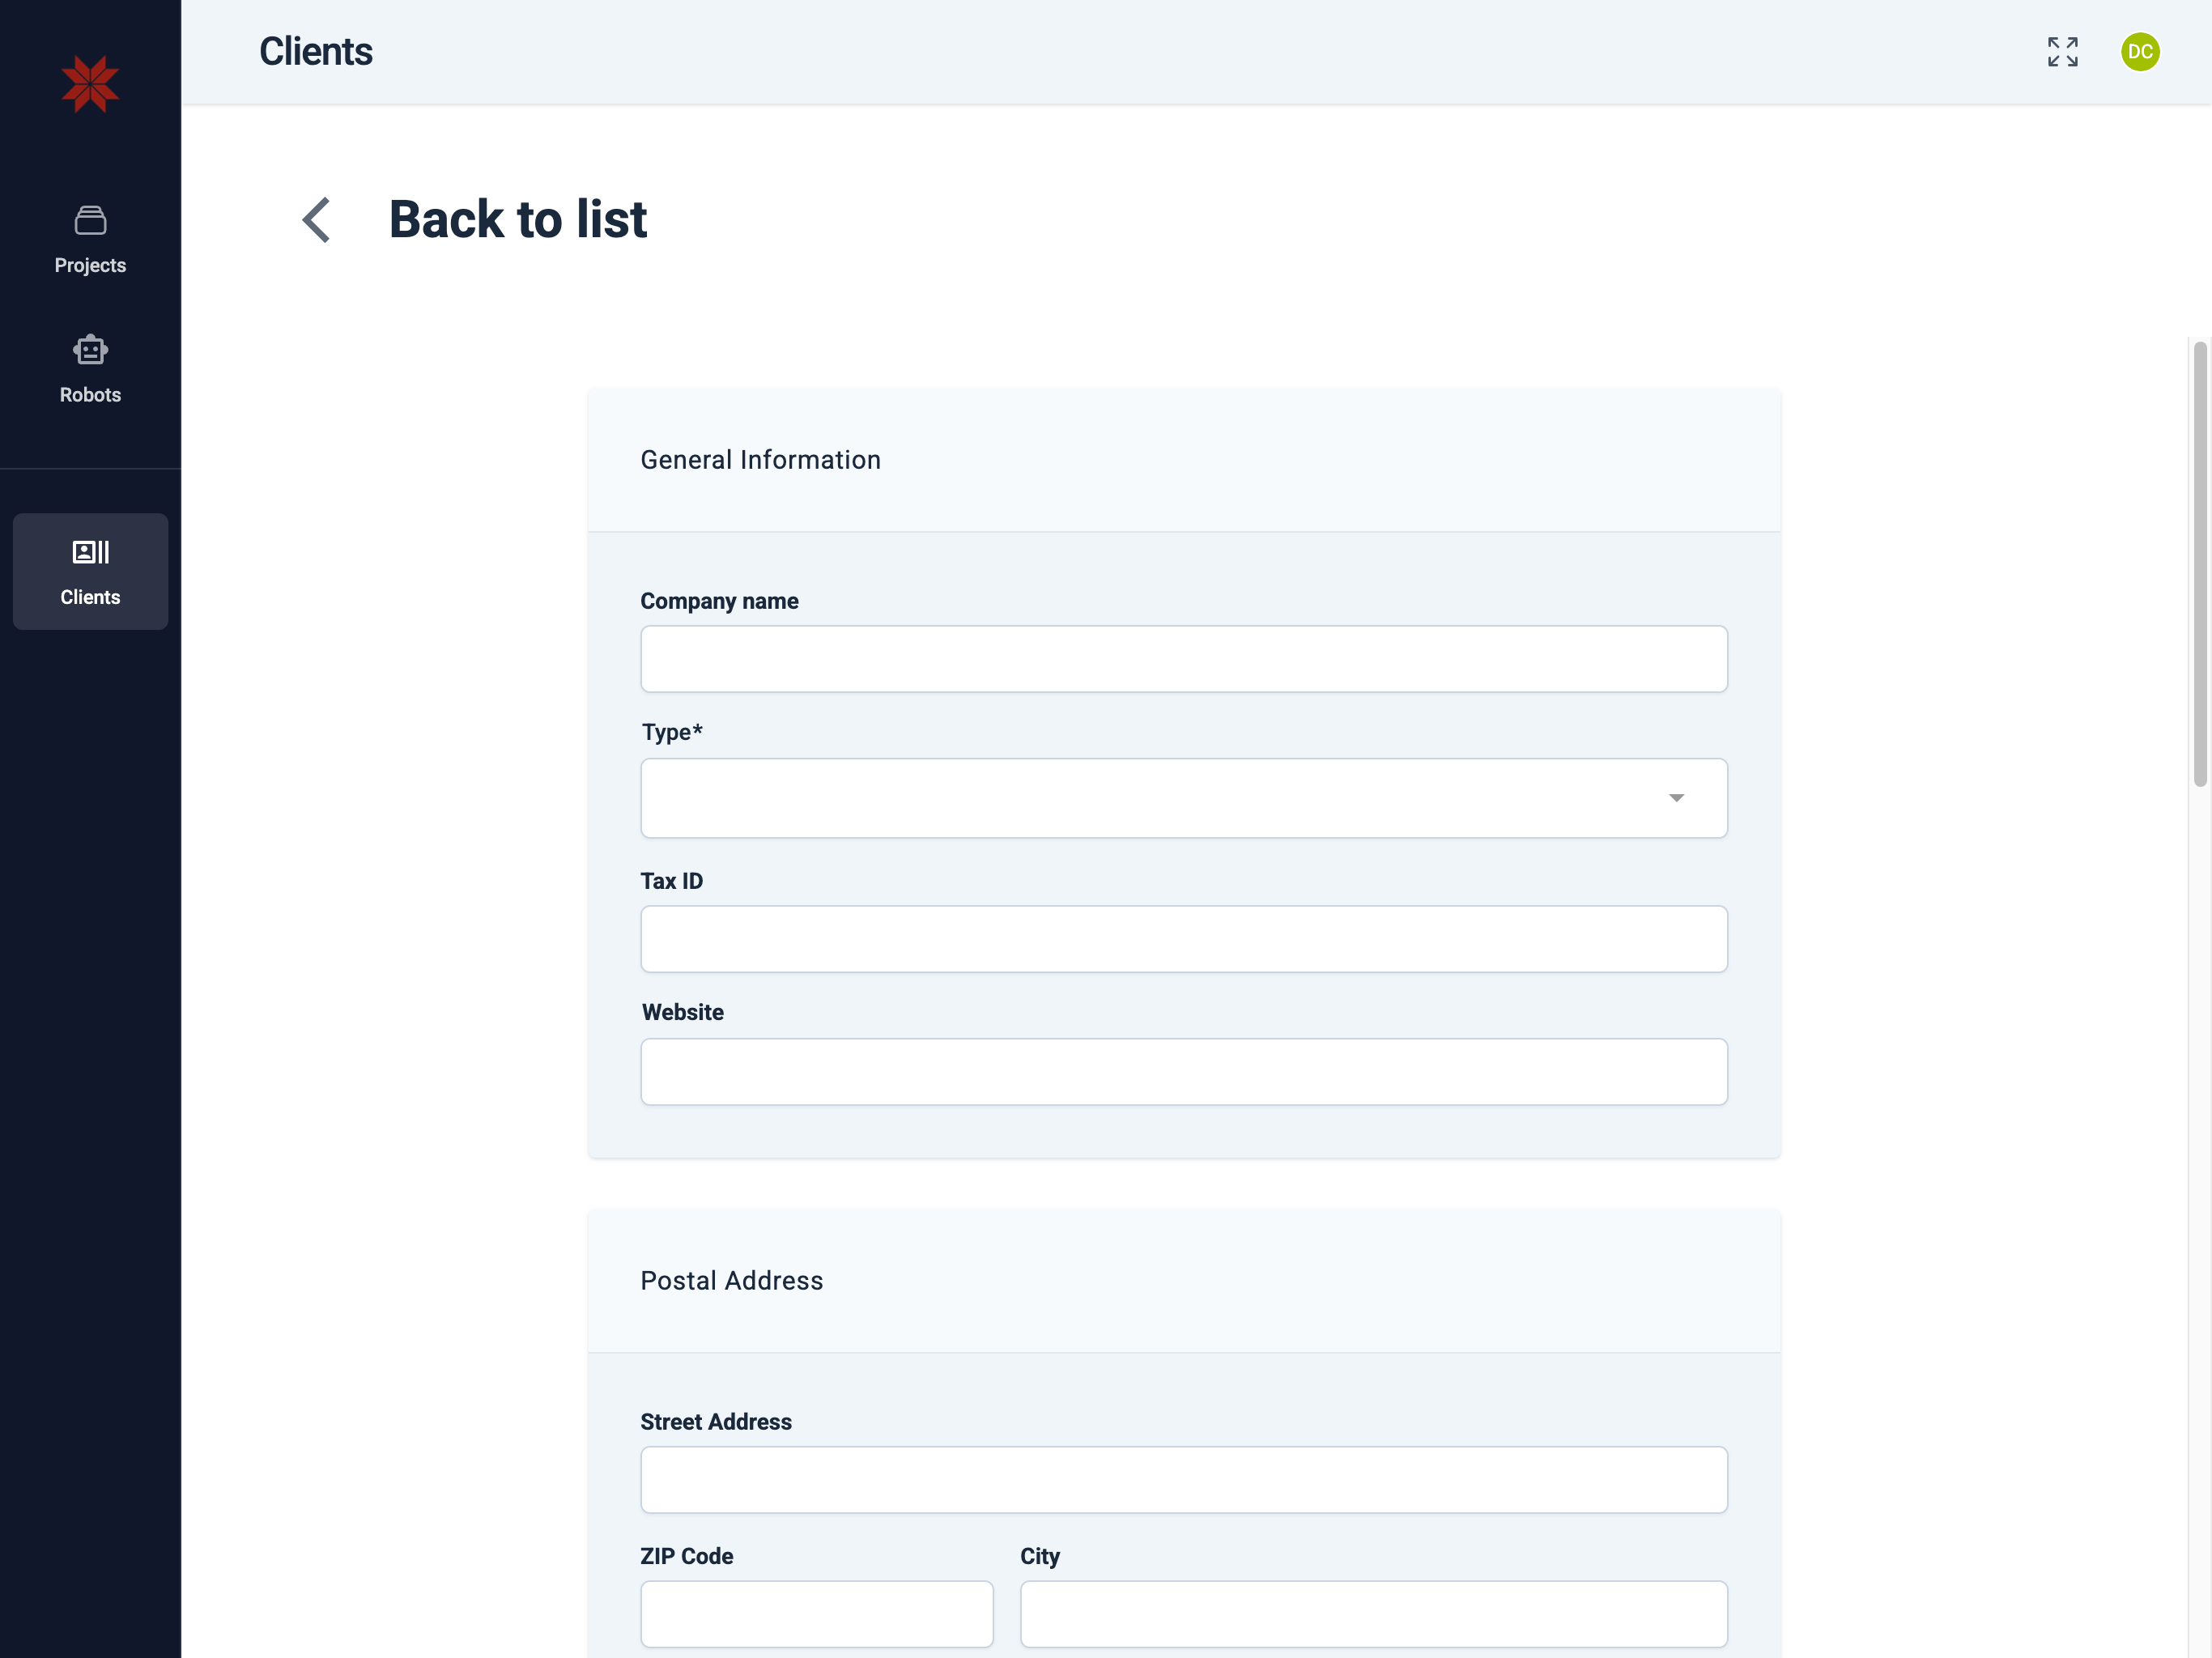
2. Fill in the required fields

Company Team

Company profile: legal name, type of business, identifiers, website and logo, as well as postal and billing addresses and contacts.

Profile

General Information

  • Company name The official name of the company. Used in lists, invitations, and documents.
  • Type Type of company (for example, System integrator). May define available features and agreement templates.
  • Tax ID Tax identifier (VAT / Y‑tunnus, etc.). Required for invoices and contracts.
  • Website The public website of your company. Helps clients and partners quickly access your resource.
  • Icon (logo) Upload a square company logo. It is used in lists and cards.
Hint

Preferred logo format: ICO/JPG/PNG/SVG, max size 90kb.


Postal Address

Enter the address for correspondence:

  • Street Address, ZIP Code, City, Country — used for contracts, deliveries, and documents.

Postal Contact

Contact person for general correspondence:

  • Name, Mobile Phone Number, E‑mail — where notifications, letters, and general inquiries will be sent.

Billing Address

Address for invoicing:

  • Enable the toggle Billing address is the same as postal address if the billing address matches the postal address.
  • Otherwise, fill in Street Address / ZIP / City / Country separately.

Billing Contact

Contact person for billing inquiries:

  • Enable the toggle Billing contact is the same as postal contact if the data matches.
  • Otherwise, specify Name, Mobile Phone Number, E‑mail — this is where you will receive invoices and payment-related inquiries.

Saving

After filling in, click Save.


Security and compliance
  • Use the legal company name and correct Tax ID — this data appears in invoices and contracts.
  • Keep the billing e‑mail and billing phone up to date — otherwise you may miss important invoices or reminders.
  • Do not upload logo files containing confidential information or metadata you do not want to disclose.

3. Create the first client company user

Right after creation, only your account is visible in the list.

Company Team

  1. In the Invite user field, enter the full email address of the first client user.
  2. In the Role dropdown, select the "Company Admin" role.
  3. Click the add button to add the user.
tip

The first user must have administrator rights and will manage the client's company.


4. Client invitation acceptance

After adding the first user to their company, they will receive an email invitation to register in the system.

First Time Login Guide