Alarm systems integration
The alarm systems integration connects an existing intruder alarm system to your Karelics project. The alarm panel reports its events to Karelics Cloud over the standard SIA DC-09 (SIA-DCS) protocol, the same protocol it uses to report to an alarm receiving centre. Karelics Cloud acts as an additional receiver: it stores every event, shows it in Operator Hub, and can automatically launch a robot mission in response.
Typical use: a burglary alarm fires in a warehouse zone at night, and a robot drives to that zone and records a video before a guard is dispatched.
The integration is vendor-neutral — any panel that can report SIA DC-09 with AES encryption works.
How it works
- The alarm panel is configured to report to the Karelics SIA receiver, using an account ID and an encryption key issued by the alarm hub it belongs to in Karelics Cloud.
- The panel sends alarm and heartbeat messages. Karelics Cloud decodes them into alarm events and attaches each event to an alarm zone and/or alarm sensor.
- Alarm triggers compare each event against their rules. On a match, the mission is launched on one of the allowed robots.
- The event, and the mission execution it started, appear in Operator Hub in real time.
Concepts
| Object | Meaning |
|---|---|
| Alarm hub | One shared namespace of zones and sensors, typically a single physical alarm hub. |
| SIA DC-09 account | Credentials of one reporting source: account ID + encryption key. |
| Alarm zone | Area of the site as reported by the panel (for example, Main hall). |
| Alarm sensor | Individual detector as reported by the panel (for example, PIR Detector 0866). |
| Alarm event | One decoded message: type, timestamp, hub, zone, sensor. |
| Alarm trigger | Rule set that launches a mission when a matching event arrives. |
Zones and sensors are matched by External ID — the zone or sensor identifier the panel puts in the message.
Alarm event types
| Event type | Meaning | Can launch a mission |
|---|---|---|
| Burglary alarm triggered | Intrusion detected. Shown in red. | Yes |
| Manual alarm triggered | Panic/manual alarm activated. Shown in red. | Yes |
| Burglary alarm restored | Detector returned to normal. | No |
| Burglary alarm canceled | Alarm cancelled at the panel (for example, disarmed in time). | No |
| Manual alarm restored | Manual alarm cleared. | No |
| Armed / Disarmed | System armed or disarmed. | No |
| Unknown event | Message received but its code is not recognised. | No |
Every type is stored and shown in Operator Hub. Only the two triggered types can be selected in an alarm trigger rule — the rest are there for logging and filtering.
Restore and cancel events close an alarm on the panel, but they do not stop a mission that is already running; cancel it from Operator Hub if the alarm turns out to be false. Anything Karelics cannot map arrives as Unknown event — report the raw code to Karelics support so it can be added.
Enable the Alarms plugin
Navigate to the following path:
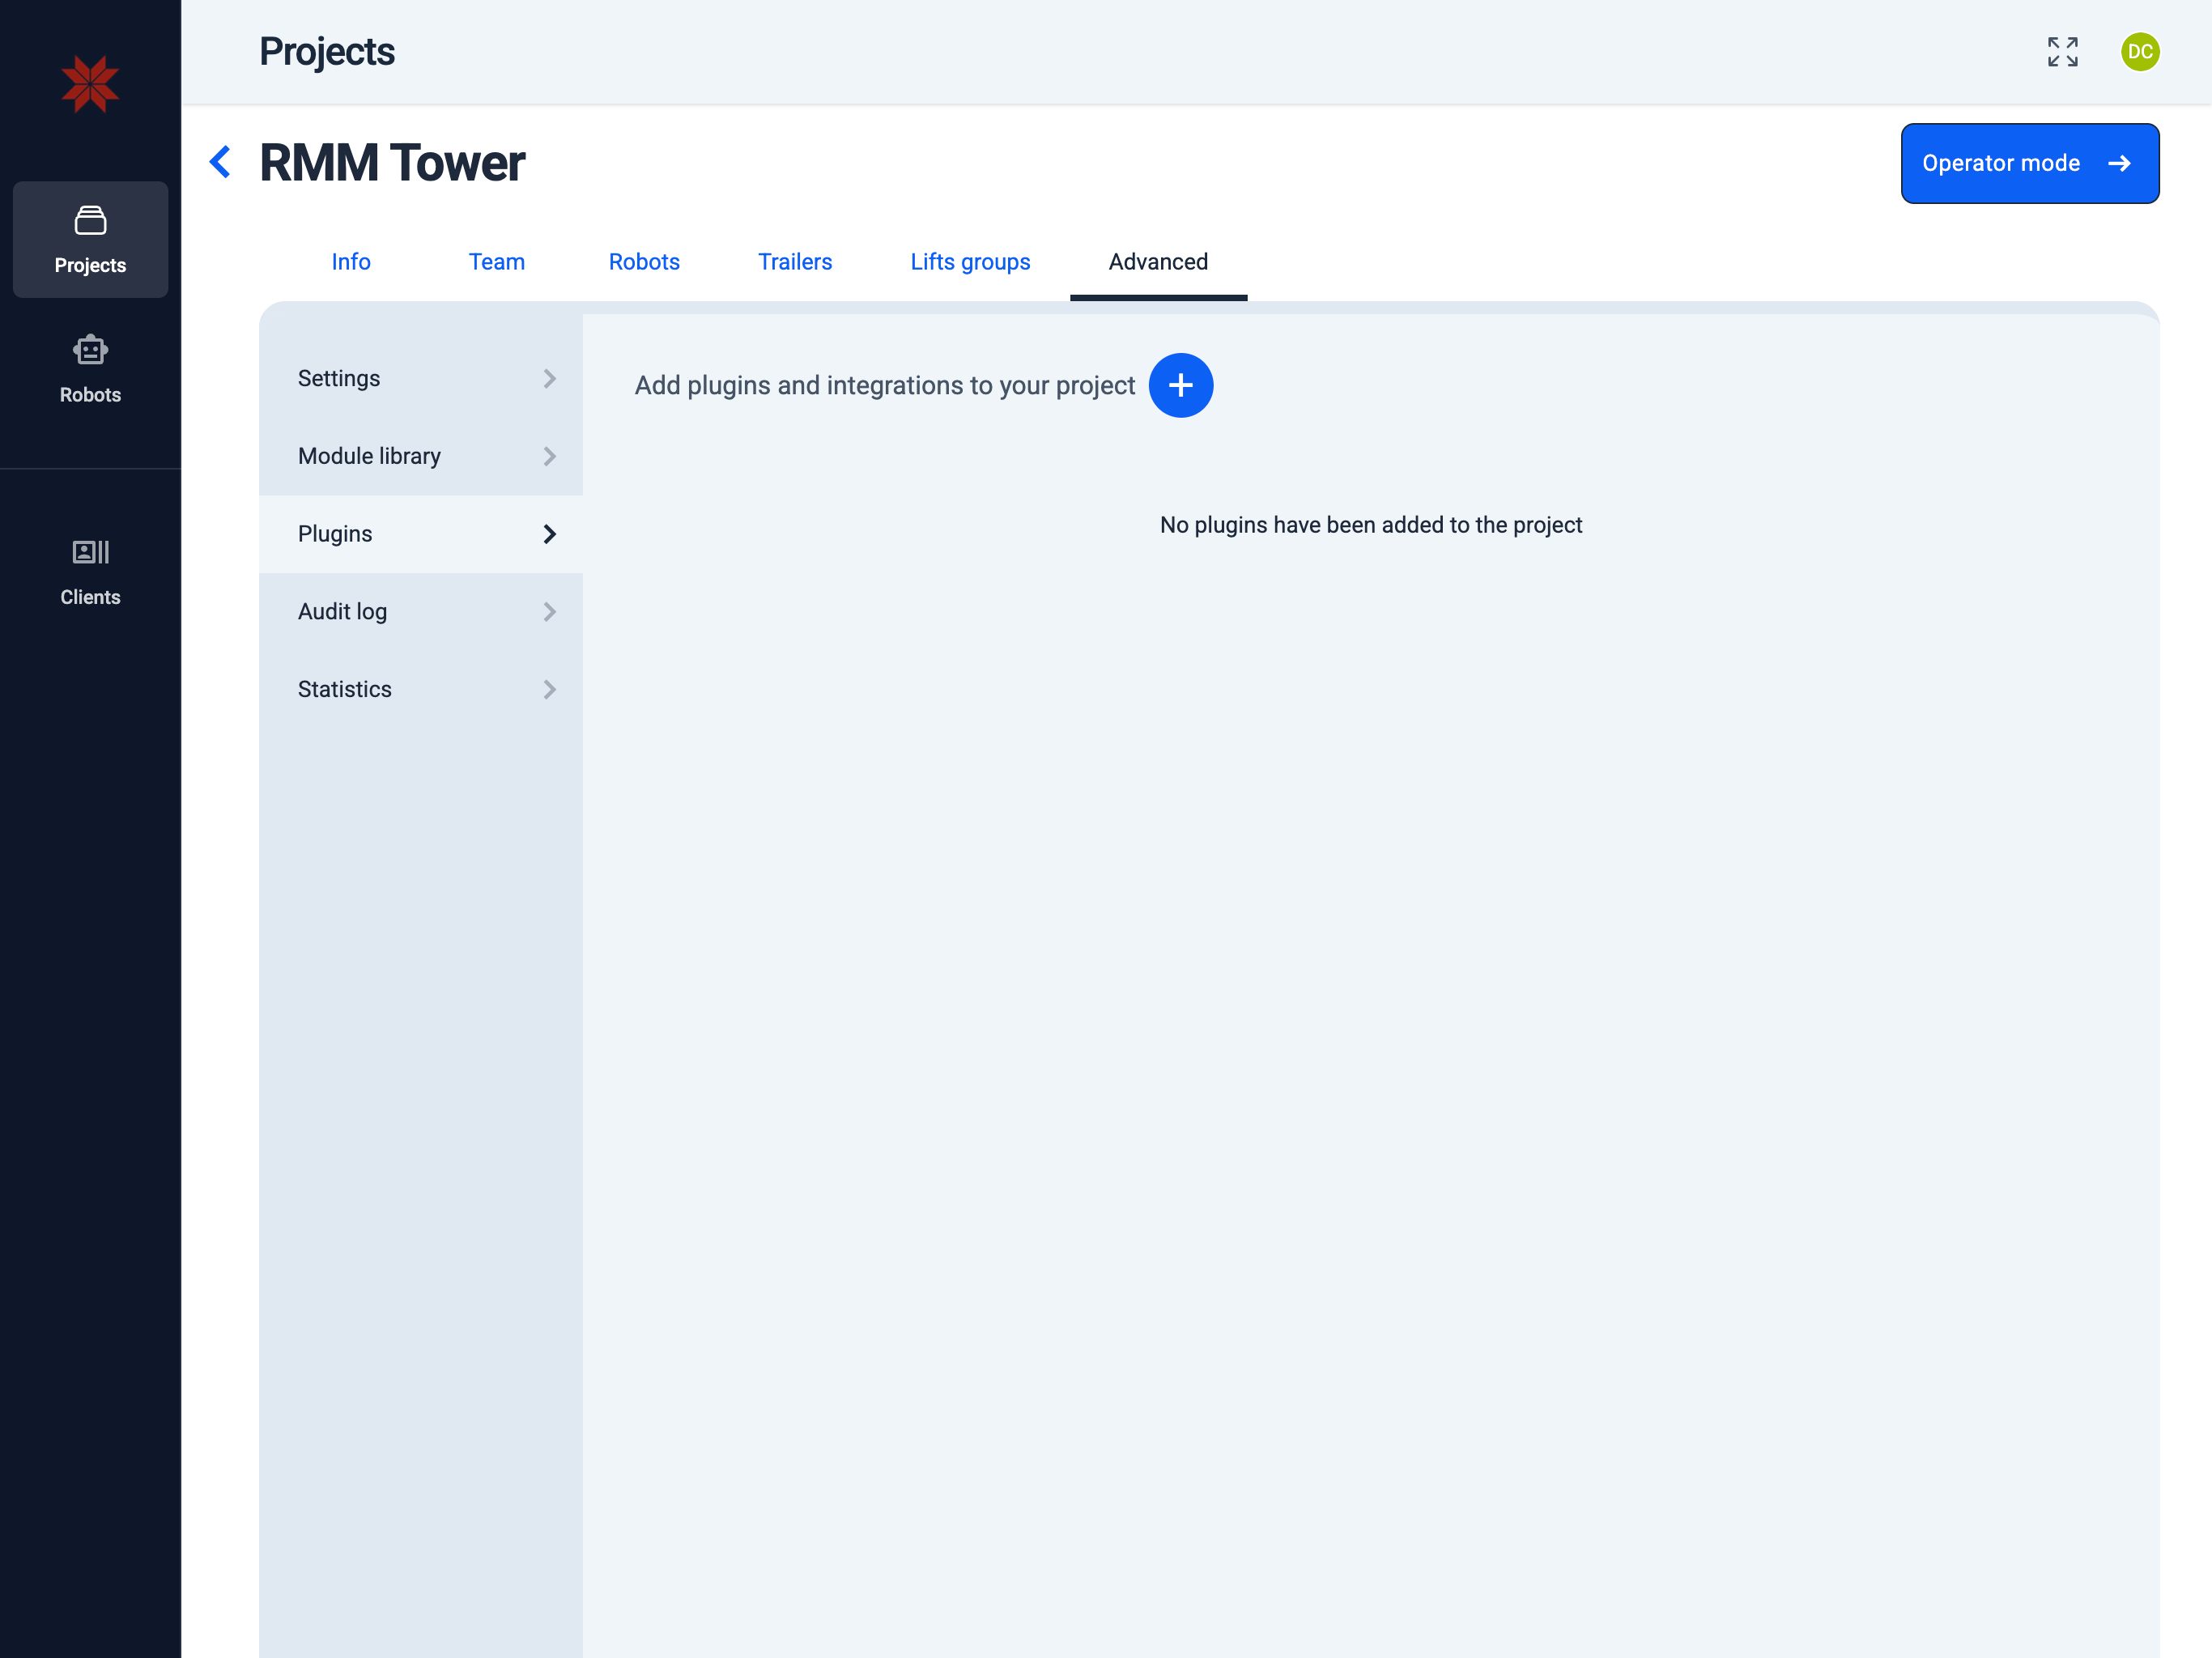
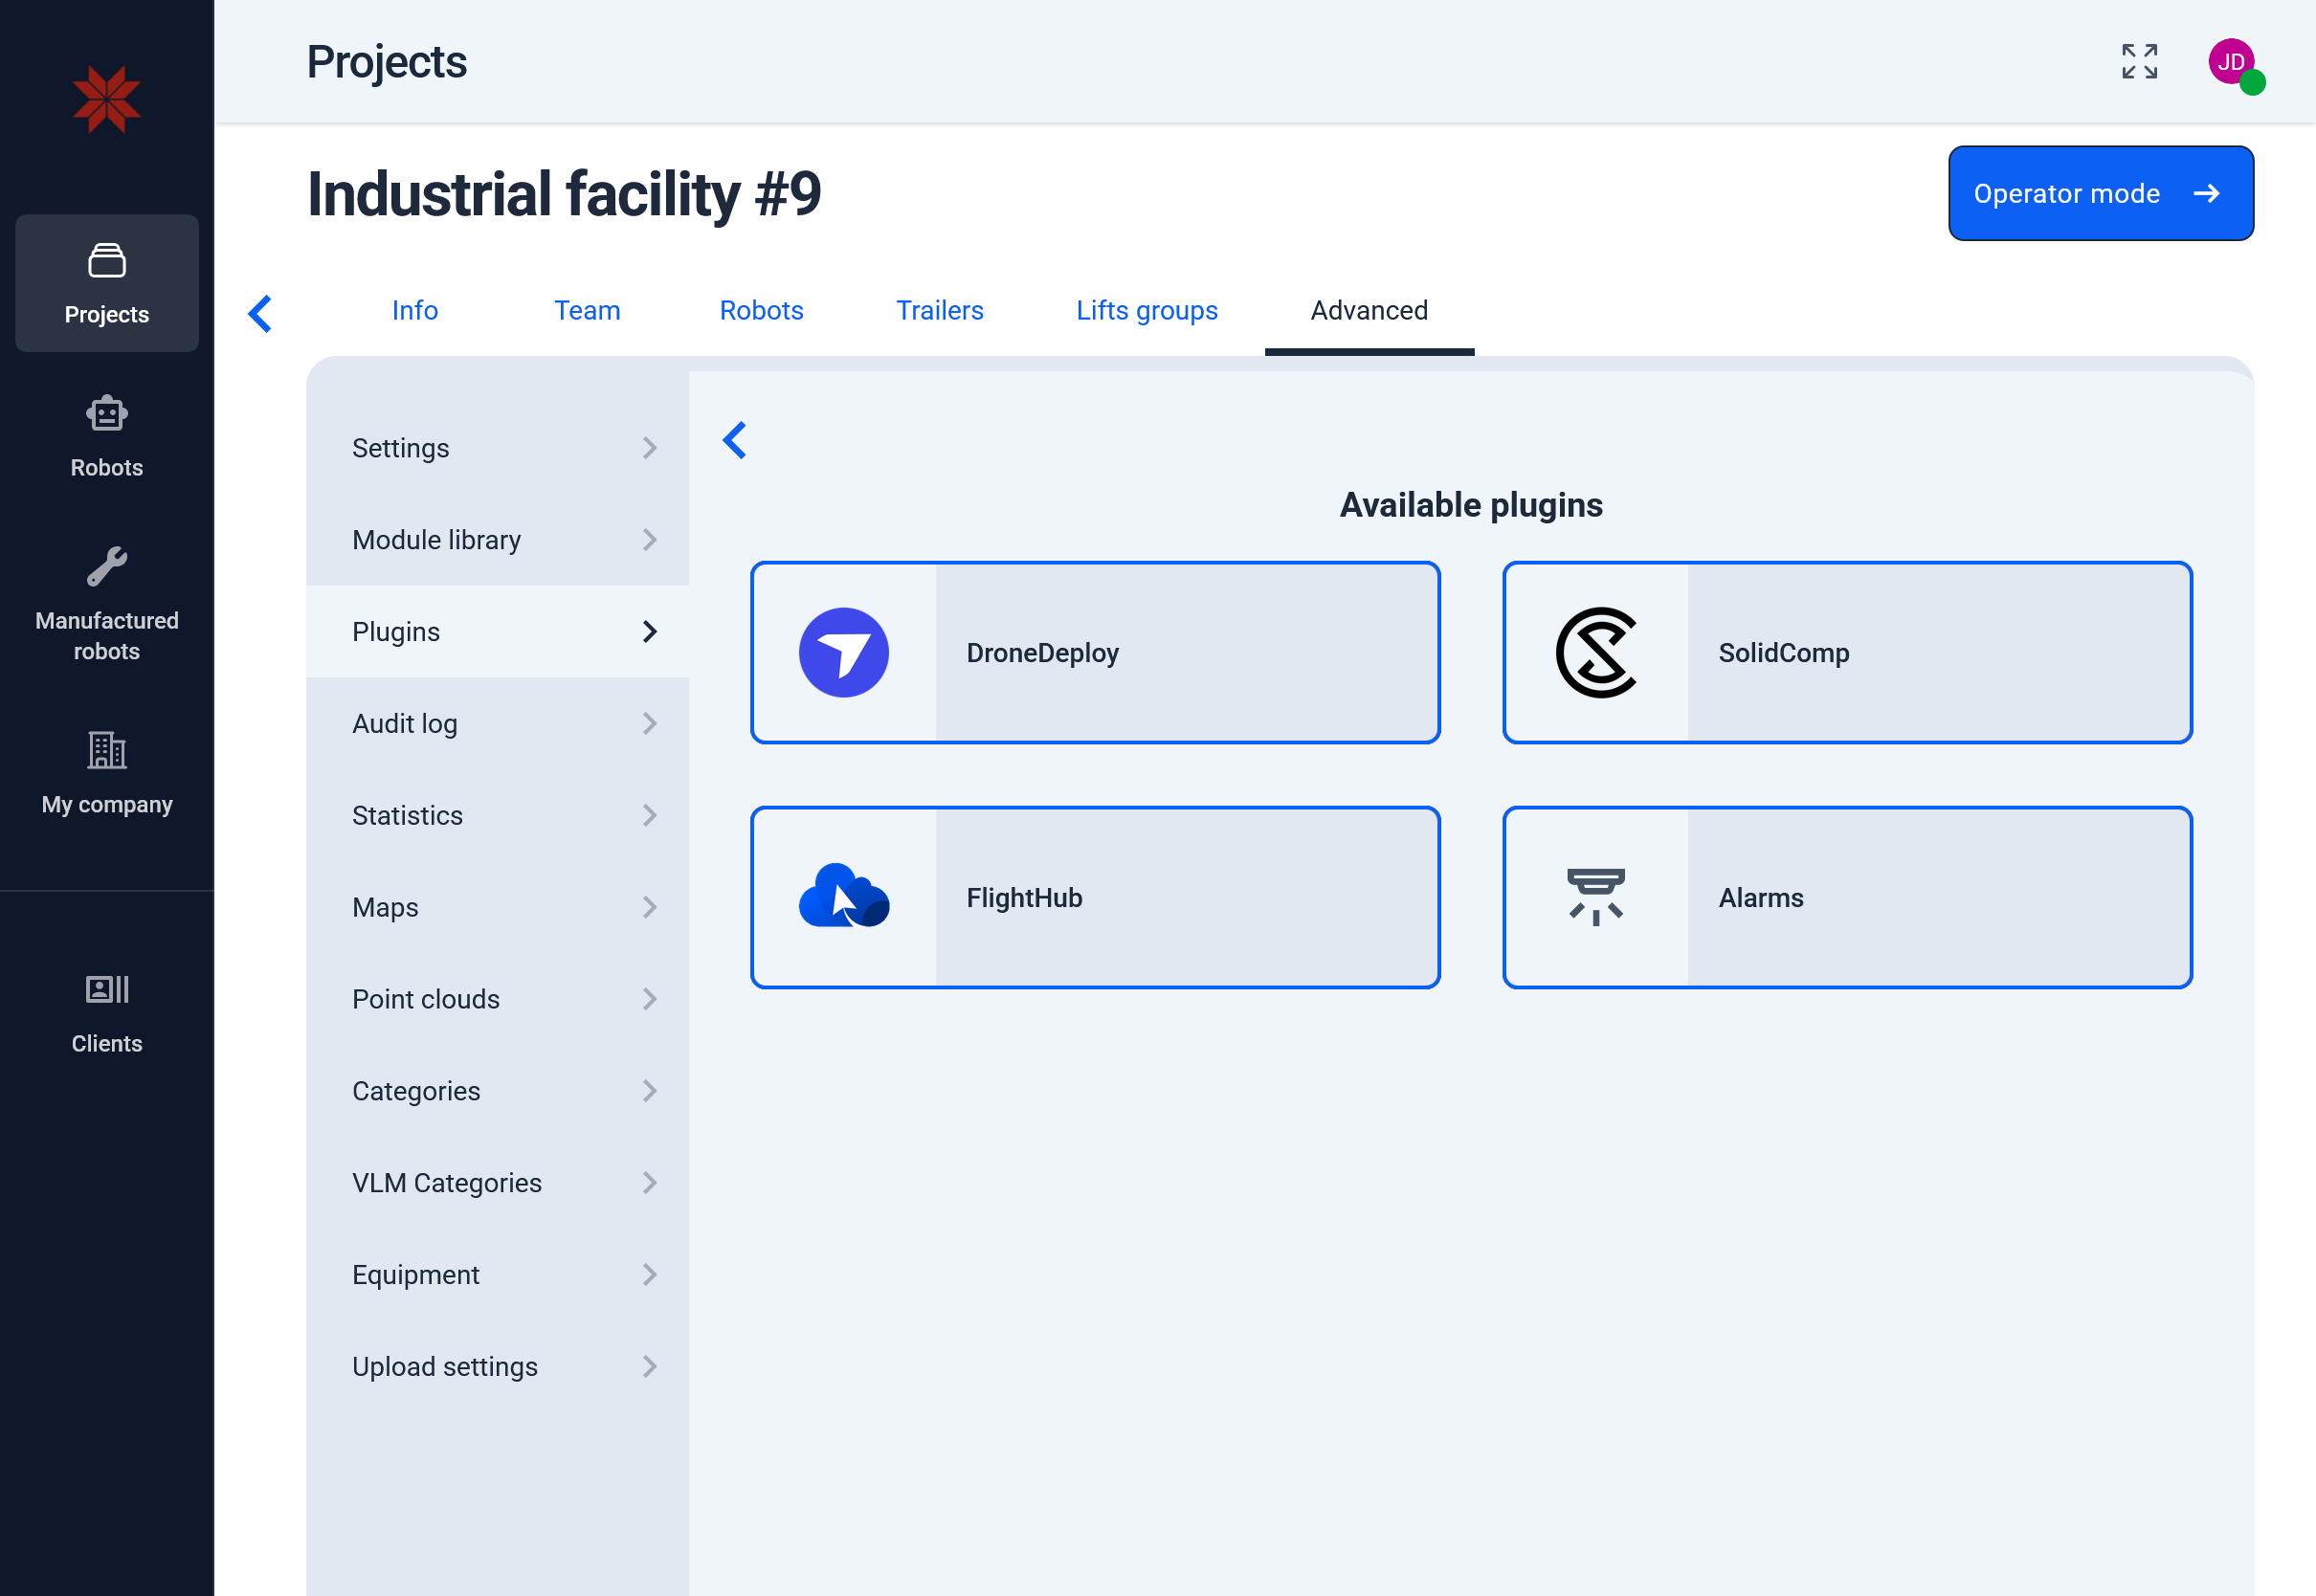
Select the Alarms plugin, then click Add on the Alarms Integration card. Alarm configuration appears in the project only while the plugin is present.
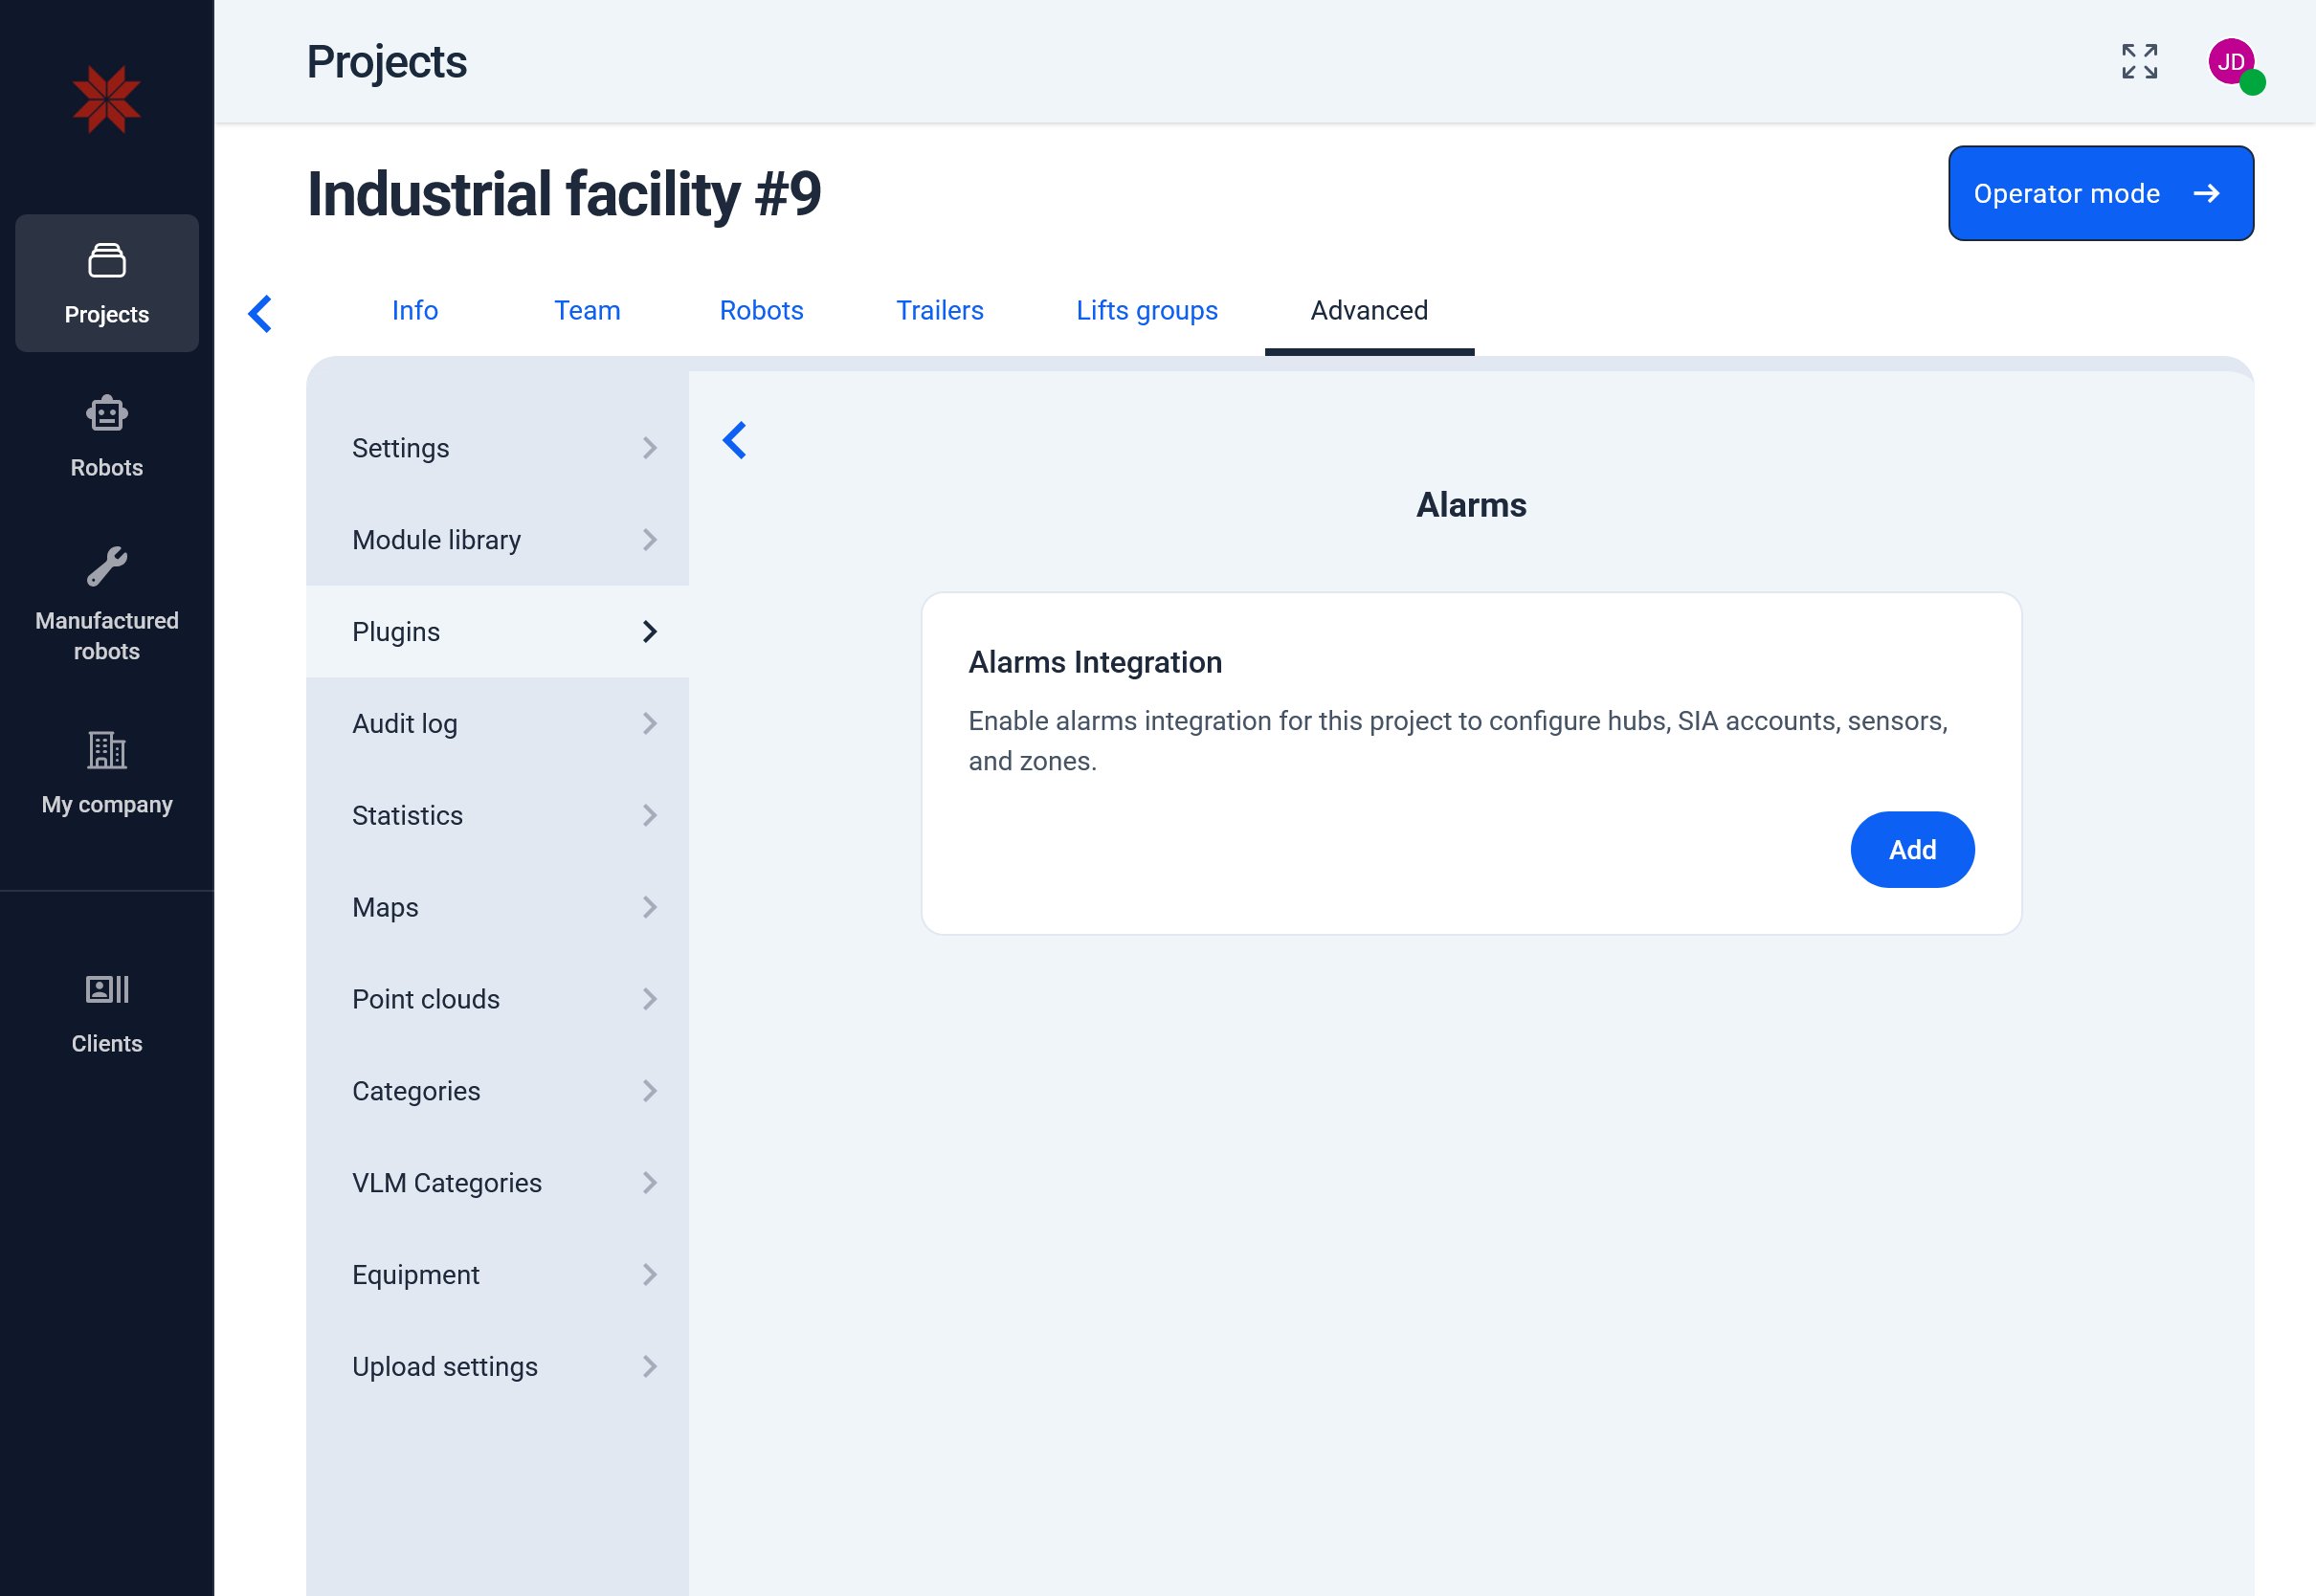
Deleting the plugin hides the alarm UI in the project but does not delete the hubs, accounts, zones, sensors, or events that were already configured.
Configure an alarm hub
-
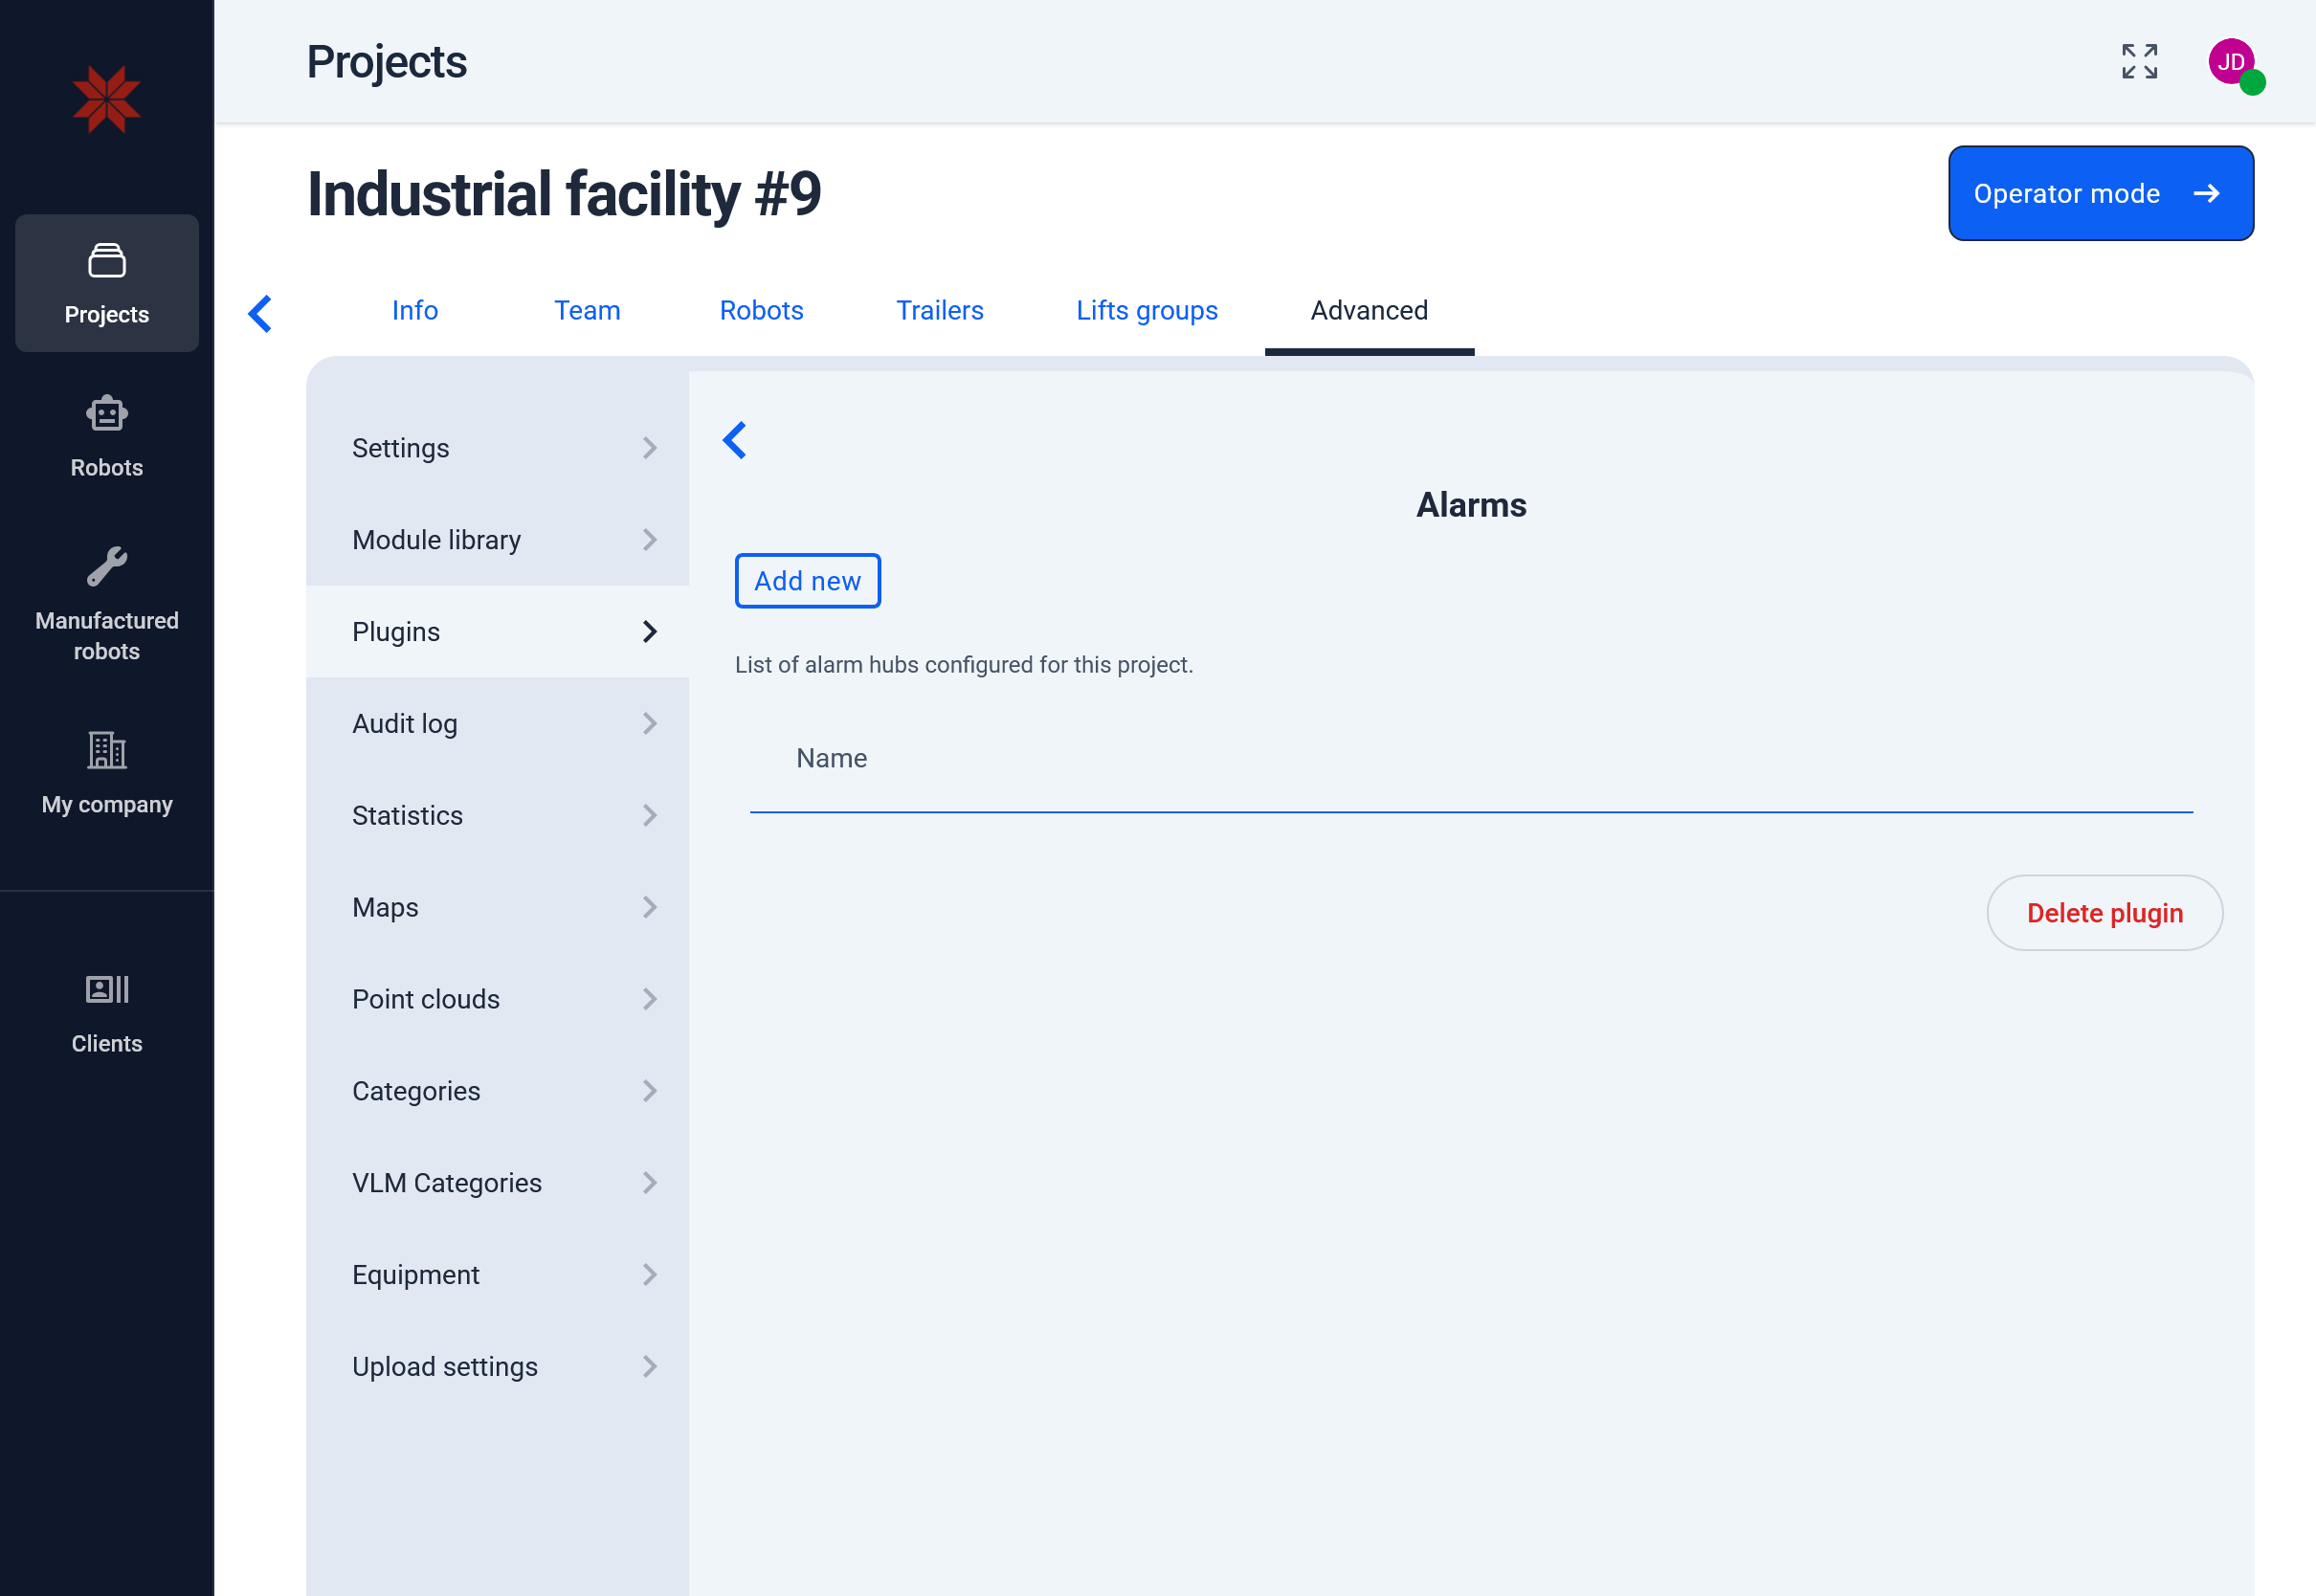
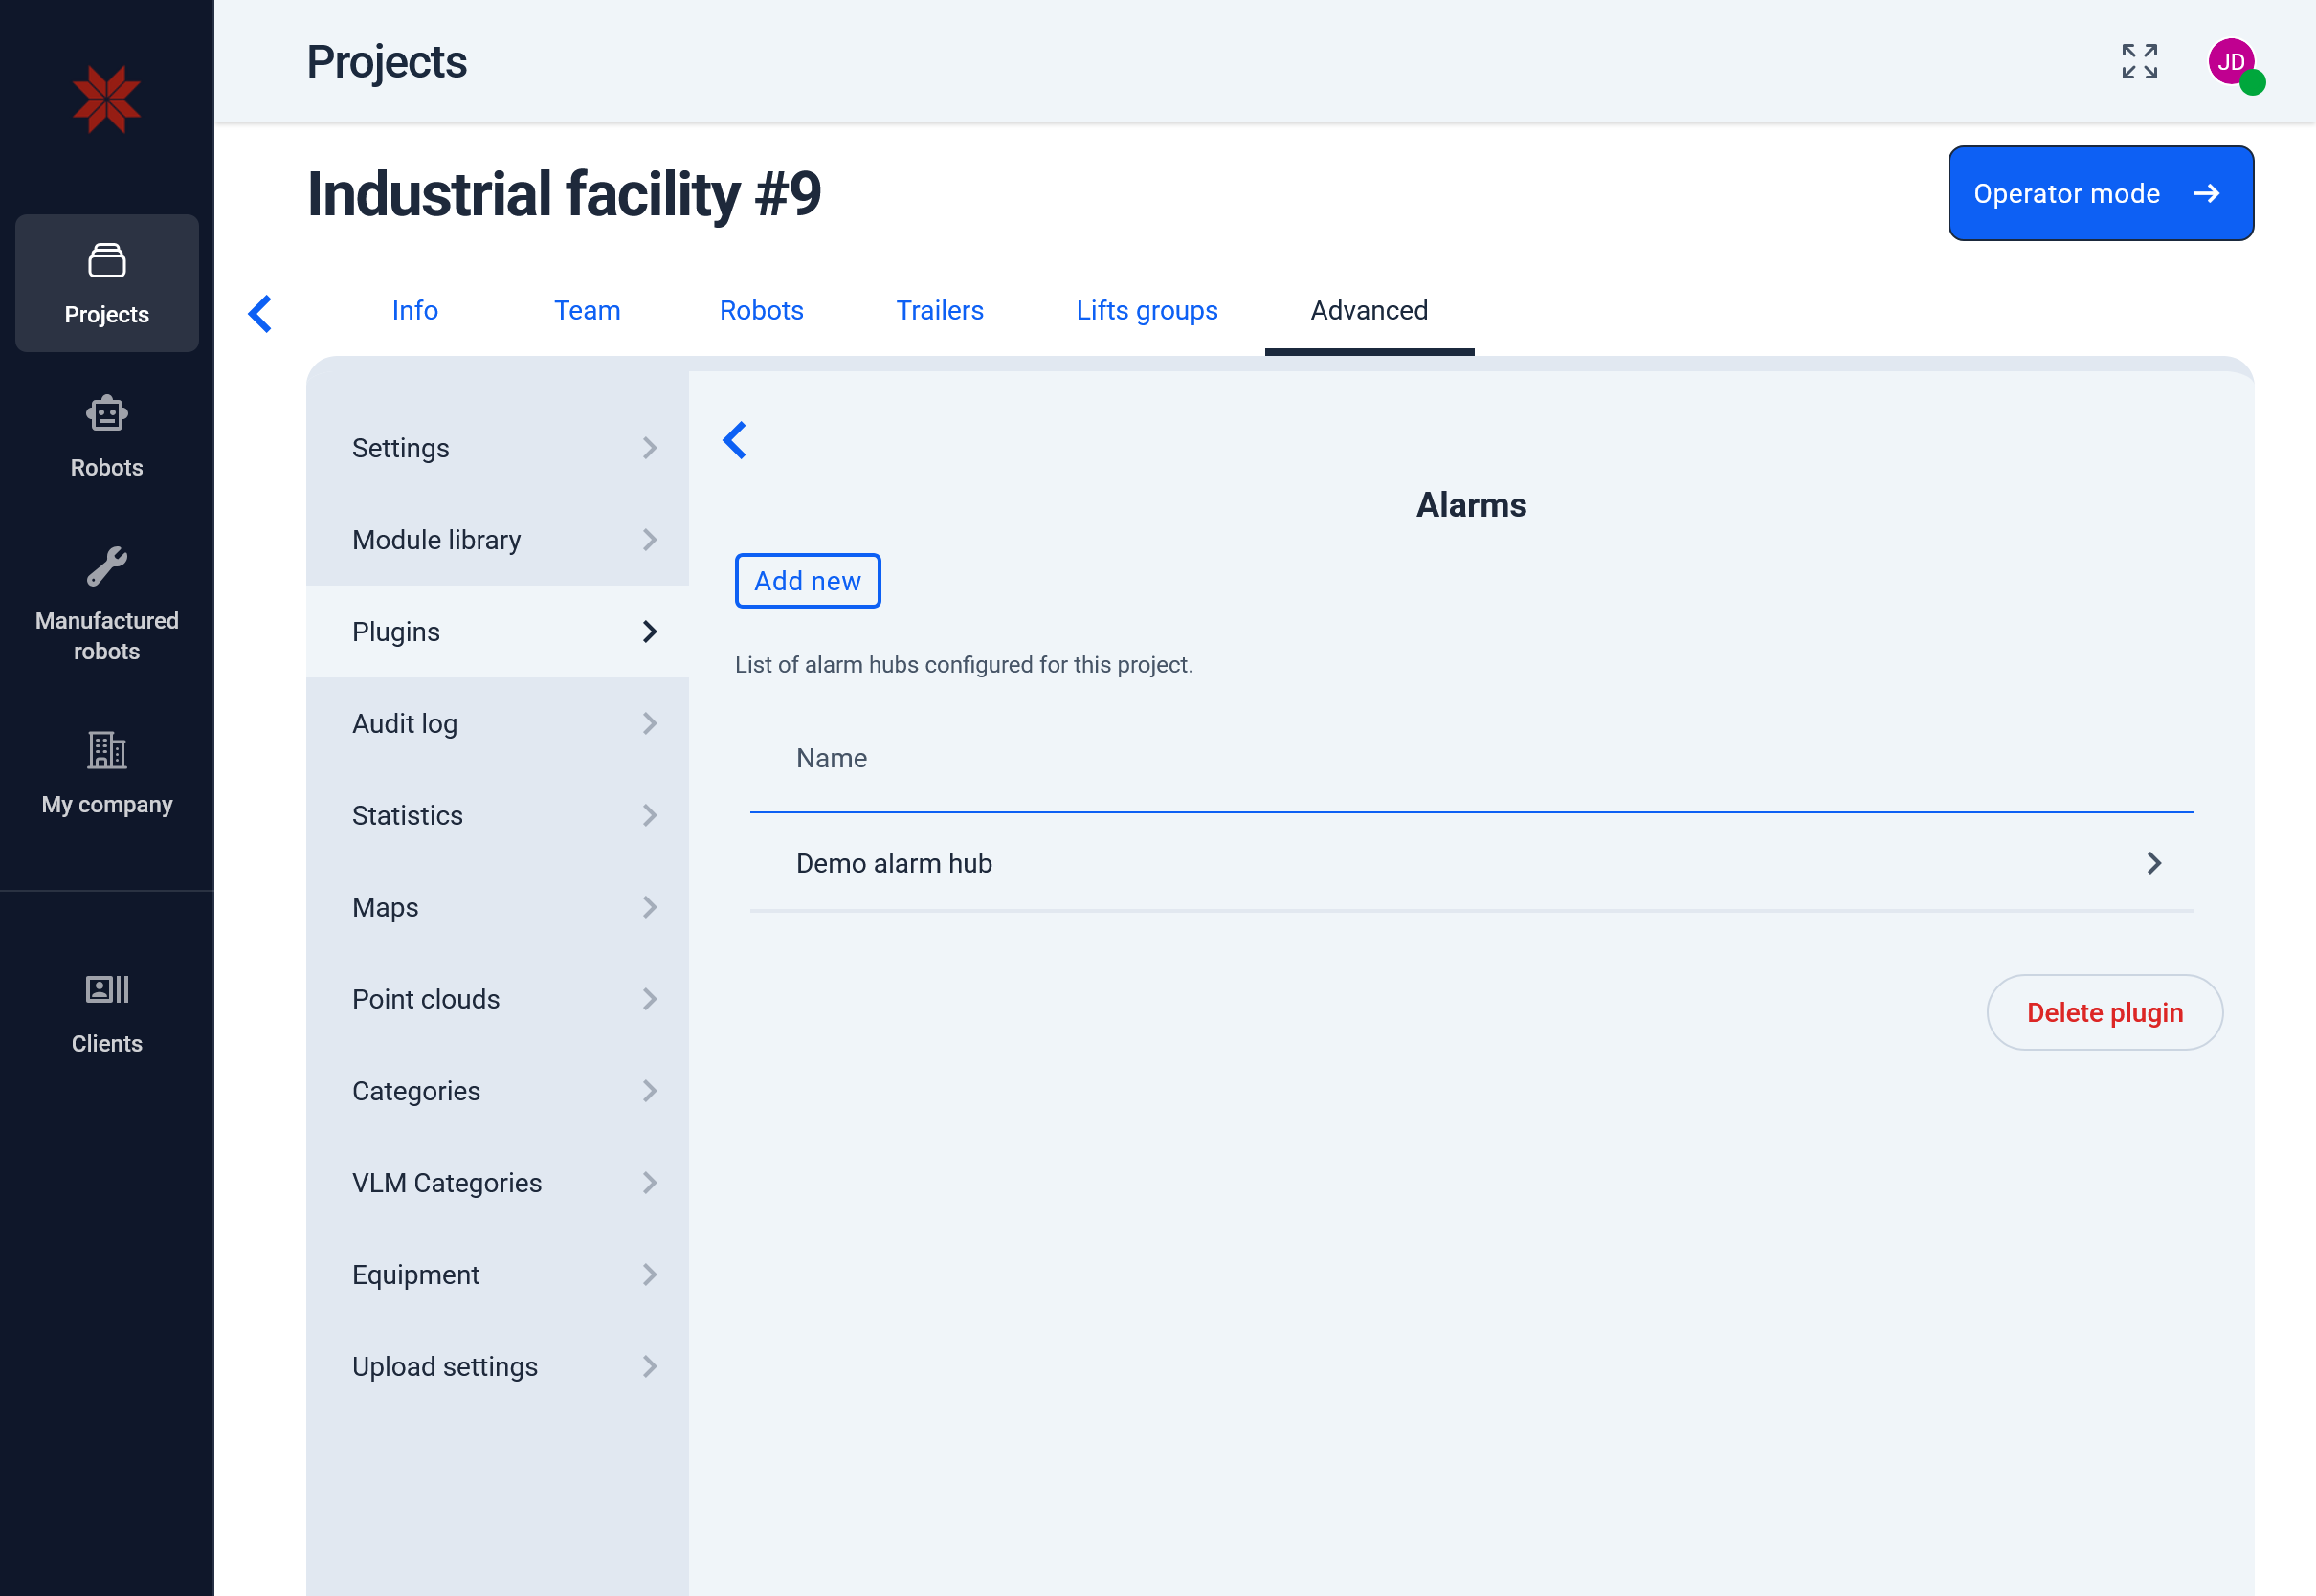
The plugin opens on the list of alarm hubs of the project. Click Add new.
-
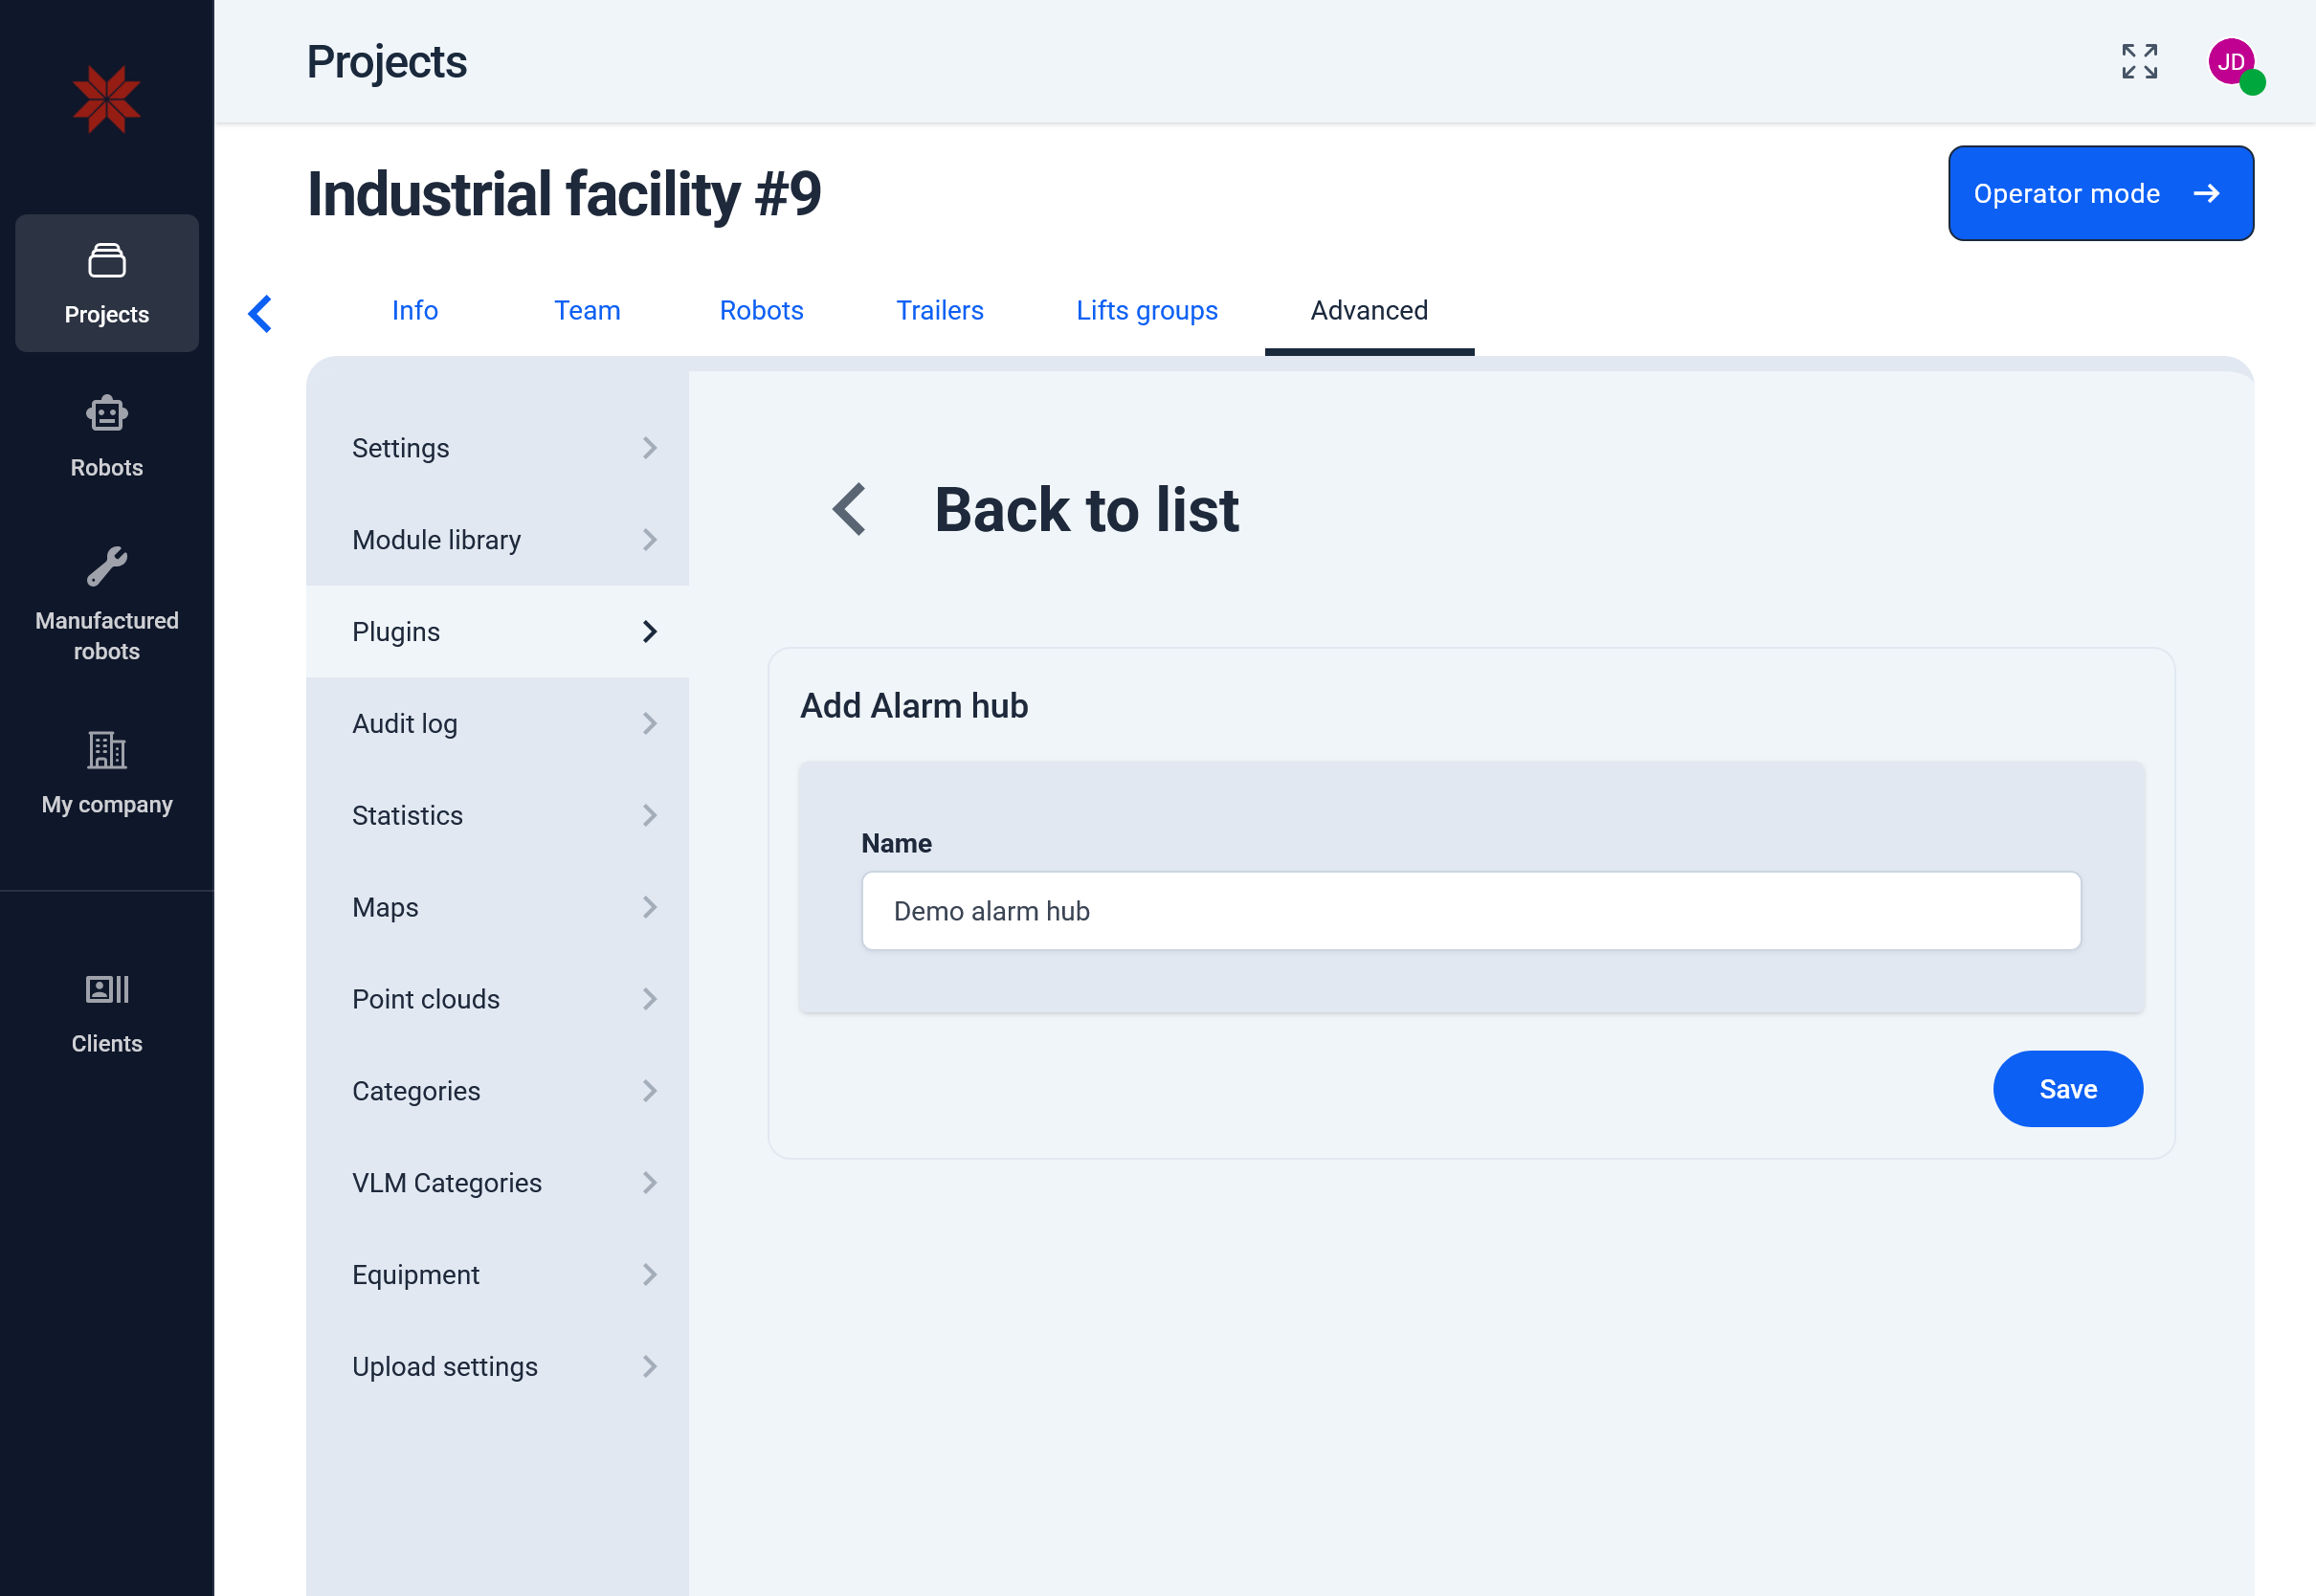
Give the hub a Name and click Save.
-
The hub appears in the list. Open it.
-
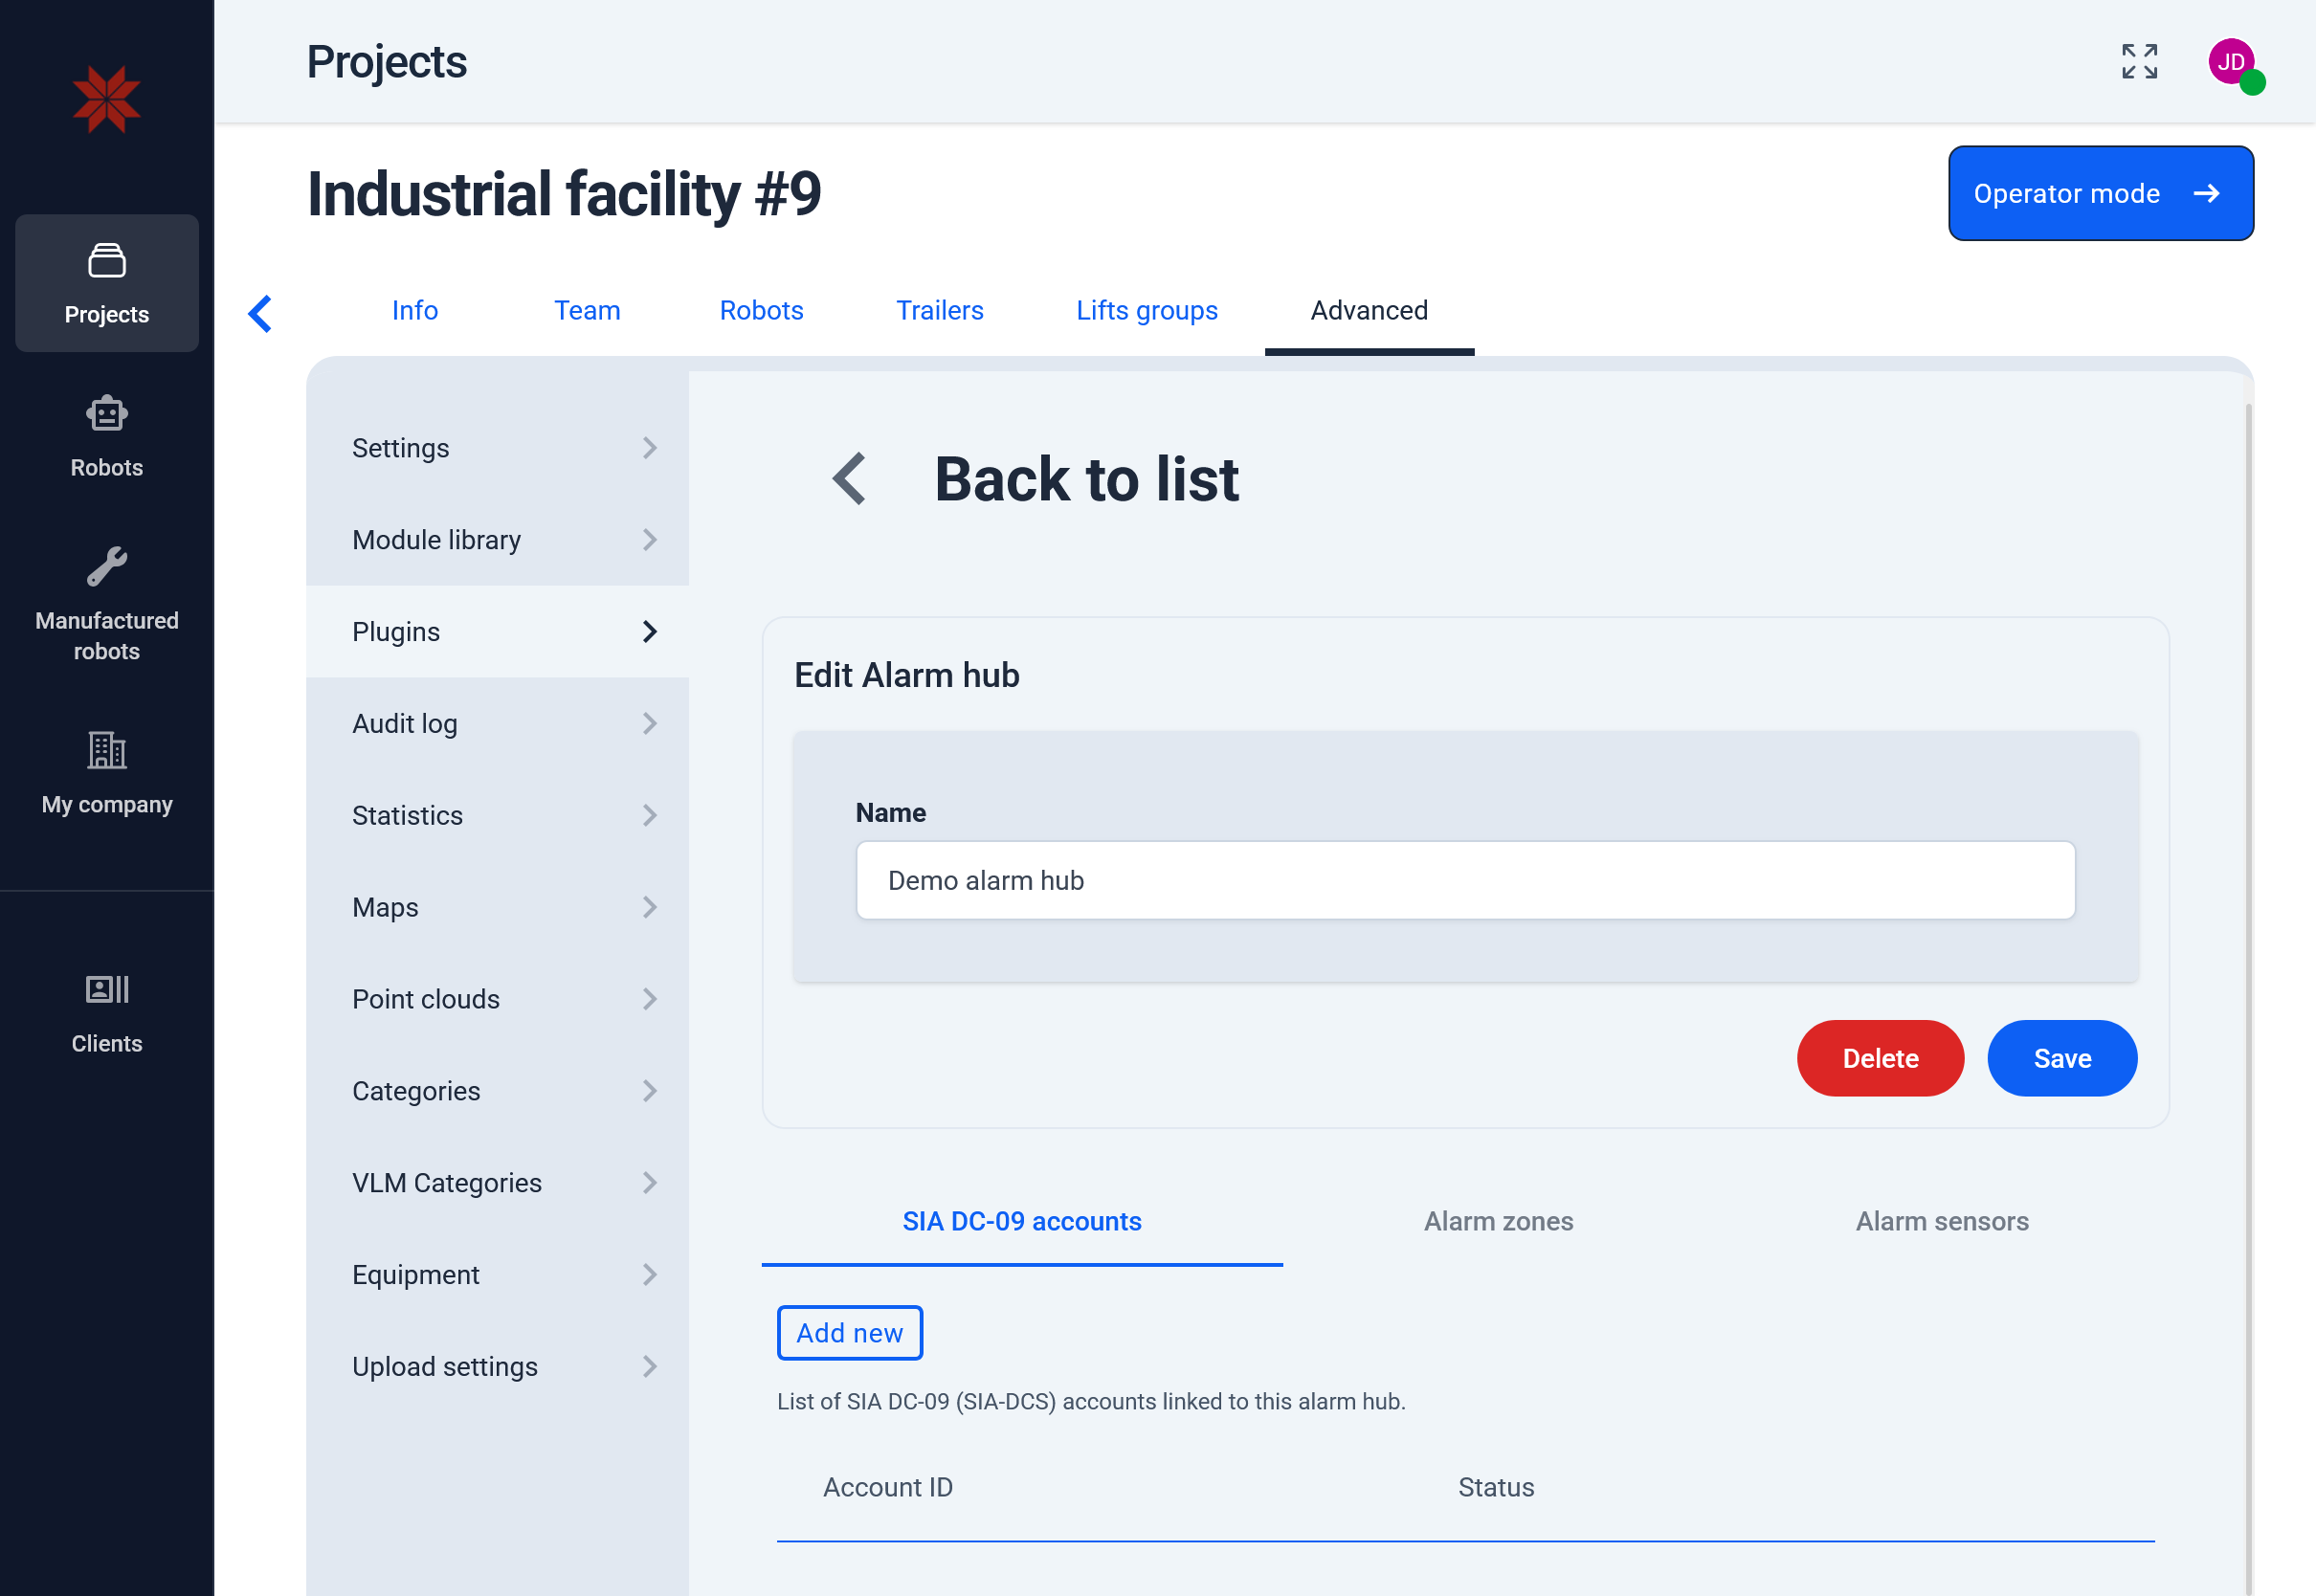
The hub page carries its Name, and below it three tabs: SIA DC-09 accounts, Alarm zones, Alarm sensors.
SIA DC-09 accounts
Each account is one reporting source. A single panel needs one account.
Several accounts on the same alarm hub are for the more complicated case where several physical event sources share one set of zone and sensor numbers: each source reports with its own account and encryption key, while their events all resolve against the zones and sensors of that hub.
-
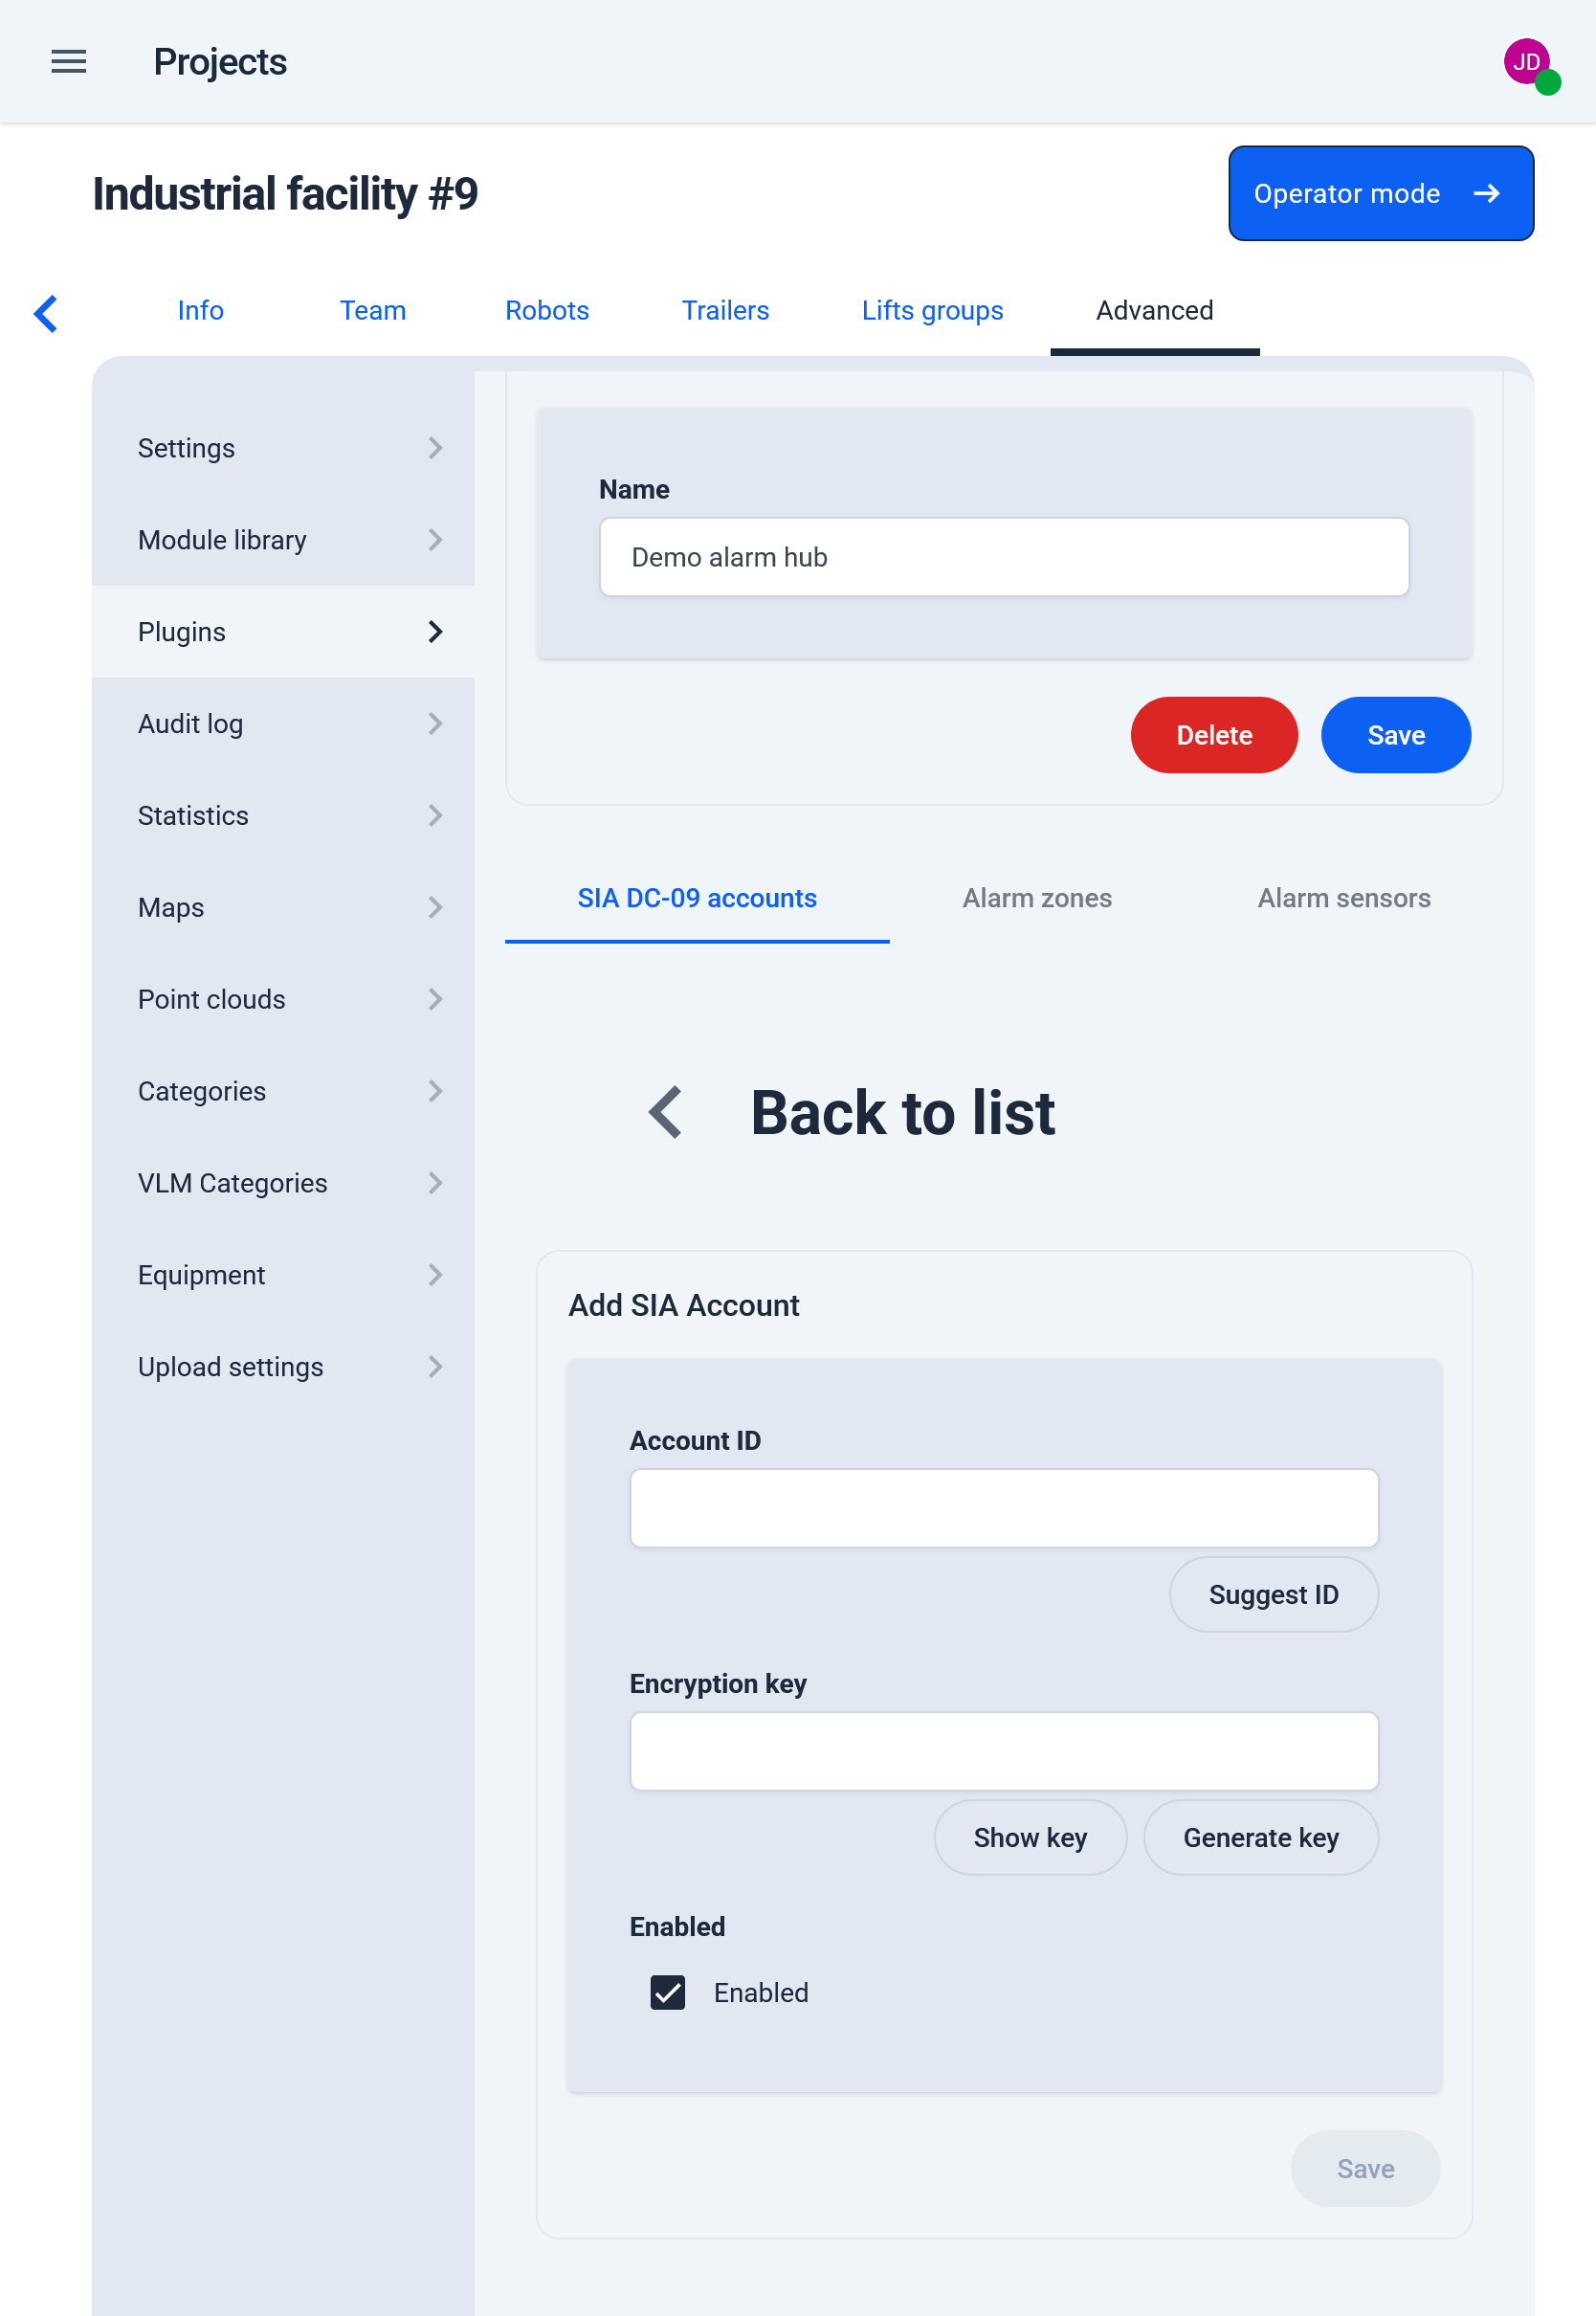
On the SIA DC-09 accounts tab, click Add new.
-
Account ID — 3–16 uppercase hexadecimal characters. Click Suggest ID to have Karelics propose a free one.
-
Encryption key — exactly 32 uppercase hexadecimal characters (a 128-bit AES key). Click Generate key to create one, and Show key / Hide key to reveal or mask it.
-
Keep Enabled checked, then click Save.
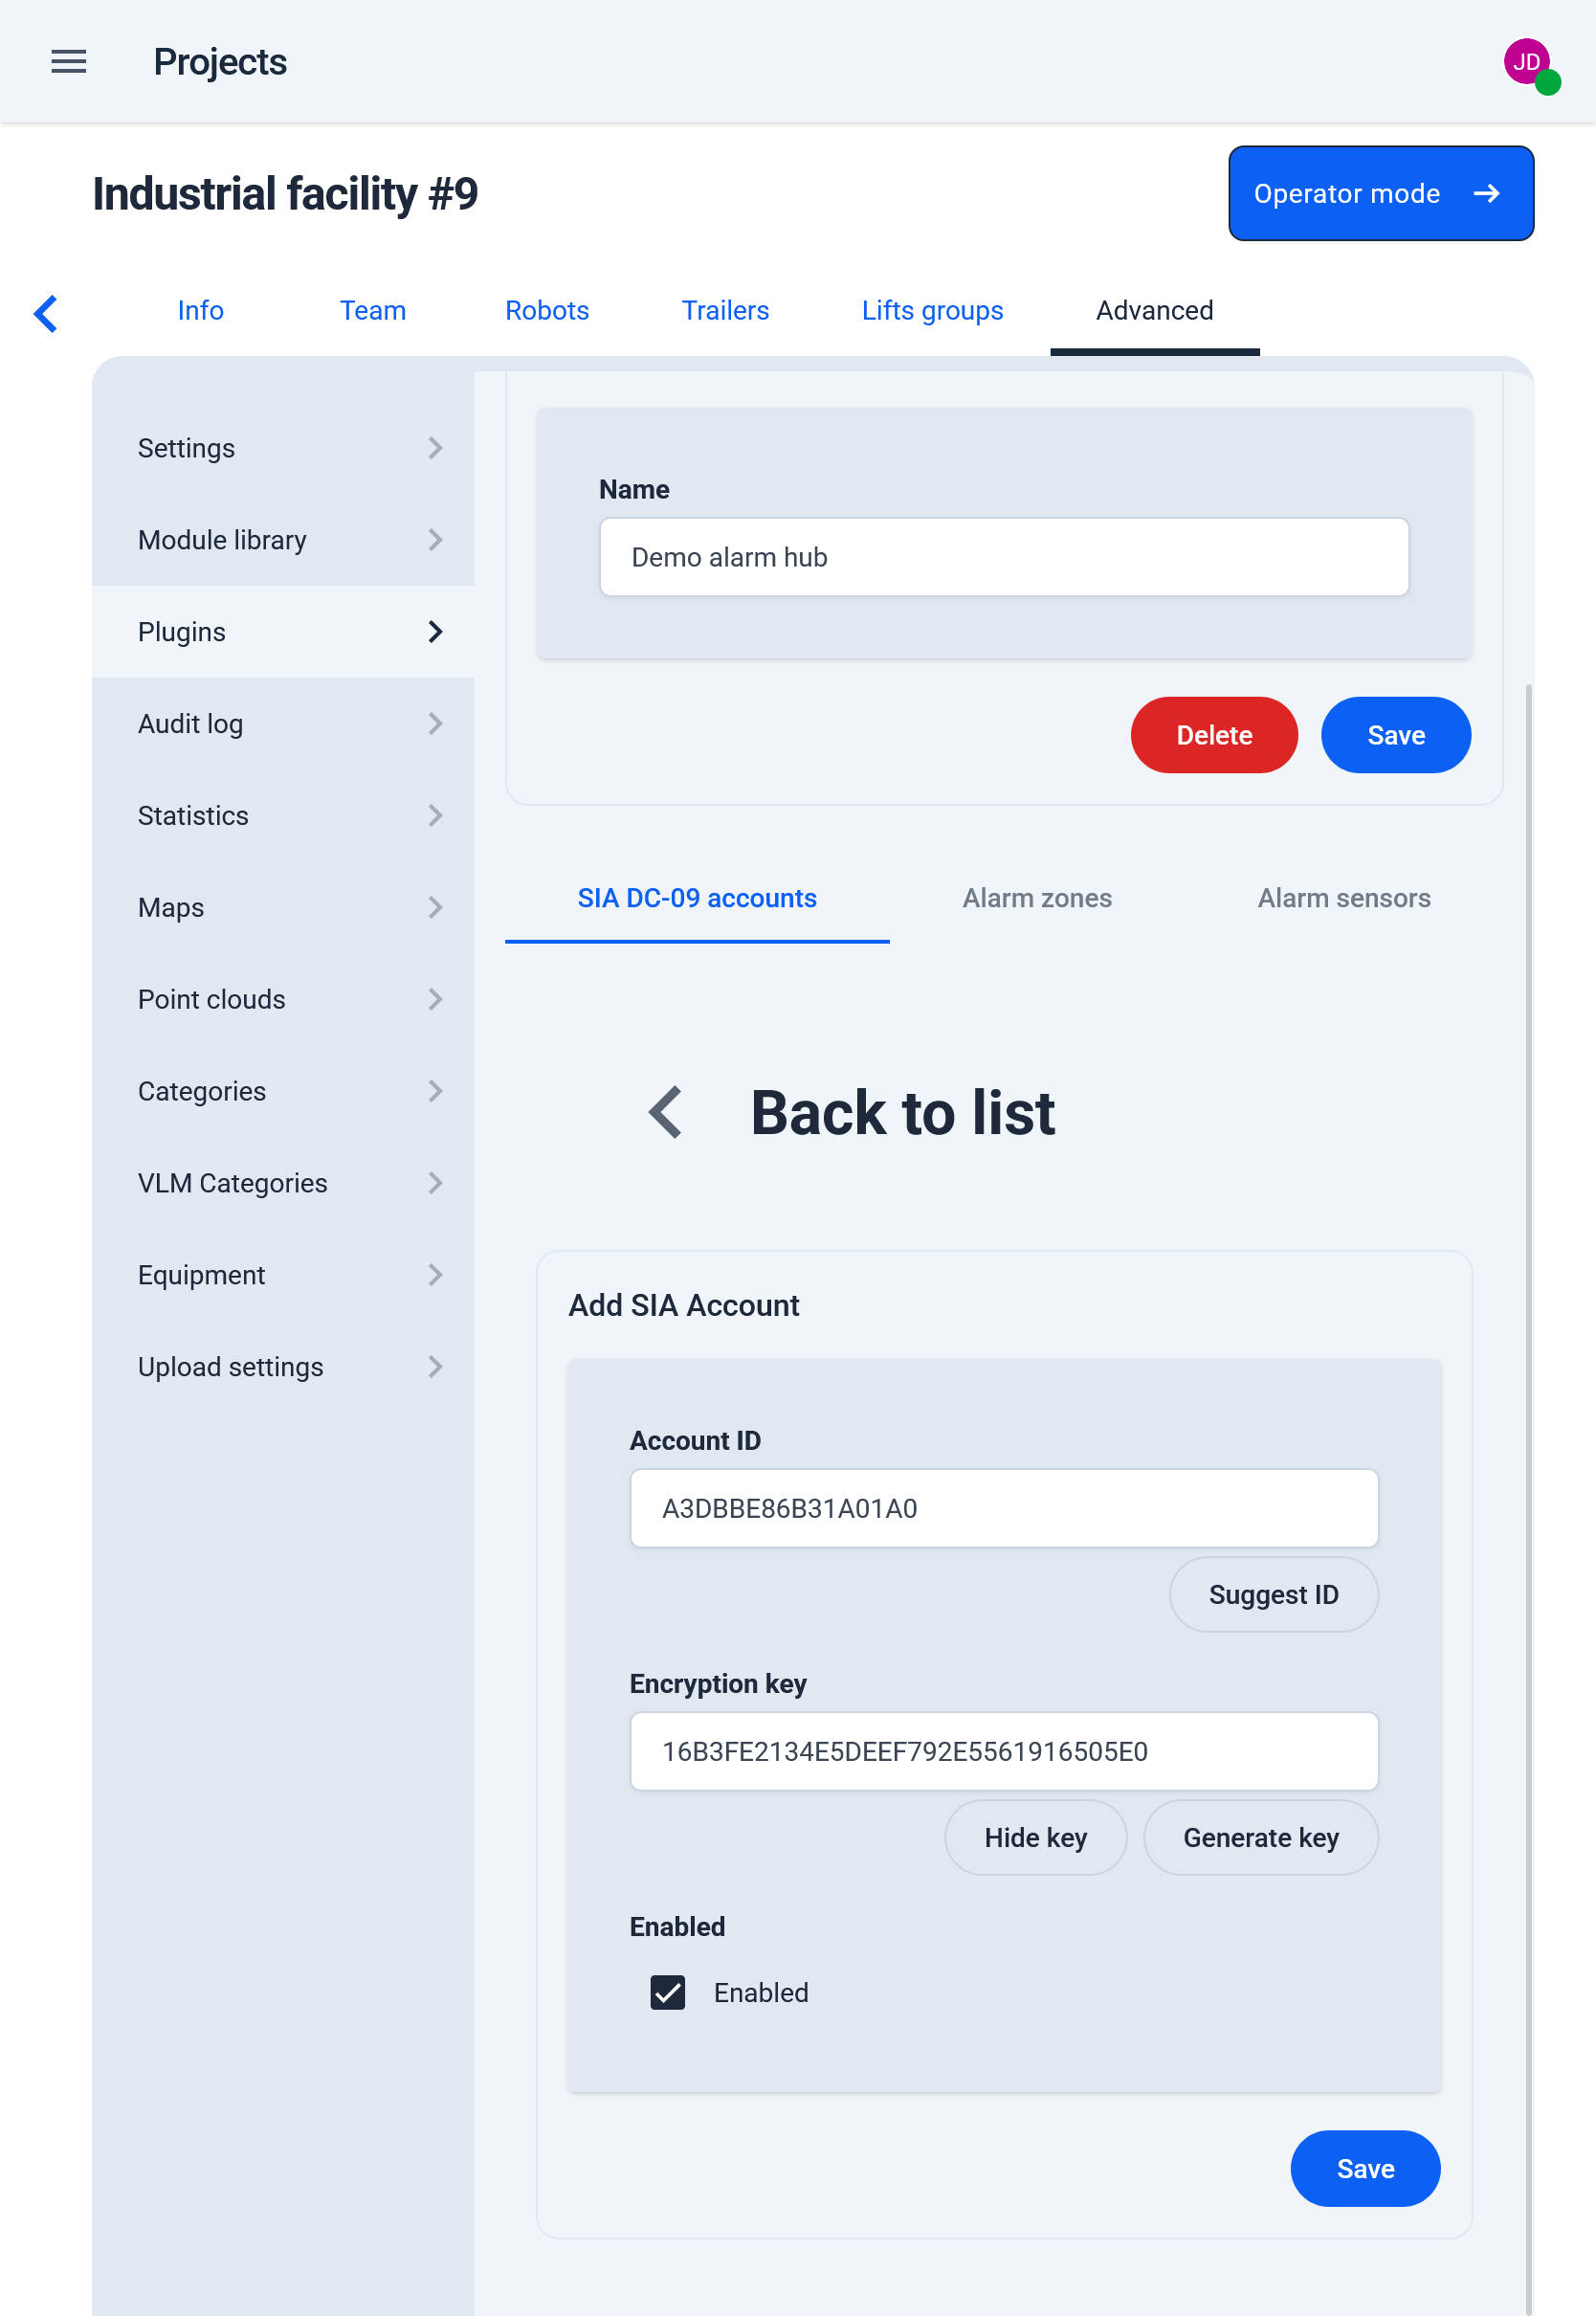
-
Enter the same account ID and key on the alarm panel, and point its reporting to the Karelics receiver:
Parameter Value Server address karelics.cloudPort 5066Transport TCP
The encryption key protects every alarm message from the site. Copy it to the panel over a trusted channel, do not reuse it between hubs, and generate a new one if it has been exposed.
The saved account appears in the list of the hub with a status indicator. A new account stays Offline until the panel reports for the first time.
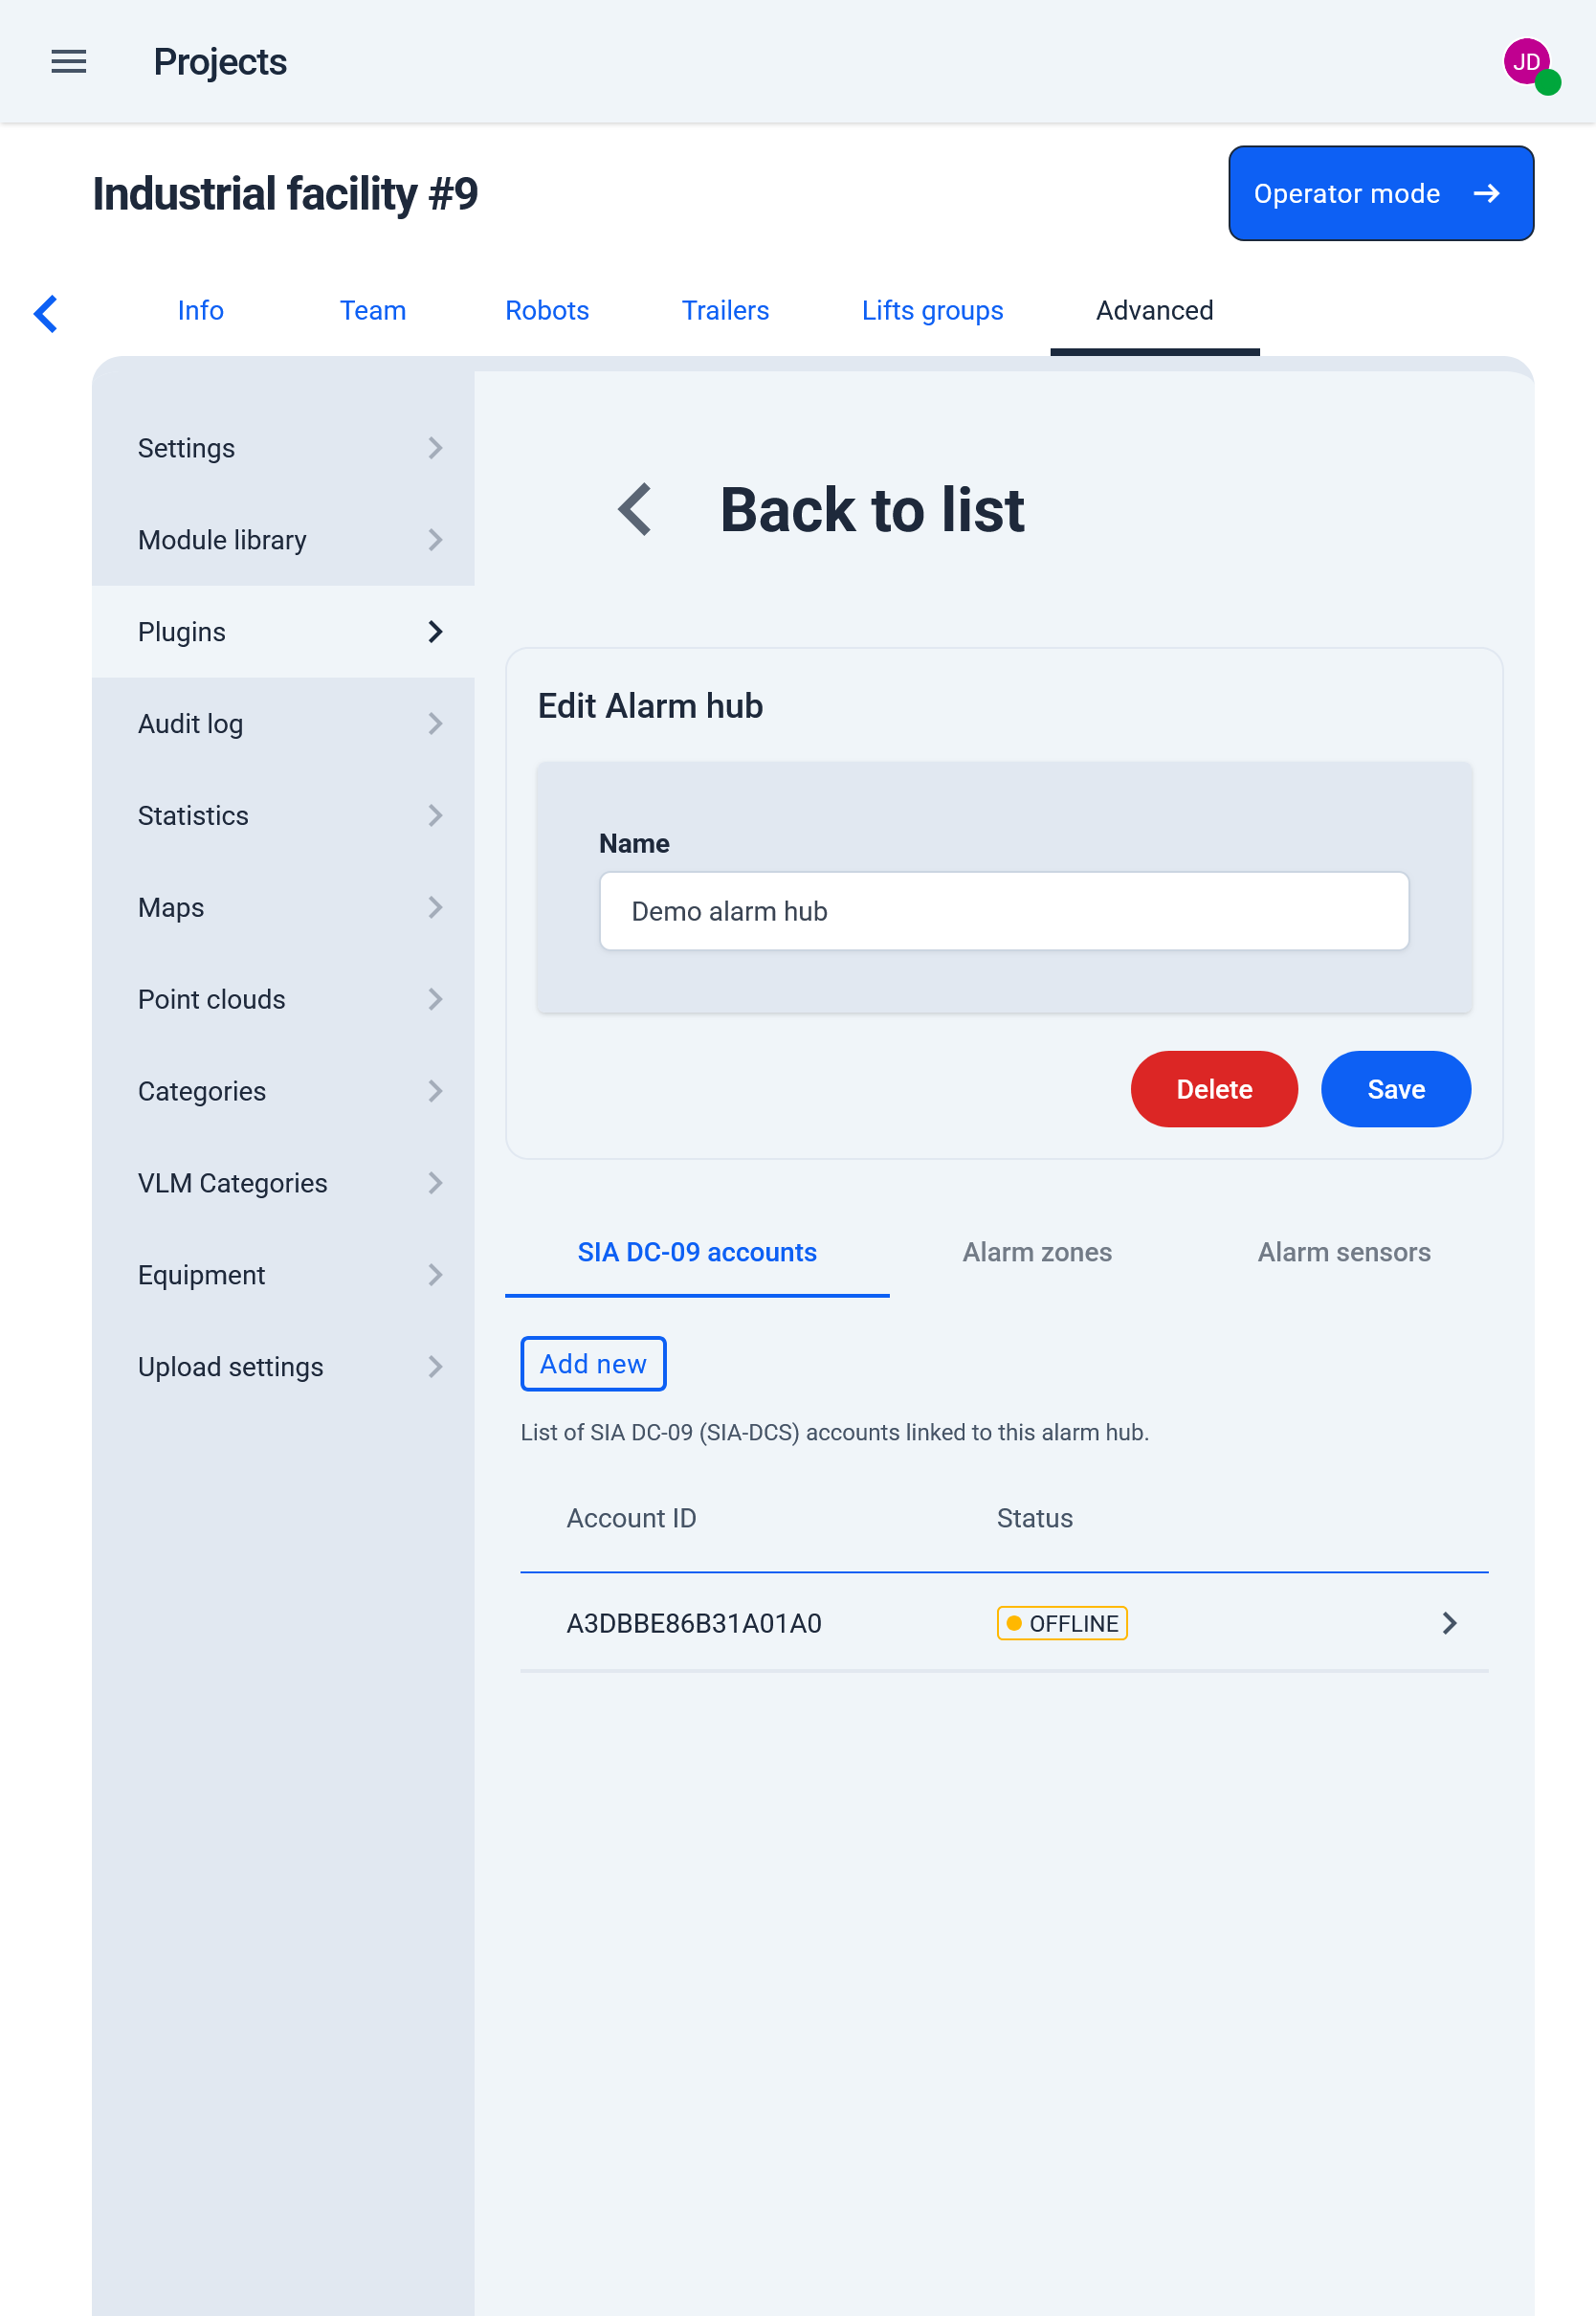
- Online — the account is enabled and reporting.
- Offline — enabled but not reporting (no heartbeat received).
- Disabled — the Enabled checkbox is cleared; the account is ignored.
Dahua alarm hub shows an example configuration of the panel side: where these values are entered on a Dahua wireless alarm hub, and how the connection is tested.
📄️ Dahua alarm hub
Alarm zones and alarm sensors
These lists fill themselves. Whenever an alarm event arrives with a zone or sensor identifier Karelics has not seen on that hub before, a record is created for it and flagged Auto created. Nothing has to be entered up front.
What remains is naming them. On the Alarm zones and Alarm sensors tabs, open a record and edit:
- External ID — the zone or sensor number used by the panel. This is what Karelics matches on, so change it only if the panel numbering changed.
- Name — readable name shown in events, filters, and trigger rules. Auto-created records arrive without one, and bare numbers make trigger rules hard to read.
- Auto created — marks where the record came from.
Records can also be added by hand before any event, with Add new, if the panel numbering is already known.
Create alarm triggers
Alarm triggers are configured with the missions, not in the plugin. A trigger pairs a set of rules with one mission: when an event matches a rule, that mission is launched.
The mission has to exist first — a trigger selects one, it does not create one. Plan and save the mission that answers the alarm before adding the trigger.
Navigate to the following path:
Operator Hub → Current Project → Workspace → Missions
Open a mission type — for example Video surveillance. While the Alarms plugin is enabled, its panel has an Alarm triggers button next to the other actions of that type, and the missions of the type are listed below under Saved missions.
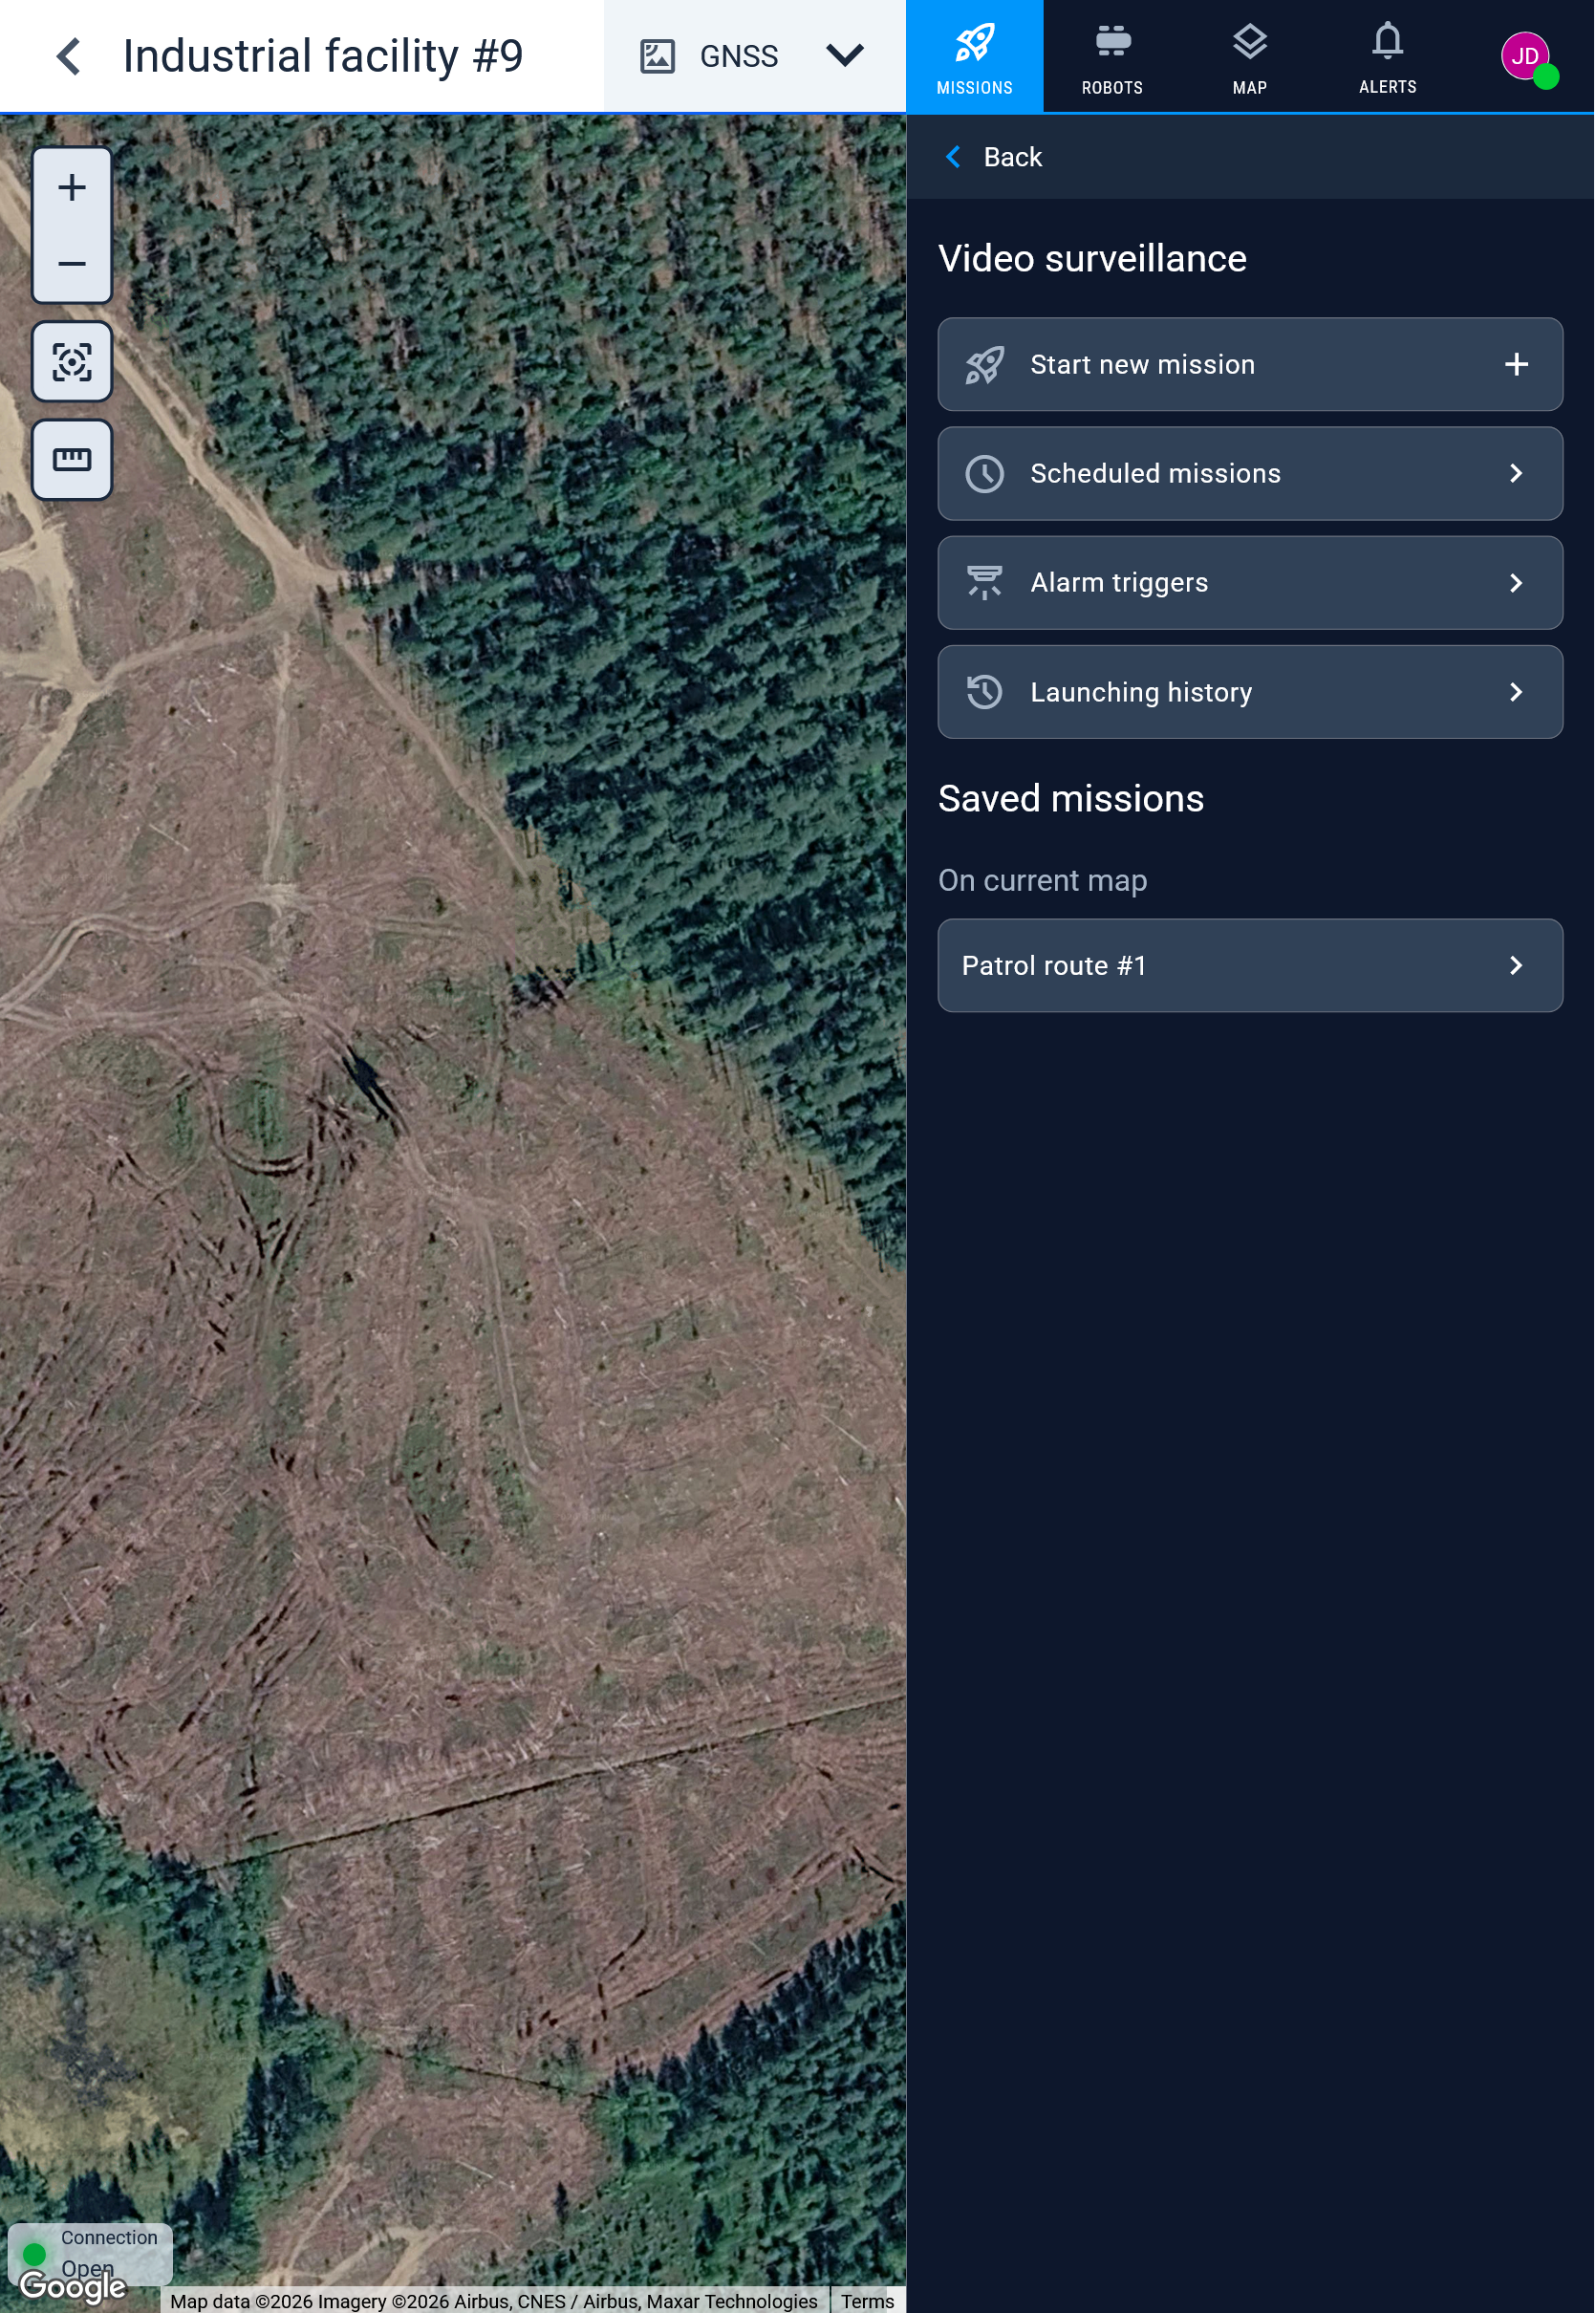
Alarm triggers opens the triggers of that mission type. Click Add alarm trigger to create one.
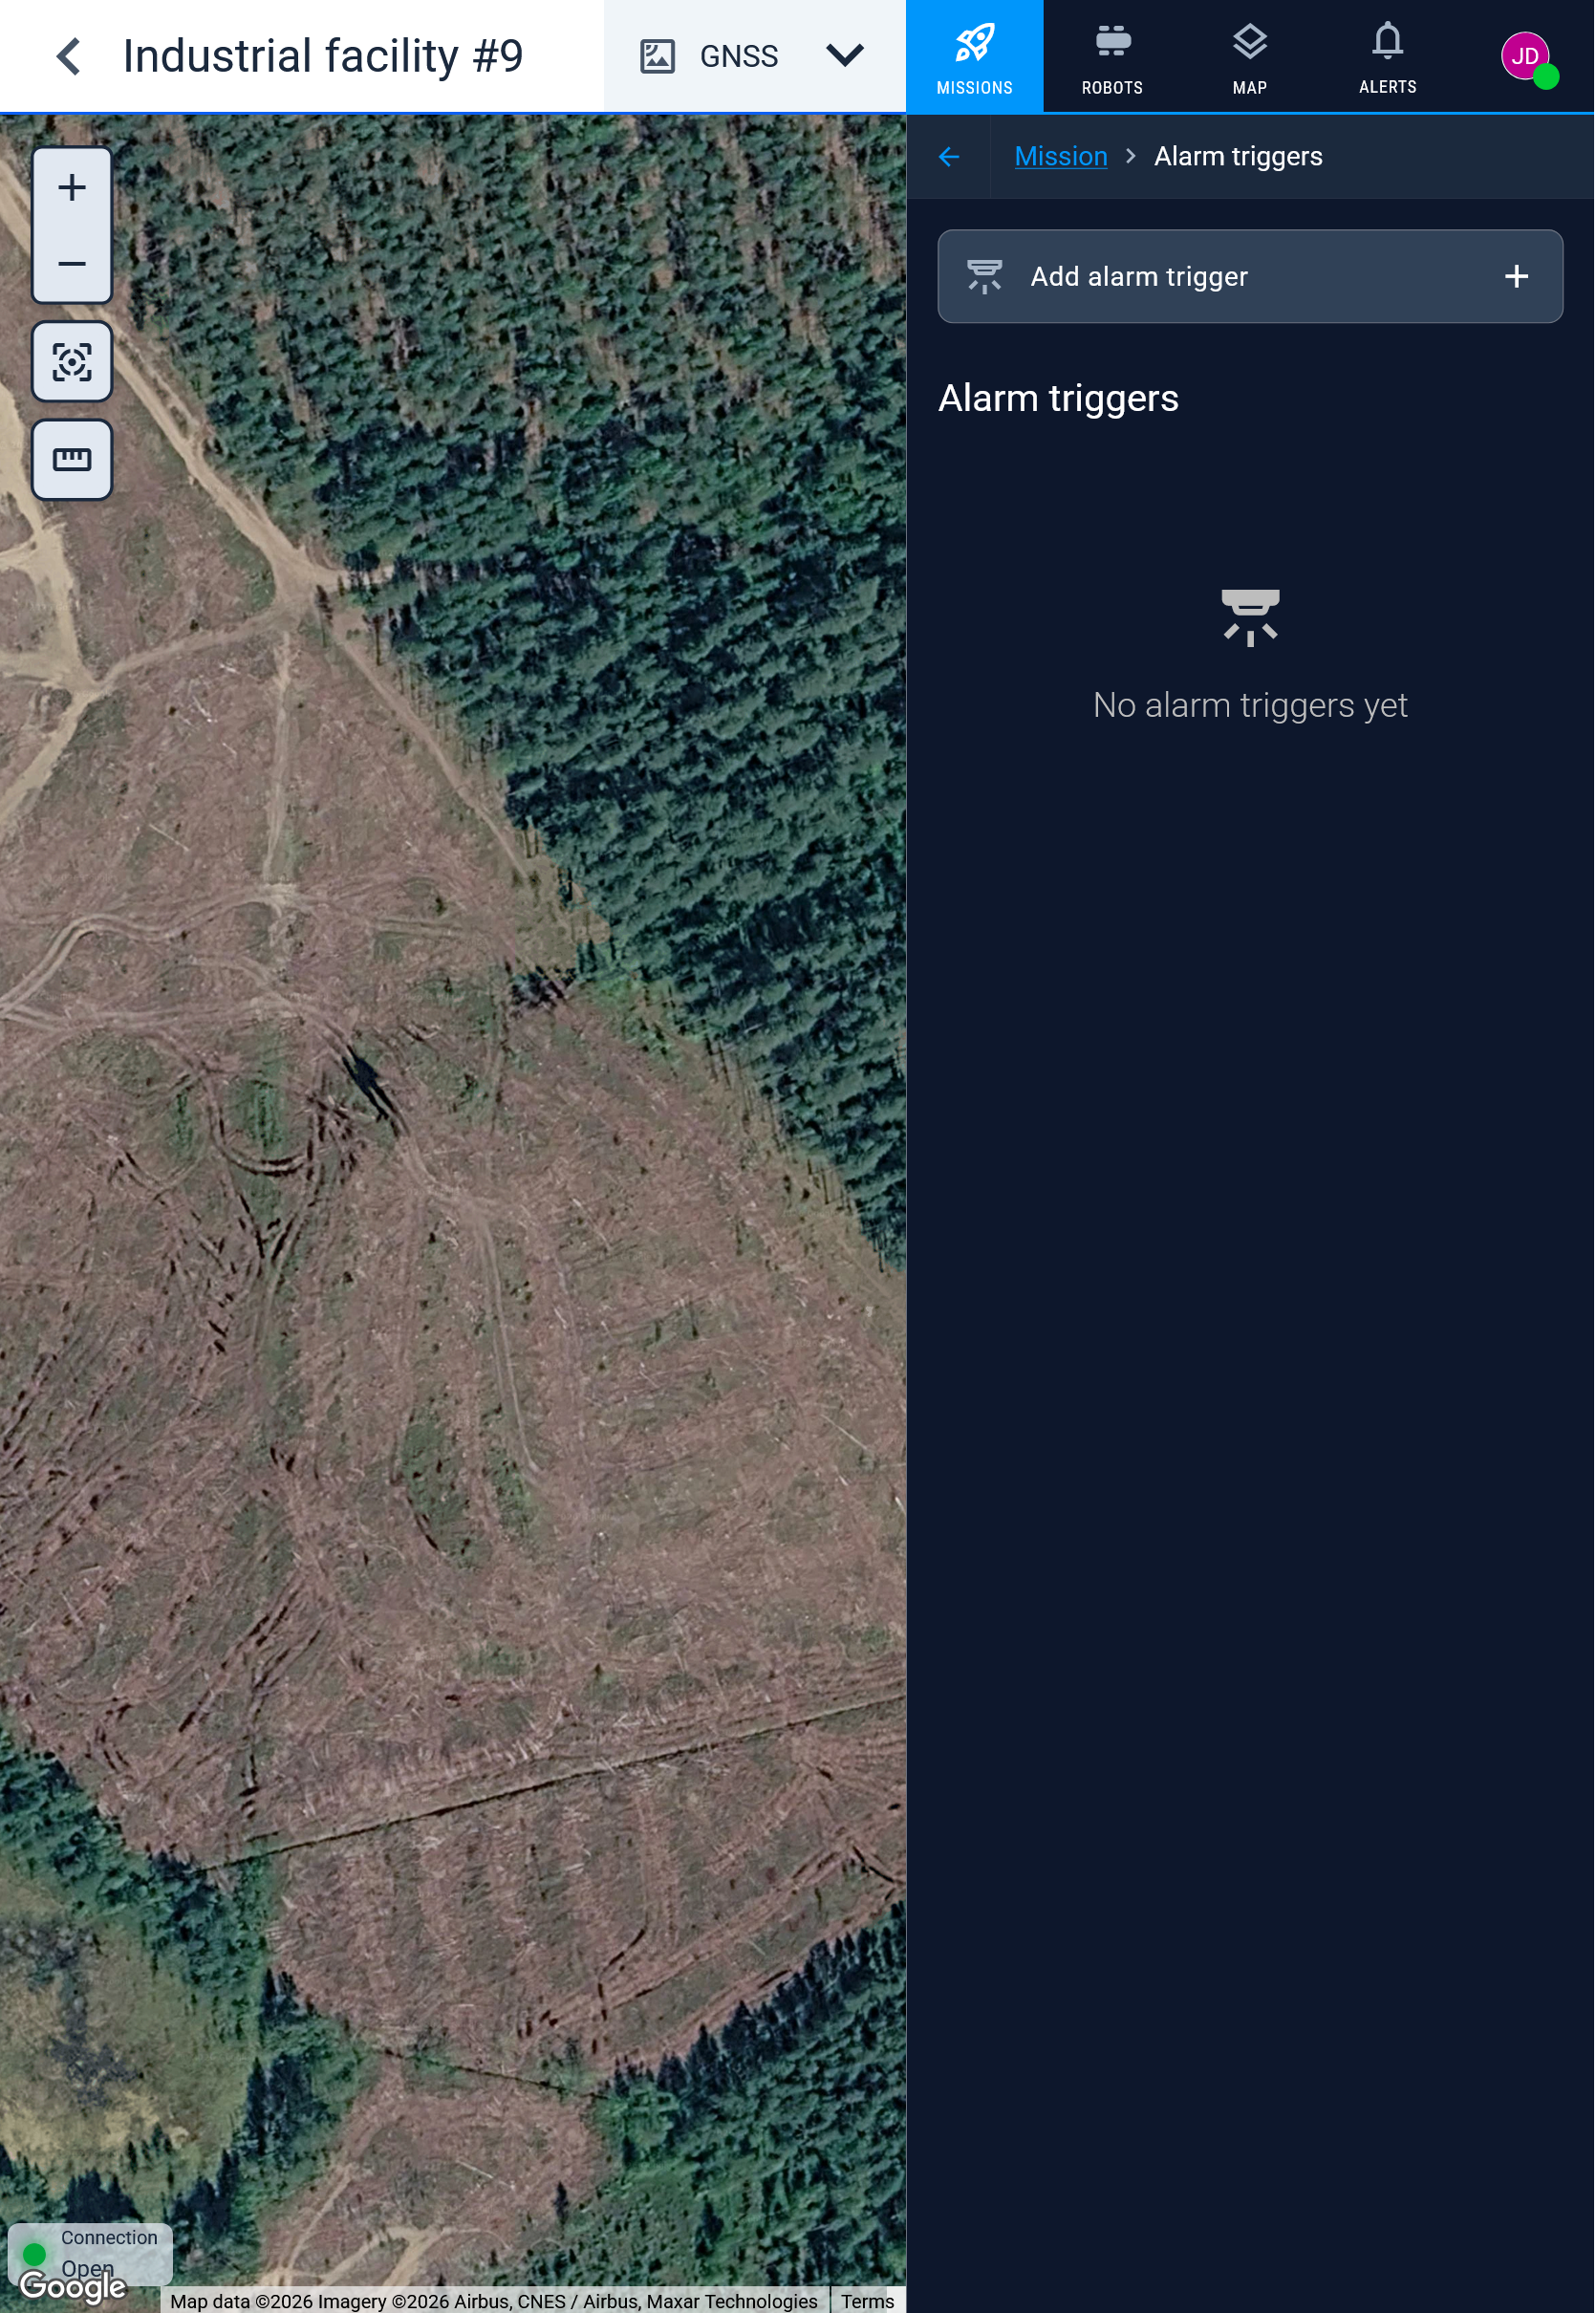
-
Mission — the mission to launch, chosen among the missions of this type.
-
Enabled — toggle the trigger on or off without deleting it.
-
Trigger rules — click Add rule for each condition:
- Event type — Burglary alarm triggered or Manual alarm triggered. Only these two launch missions; the other event types are recorded but cannot be used in a rule.
- Alarm Zone — a specific zone, or All zones (default).
- Alarm Sensor — a specific sensor, or All sensors (default).
Rules are combined with OR: the mission launches when any rule matches. Within one rule, the selected sensor and zone must belong to the same alarm hub.
-
Robots — select the robots allowed to run this mission. Use Select all to allow every robot in the project. The mission runs on one available robot from this list.
-
Click Save.
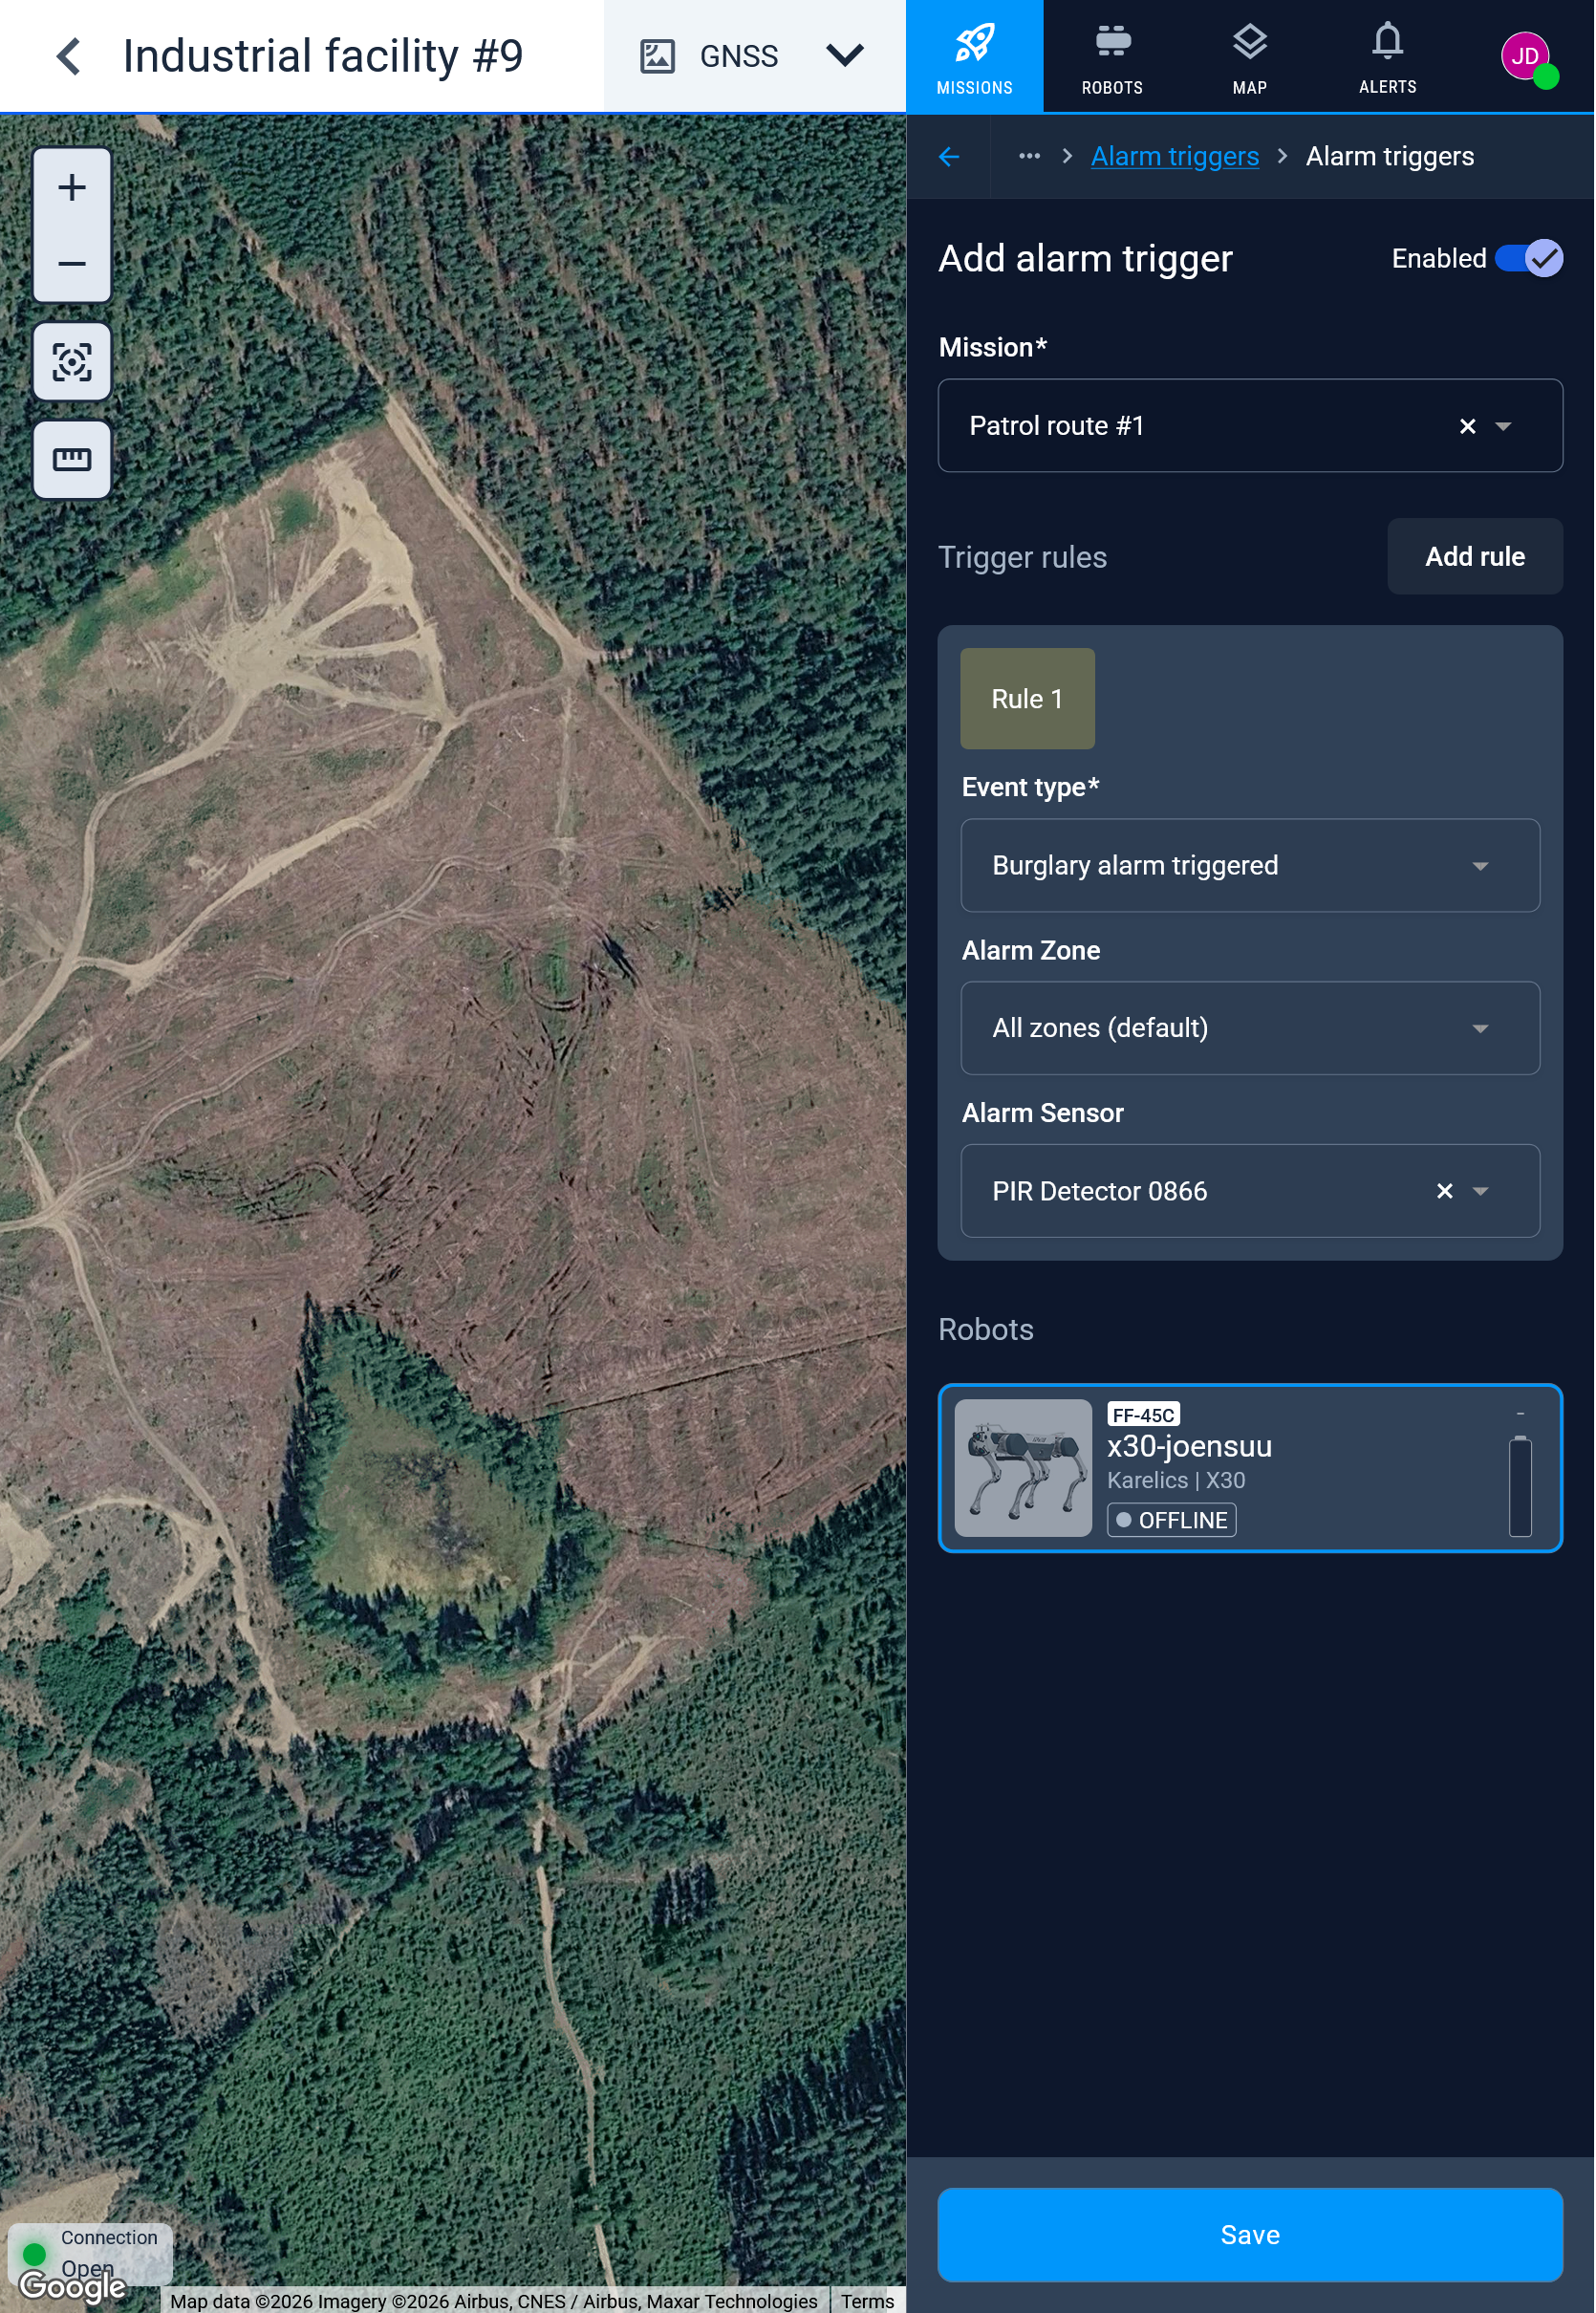
Start with a narrow rule — one event type, one zone — and widen it after the first successful test. A rule left on All zones + All sensors launches the mission on every event of that type from every hub in the project.
Opening a trigger shows its rules, its allowed robots, and under Last executions the missions it has already launched.
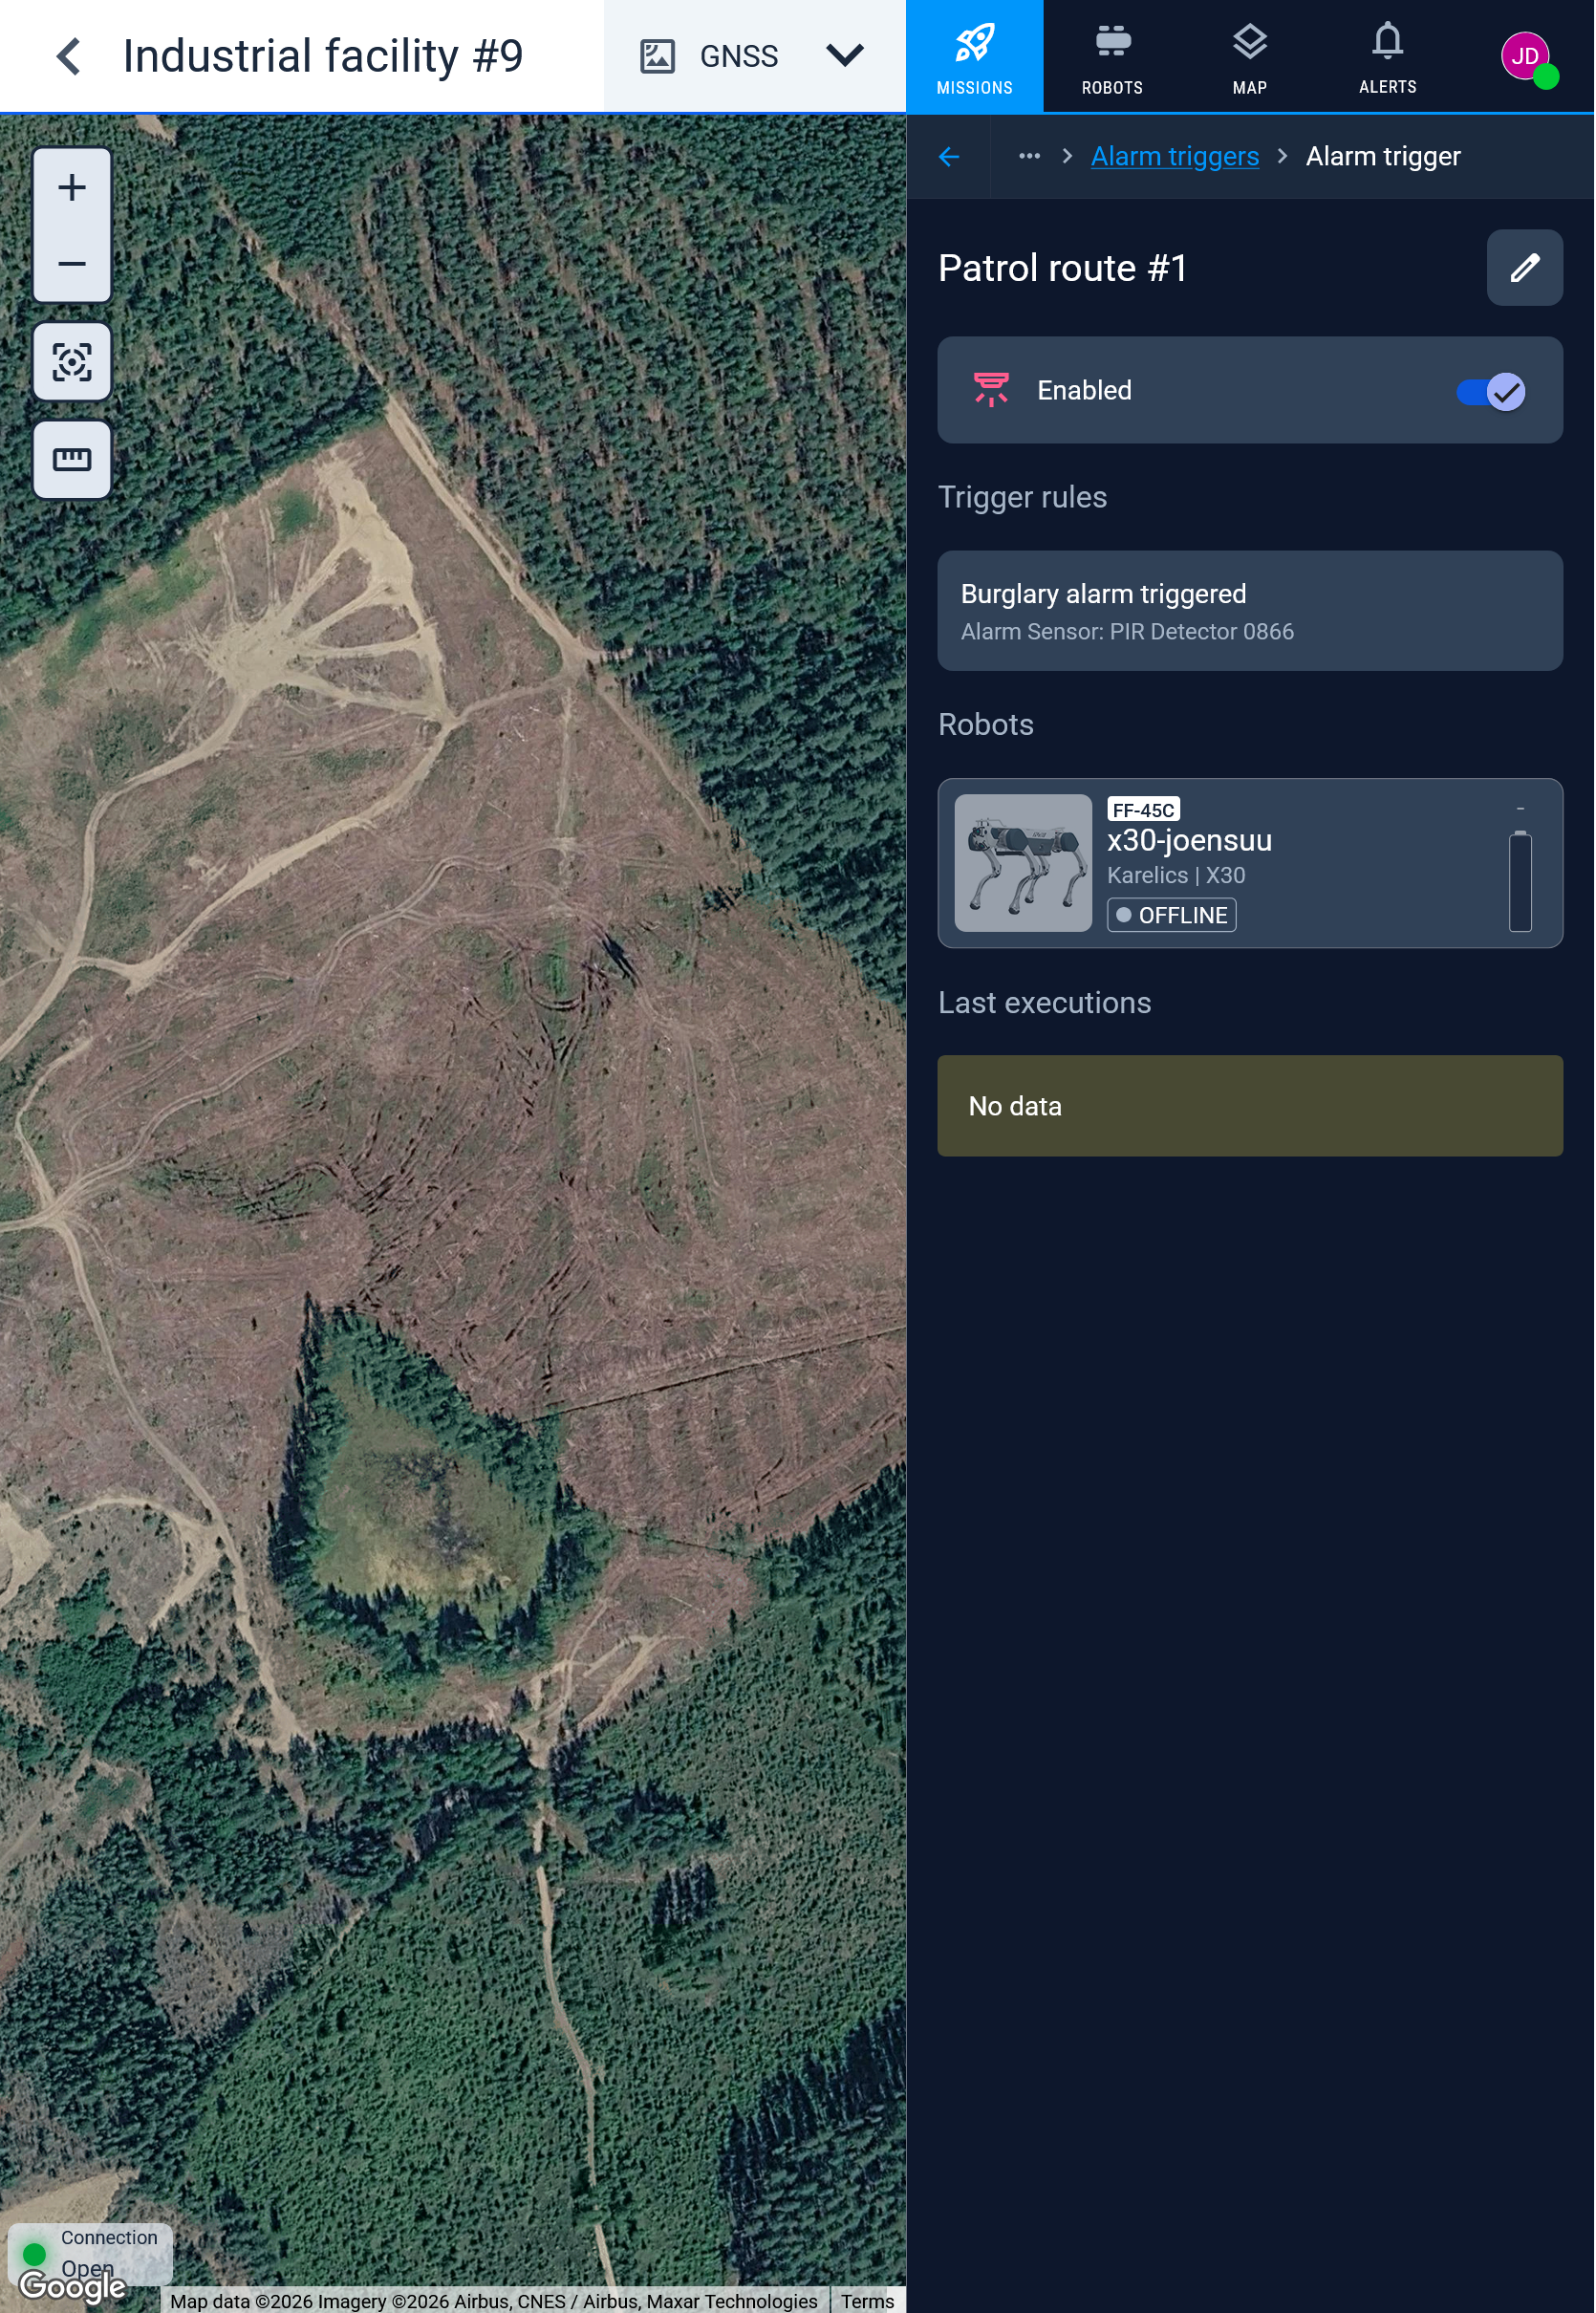
A single mission carries the same controls: its page lists the alarm triggers pointing at it and has its own Add alarm trigger button, which opens the same form with the mission already filled in.
Planning the missions
A trigger launches its mission exactly as it was planned. Karelics does not know where a sensor physically sits, and nothing from the event — zone, sensor, event type — is passed into the mission, so one mission cannot adapt itself to the detector that fired. A response that visits the alarmed area therefore has to be built into the mission itself.
That does not mean one mission per detector. A mission that covers a group of detectors standing close together — the ones likely to fire in the same incident — answers any alarm in that group with a single trigger, and keeps the number of missions competing for robots small.
Overlapping alarms
Repeated events do not stack up. While a triggered mission is still running, further matching events are recorded as alarm events but start nothing — the run in progress continues undisturbed.
Only one mission at a time can hold a robot. If a second alarm triggers a different mission while the first one is still running on the only robot they share, that second mission fails and is reported as Error — the alarm gets no robot response at all.
Group nearby detectors into one mission, and spread the missions across robots wherever alarms can overlap. Check the launching history after simultaneous alarms in different areas.
Monitor alarms in Operator Hub
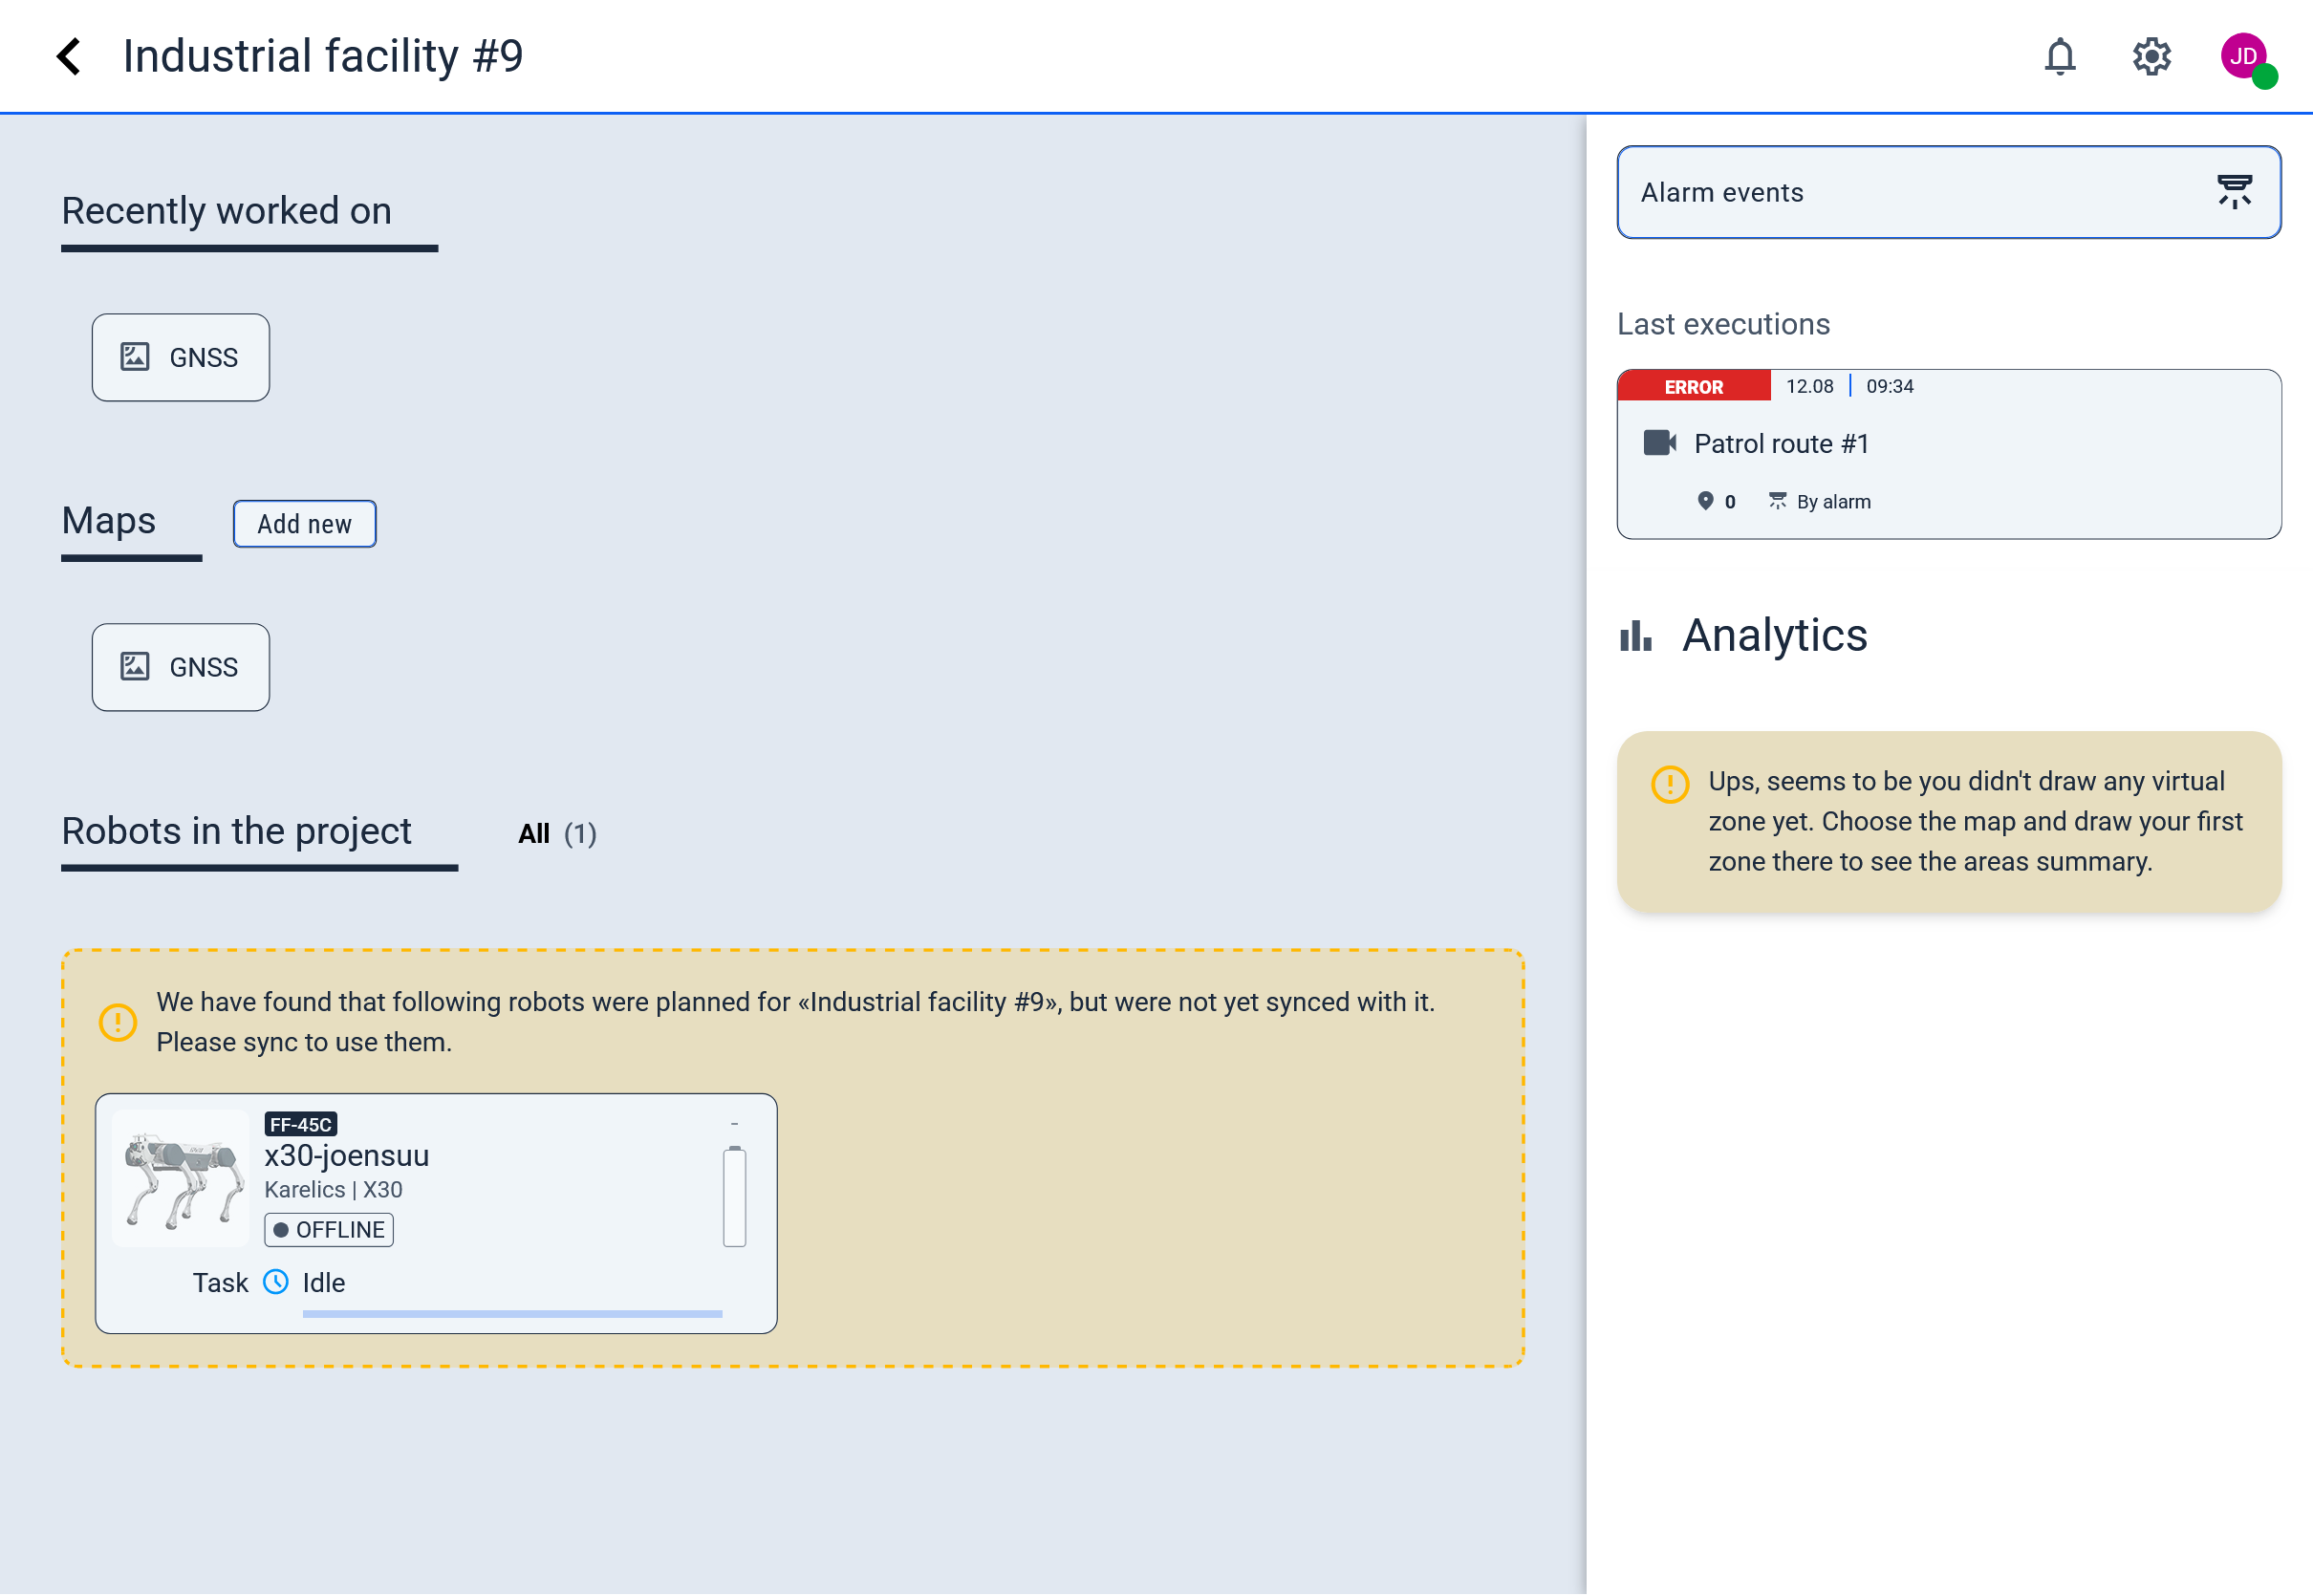
While the plugin is enabled, the project page carries an Alarm events button, and missions started by an alarm are marked By alarm in Last executions.
The Alarm events page shows:
- Hub status cards — status per alarm hub and the time of its last event:
- Online — every enabled SIA account of the hub is reporting.
- Unhealthy — only some accounts are reporting. The tooltip shows how many, for example
1/2 SIA accounts active. - Offline — no account is reporting, or the hub has no enabled accounts.
- Alarm events — the live event list, newest first, with date, type, alarm zone, alarm sensor, and alarm hub of every event. Triggered alarms are highlighted in red.
- Filters — by event type, alarm zone, and alarm sensor.
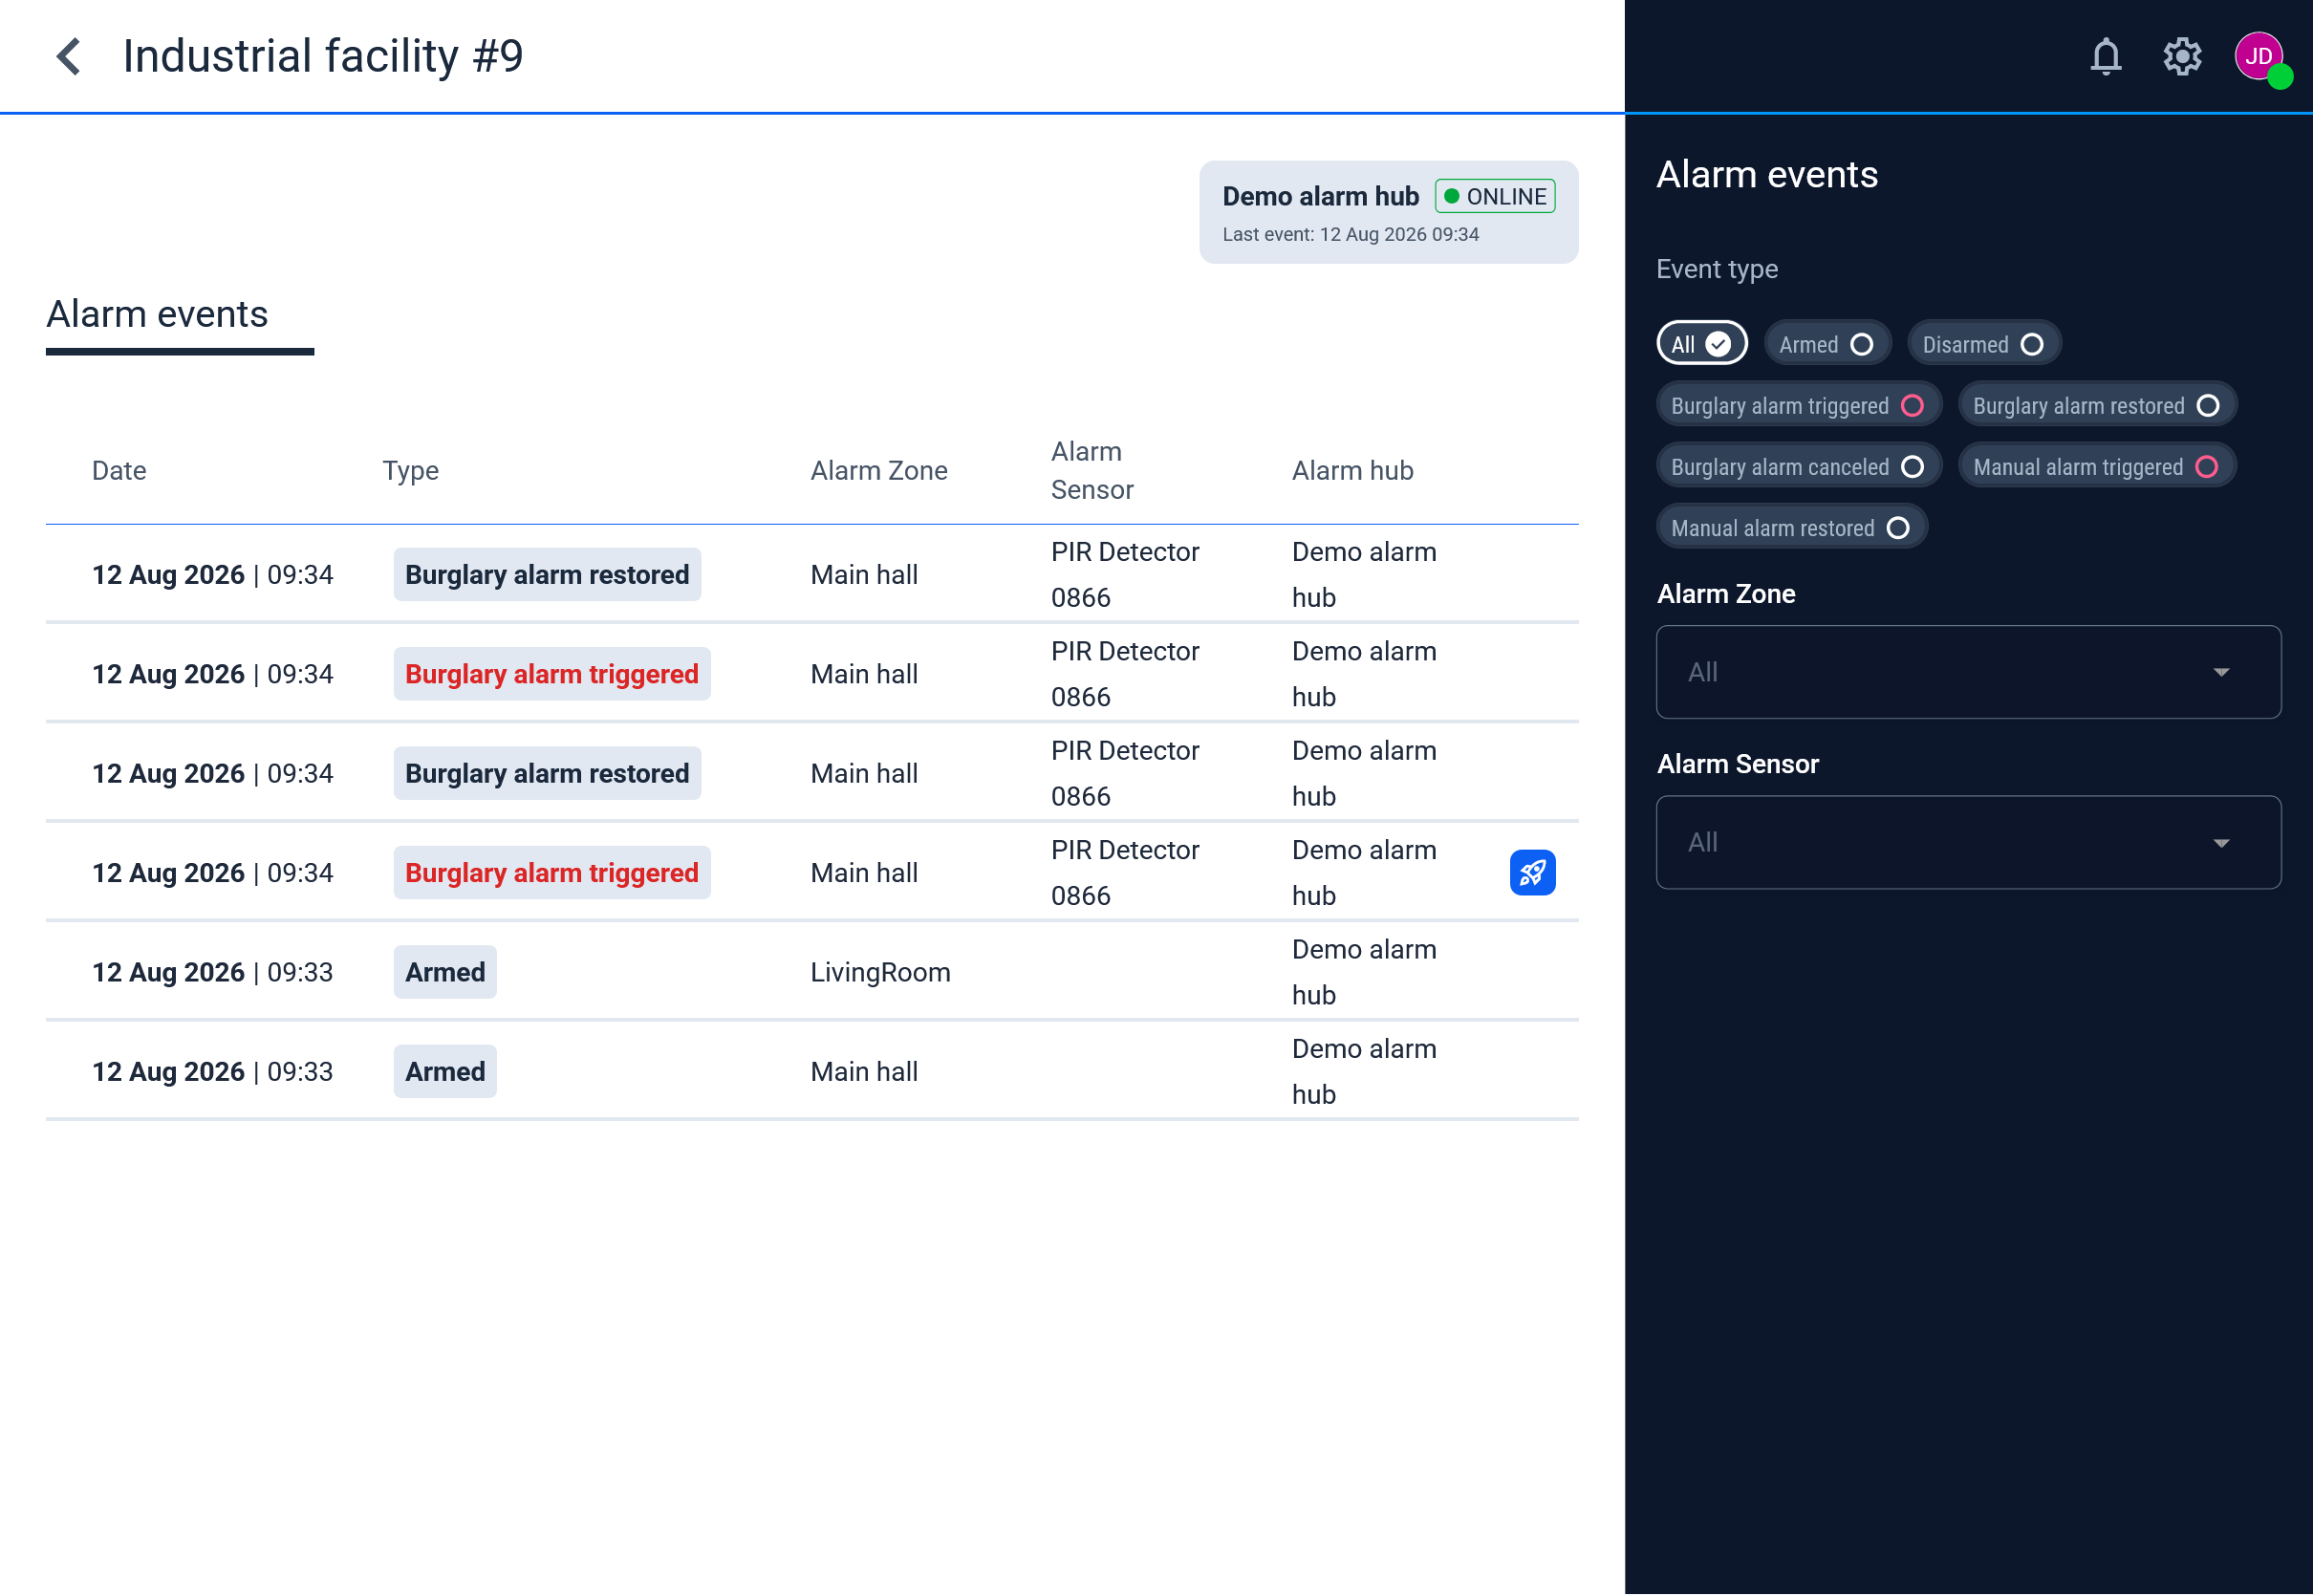
An event that launched a mission carries a launch icon at the end of its row, leading to the mission execution.
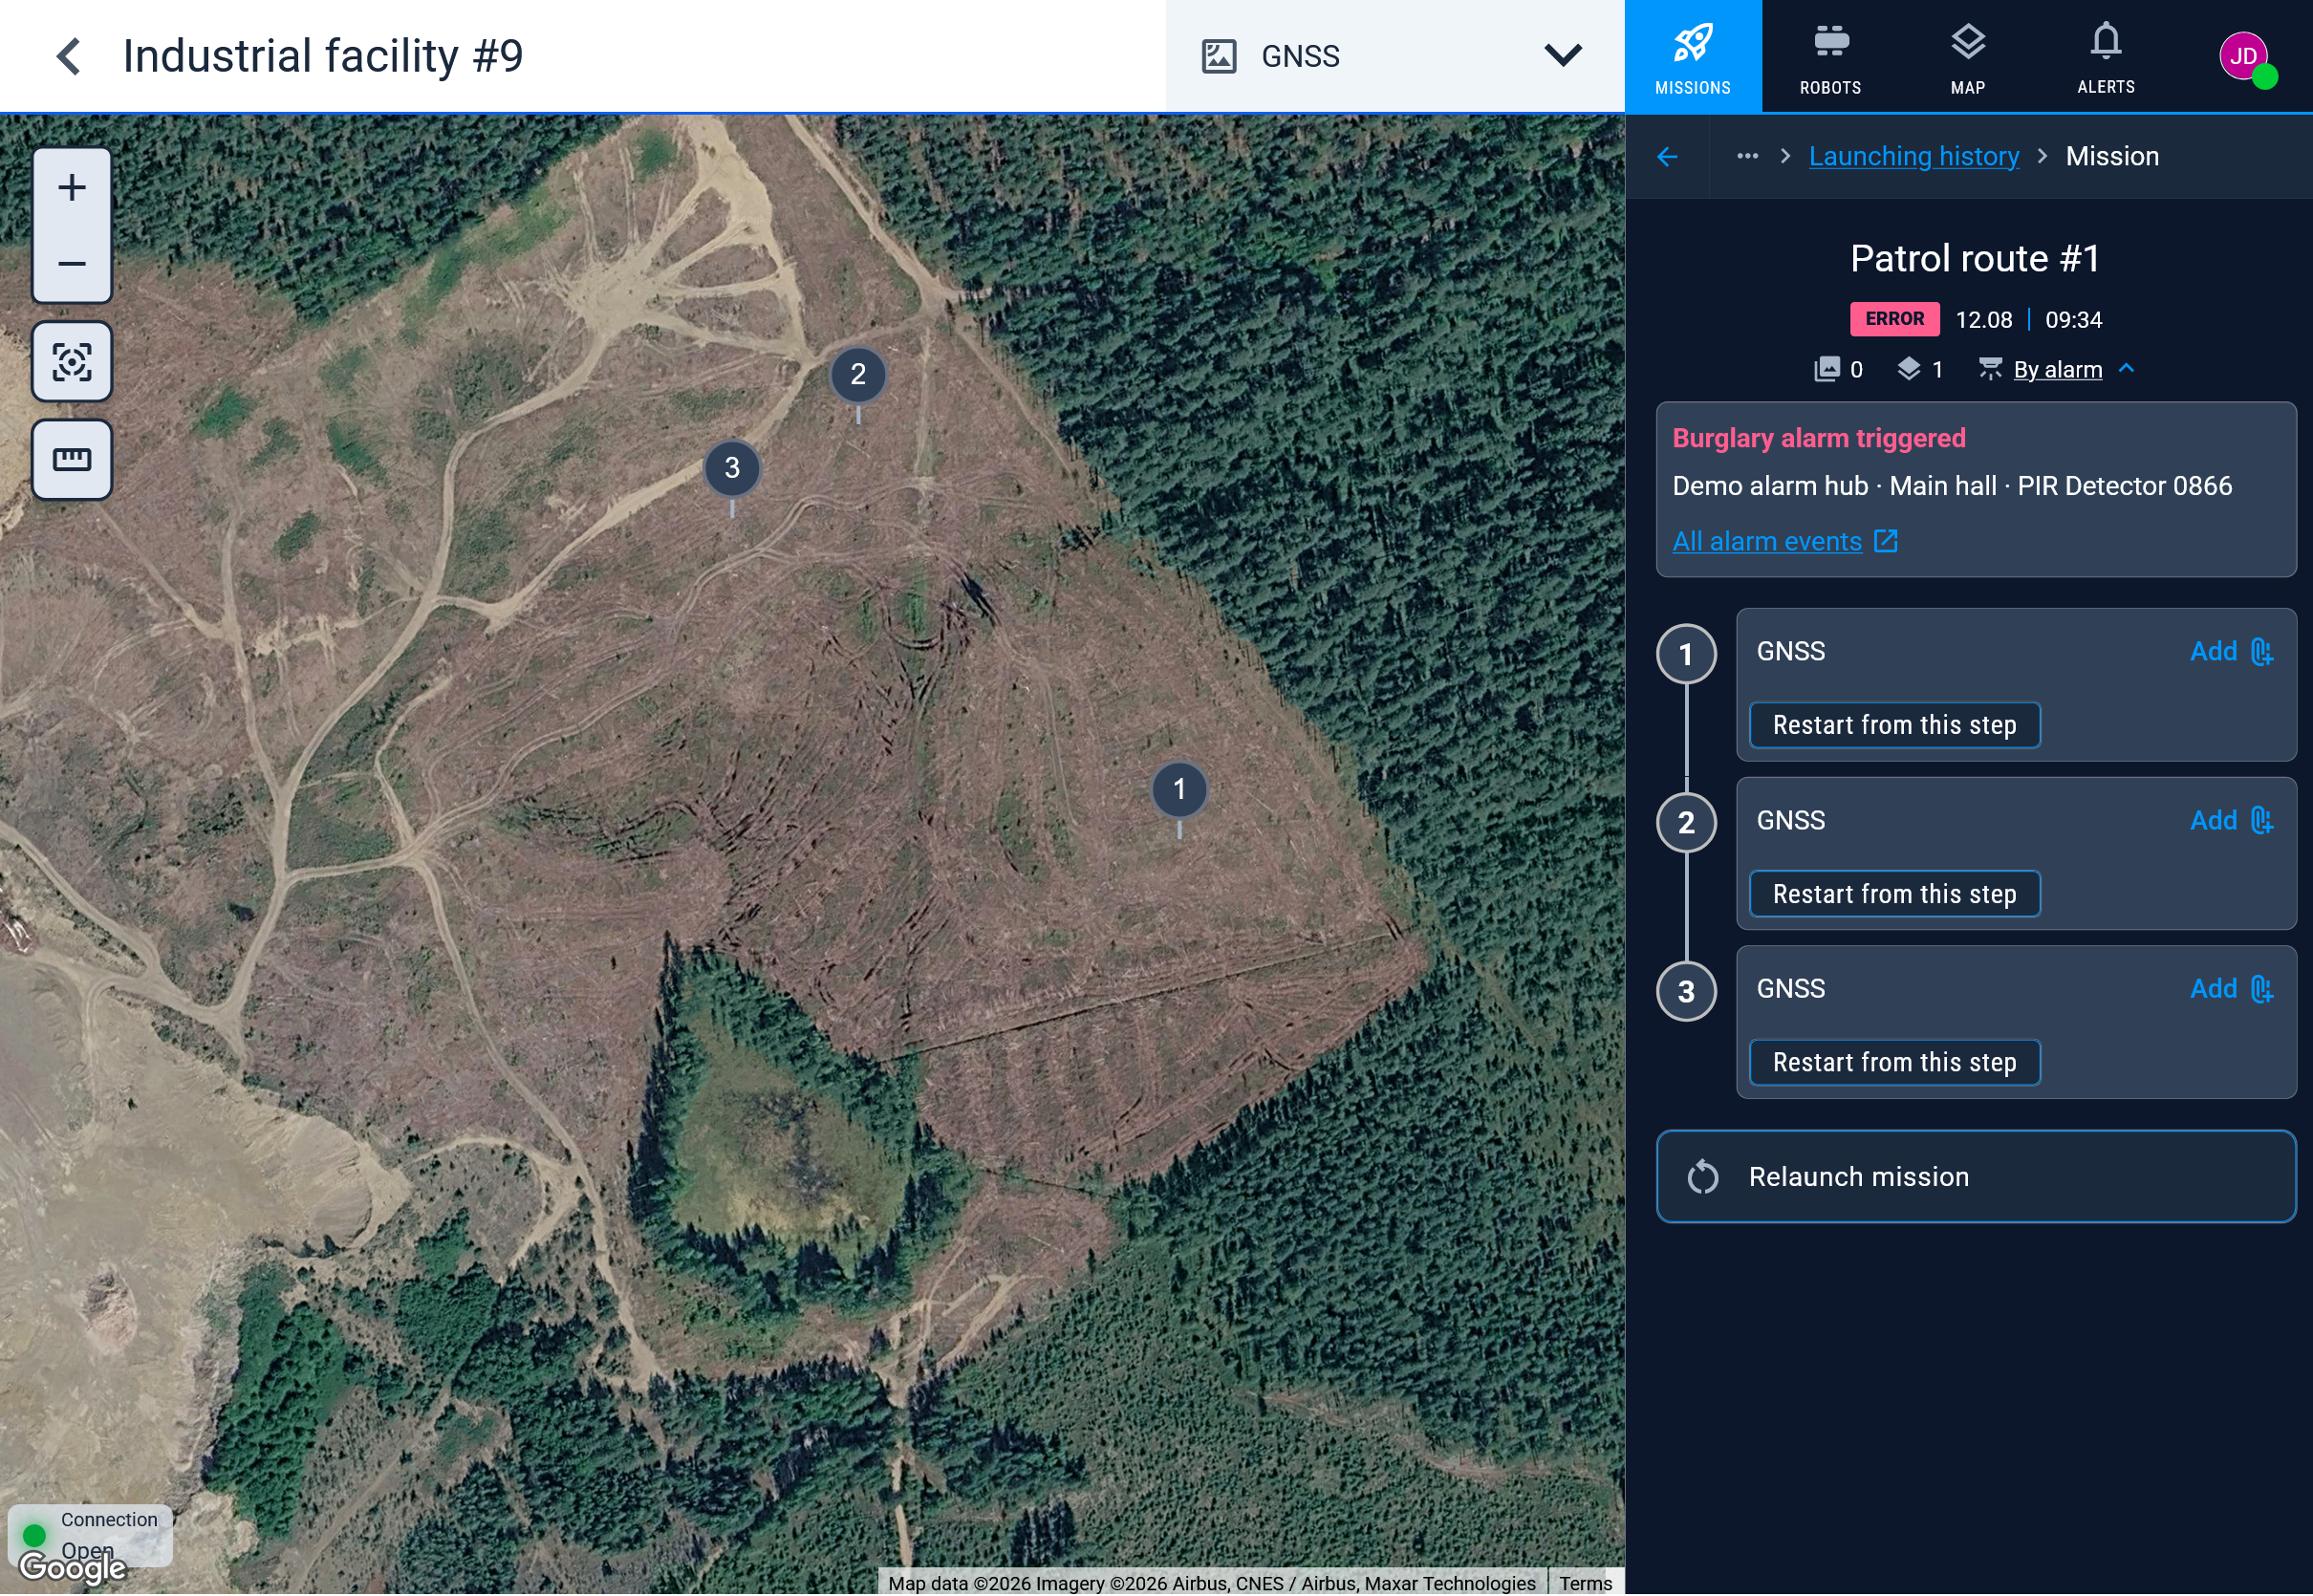
The execution is tagged By alarm, and expanding the tag names the event behind it — type, alarm hub, zone, and sensor — with a link back to the full event list.
Commissioning checklist
- Alarms plugin added to the project.
- Alarm hub created, SIA account enabled, account ID and key entered on the panel.
- Panel reports and the hub status card turns Online.
- Each detector walk-tested; the zones and sensors it produced named in Karelics.
- Alarm trigger created, rules narrow, robots selected.
- One live test alarm per rule: event appears, mission launches, robot reaches the zone.
Troubleshooting
| Symptom | Check |
|---|---|
| Hub stays Offline | Panel can reach karelics.cloud on port 5066; account ID and key match exactly (uppercase hex); account Enabled. |
| Hub shows Unhealthy | One of several SIA accounts is not reporting — check that channel on the panel, or disable the account if unused. |
| Events arrive as Unknown event | The panel sends a code Karelics does not map. Report the raw code to Karelics support. |
| Events arrive, no mission launches | Trigger Enabled; rule event type matches the received type; zone/sensor in the rule matches the event; at least one allowed robot is available. |
| Zones/sensors show as numbers | Rename the Auto created records on the hub tabs. |